
This tutorial is about styling the display of usernames based on their groups, similar to what is shown here on this page and a little more complex.
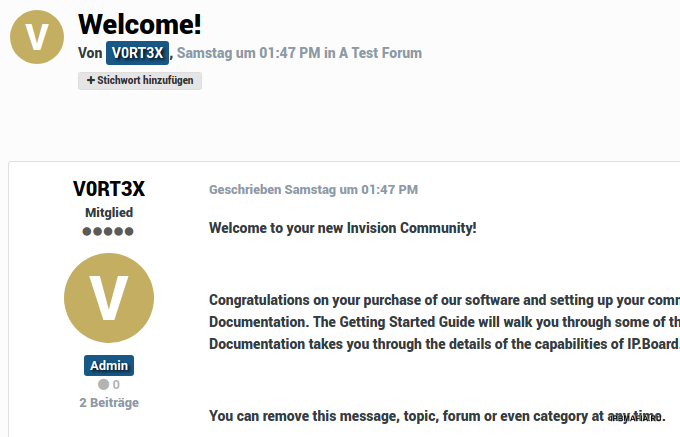
By default, all user groups are simply displayed in black, which not only looks boring to death, it also makes it difficult to see which user group a member belongs to, see here...

IPS makes it pretty easy to change that, go to Users -> Groups in the AdminCP and select the group you want to edit.
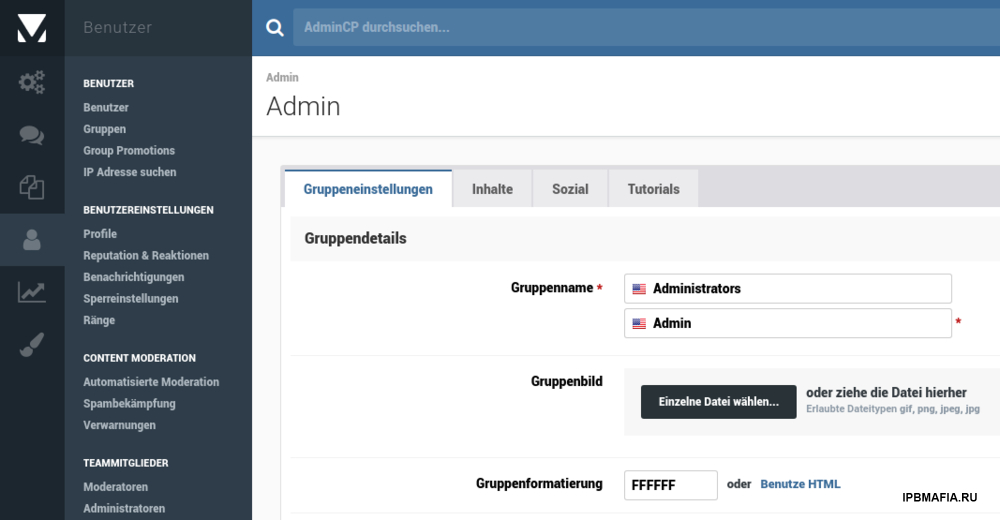
Under group formatting you can either work very simply with a color picker or use HTML directly. So you can easily not only change the color, but also use bold and/or italics etc.
This creates a bit more overview between the groups and their members, but still looks almost as boring. That's why a bit of CSS comes into play.
Let's start with the code that is currently used here:

Here again to copy out, don't forget to close the second field with another span.
<span style='color:white; background:#185886; font-weight: bold; padding: 1.7px 6px; border-radius: 3px; text-shadow: #000 2px 2px 4px ; display: inline-block;'>
I orientated myself a little on the mentions that IPS uses when you write to users directly with @. Here are the values in detail again so that you can see how it is composed and how you can change the colors:
color:white;
background:#185886;
font-weight: bold;
padding: 1.7px 6px;
border-radius: 3px;
text-shadow: #000 2px 2px 4px ;
display: inline-block;
Since explaining the basics of CSS would go beyond the scope of this tutorial, I refer to pages like SELFHTML, where everything is explained in a very beginner-friendly way.
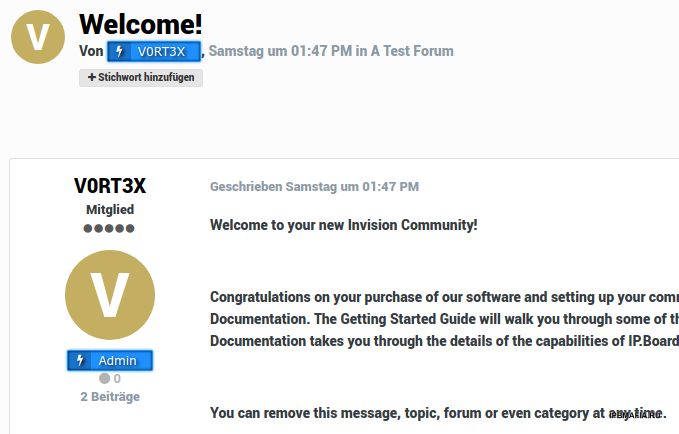
OK, let's move on. It looks a lot better so far, at least on a light background. That's why we're getting a little more down to earth now and we're giving each style its own formatting.
Instead of storing your code directly in the group settings, we now use a kind of "placeholder" there, namely <span id='administrators'> for in this case the admin group (again, don't forget to close it!).

Now go to Customization -> Themes and click on the button for the style of your choice to edit HTML/CSS (</>). After clicking on the CSS tab, the custom.css template should be easy to find there. This is intended specifically for your individual adjustments and will not be overwritten when the style or the basic software is updated.
By default it only contains a small annotation, which can be removed and replaced with your code...
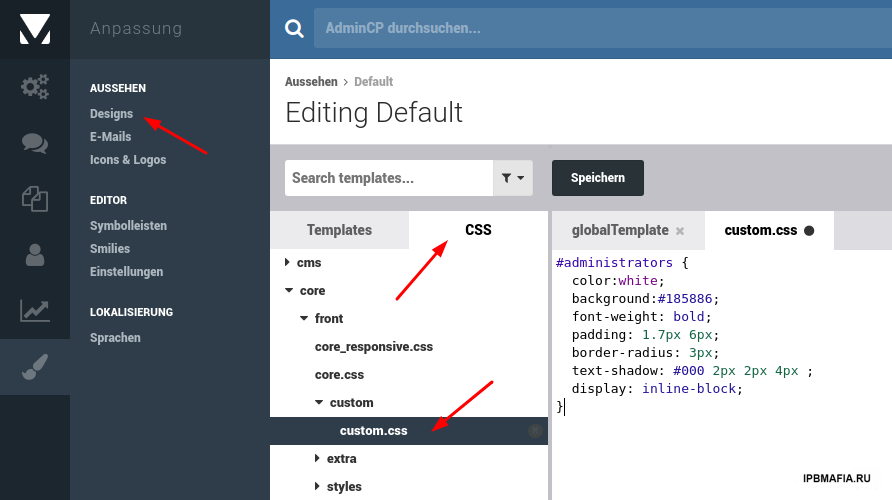
Here again for direct copying. As you can see, it's actually exactly the same code as above, with the difference that it is assigned to your "placeholder" via #administrators. You can now use this principle for every user group and every style.
#administrators {
  color:white;
  background:#185886;
  font-weight: bold;
  padding: 1.7px 6px;
  border-radius: 3px;
  text-shadow: #000 2px 2px 4px ;
  display: inline-block;
}
But it's even better, look here...
This works basically the same as above, except that some more complex formatting is used and a Font Awesome icon is also included (-> before).
Here is the code for tinkering, I wish you a lot of fun with it...
#administrators {
  font-family:'Verdana';
  border: 1px solid transparent;
  border-radius: 2px;
  border-left: 1px solid rgba(0, 0, 0, 0.2);
  margin-top: 3px;
  text-align: center;
  font-weight: 400;
  font-style: normal;
  height: 20px;
  line-height: 15px;
  position: relative;
  max-width: 180px;
  padding: 2px 15px 2px 30px;
  user-select: none;
  color: #FFFFFF;
  font-size: 12px;
  font-weight: normal;
  text-shadow: 2px 2px 5px black;
  background: dodgerblue;
  border-color: dodgerblue;
  box-shadow: 0 0 3px dodgerblue, inset 0 0 3px black;
}
#administrators:before {
  content: "\f0e7";
  font-family:FontAwesome;
  background: rgba(0, 0, 0, 0.2) none repeat scroll 0 0;
  position: absolute;
  top: 0;
  bottom: 0;
  left: 0;
  padding: 2px 4px 0px 4px;
  min-width: 15px;
  font-size: 100%;
  text-align: center;
}
Incidentally, effects such as username glow and sparkles can also be implemented. I previously explained how this works in a tutorial for XenForo, you can adopt these codes pretty much 1 to 1.


Рекомендуемые комментарии
Комментариев нет
Присоединяйтесь к обсуждению
Вы можете написать сейчас и зарегистрироваться позже. Если у вас есть аккаунт, авторизуйтесь, чтобы опубликовать от имени своего аккаунта.
Примечание: Ваш пост будет проверен модератором, прежде чем станет видимым.