MrHaim
Актив
-
Регистрация
-
В сети
Everything posted by MrHaim
-
-
https://drive.google.com/file/d/113xny47R36fgc04kNs6IUpo_t_E8LSbd/view?usp=sharing Credit to spokoadk
-
Autor: FoX Psd pykownia.pl.rar

-
-
-
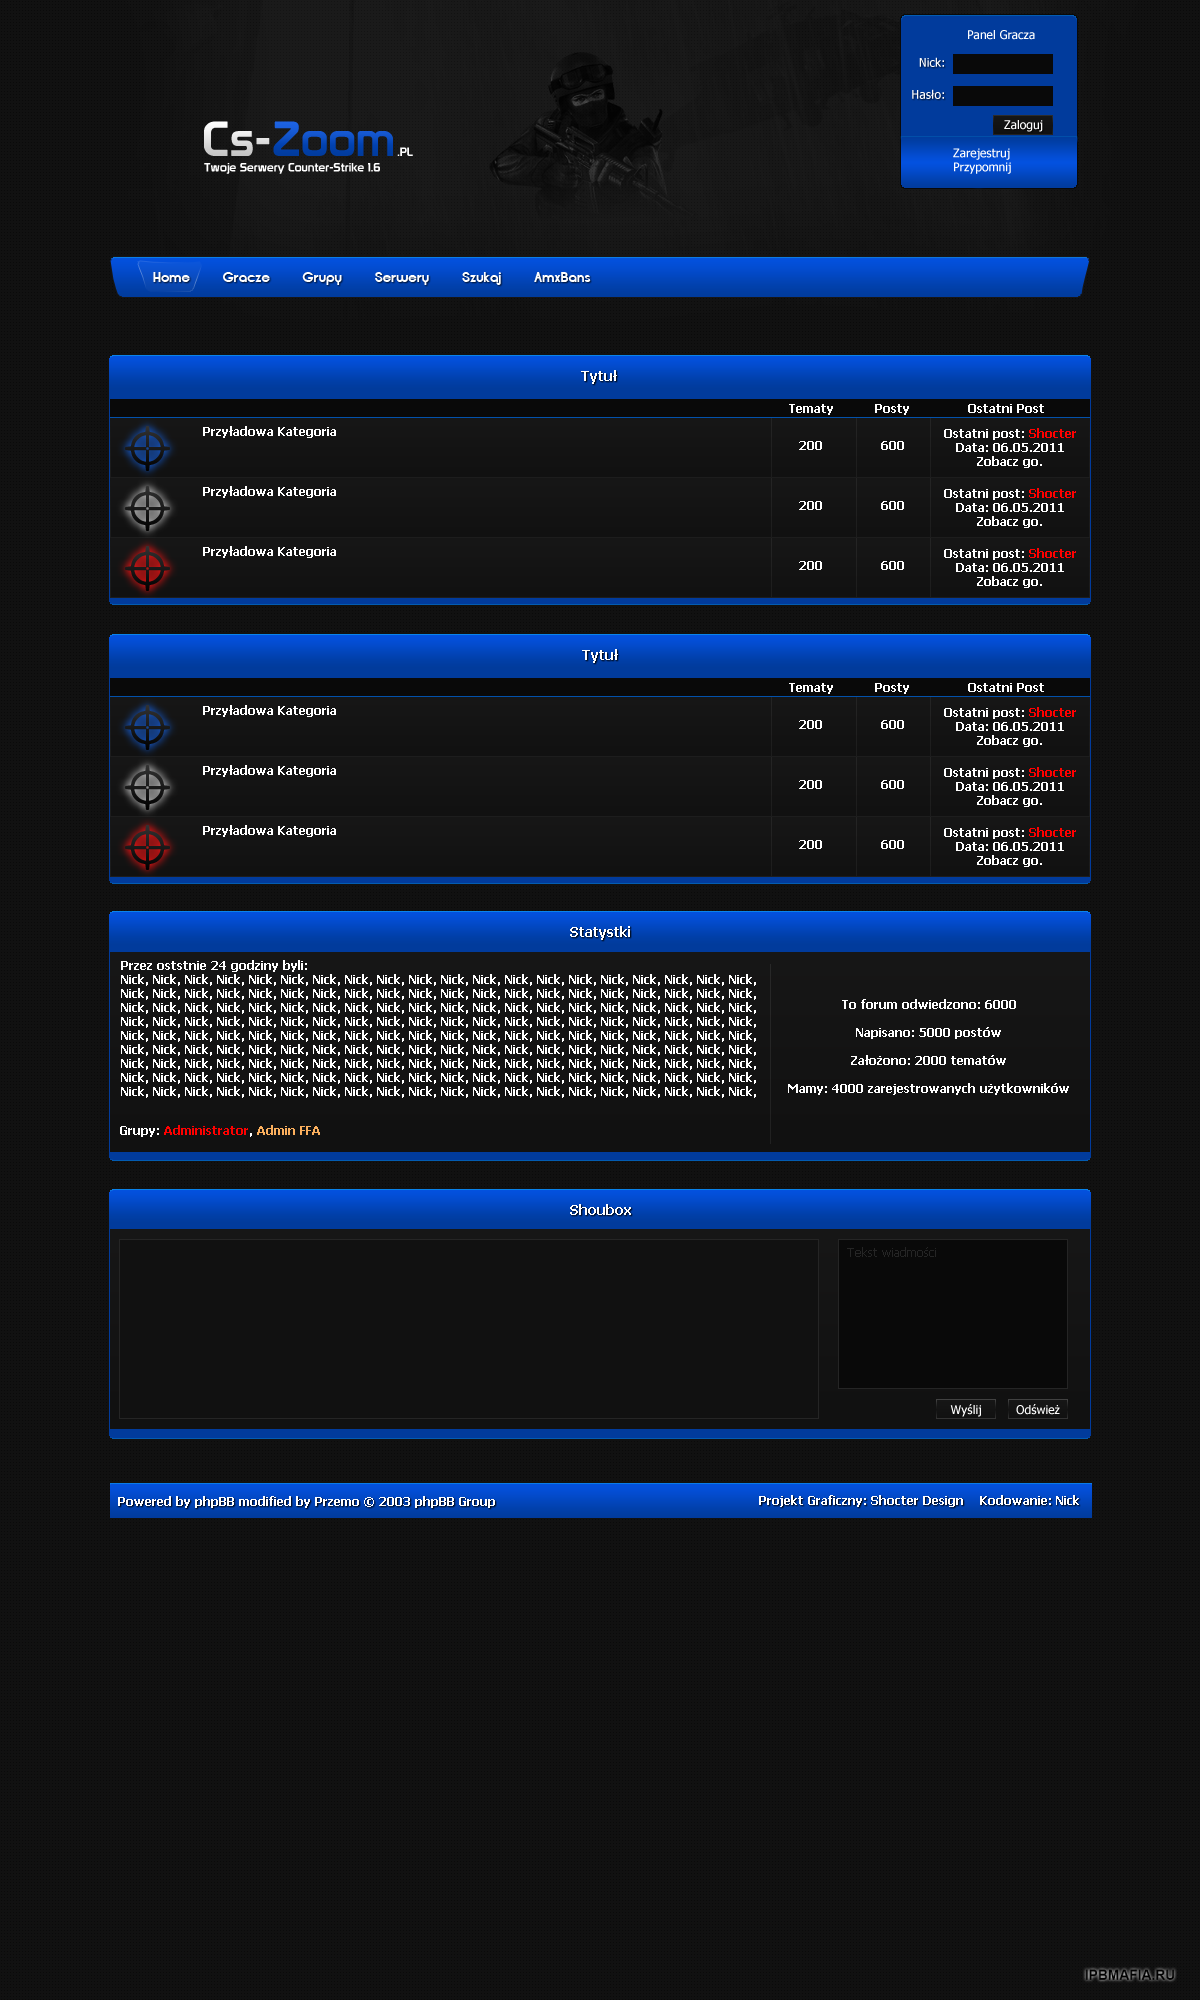
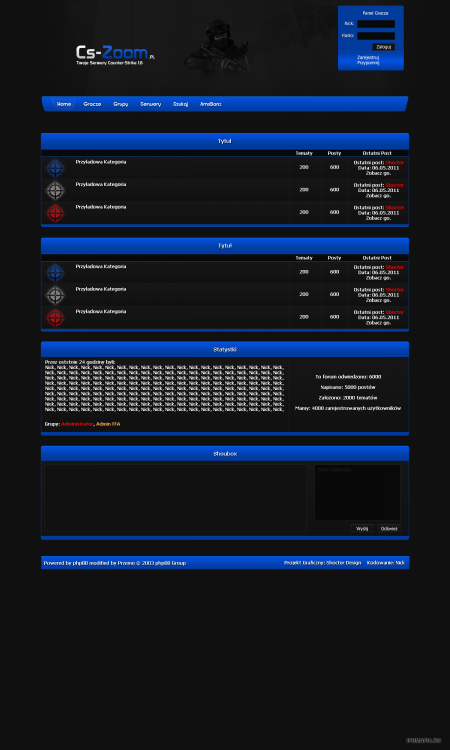
by Schocter Design Credit to SeNioR layout_cszoom.rar
-
simple way to add the ranks ACP Users Groups. Select any group (eg Administrator) and click Edit. Group settings In "Group name" add: простой способ добавить ранги Группы пользователей ACP. Выберите любую группу (например, «Администратор») и нажмите «Изменить». Настройки группы В "Название группы" добавить: ACP Appearance Styles and templates Edit HTML and CSS Tab CSS custom custom.css Paste the code below Внешний вид ACP Стили и шаблоны Редактирование HTML и CSS Вкладка CSS custom custom.css Вставьте код ниже / * Groups * / .defaultGroup { border-radius: 2px; color: #fff; display: inline-block; font-weight: 500; letter-spacing: 0; padding: 0 15px; text-shadow: none; vertical-align: middle; font-size: 12px; height: 30px; line-height: 30px; box-shadow: 0 -3px 0 rgba(0, 0, 0, 0.15) inset; } .admin { background-color: #c75050; } .admin:before { content: "\f005"; font-family: 'FontAwesome'; margin-right: 3px; } If you do not want an asterisk in front of the group name, remove the .admin: before class from the .CSS code (in custom.css) rank to be displayed only in topics, then just use this code: Если вы не хотите звездочку перед именем группы, удалите .admin: перед классом из кода .CSS (в custom.css) ранг будет отображаться только в темах, тогда просто используйте этот код: /* Grupy */ .ipsComment_author .defaultGroup { border-radius: 2px; color: #fff; display: inline-block; font-weight: 500; letter-spacing: 0; padding: 0 15px; text-shadow: none; vertical-align: middle; font-size: 12px; height: 30px; line-height: 30px; box-shadow: 0 -3px 0 rgba(0, 0, 0, 0.15) inset; } .ipsComment_author .admin { background-color: #c75050; } .ipsComment_author .admin:before { content: "\f005"; font-family: 'FontAwesome'; margin-right: 3px; } Credit to one_finger_man1
-
Login to your ACP; Select the theme you want to add it to; Click "Edit HTML and CSS"; In the "CSS" tab, add to"custom.css": Войдите в свою учетную запись; Выберите тему, к которой вы хотите добавить его; Нажмите «Редактировать HTML и CSS»; Во вкладке «CSS» добавляем в «custom.css»: ::-webkit-scrollbar { width: 12px; } ::-webkit-scrollbar-track { -webkit-box-shadow: inset 0 0 6px rgba(0,0,0,0.3); -webkit-border-radius: 1px; border-radius: 1px; } ::-webkit-scrollbar-thumb { -webkit-border-radius: 1px; border-radius: 1px; background: rgba(114,114,114,0.8); -webkit-box-shadow: inset 0 0 6px rgba(0,0,0,0.5); } ::-webkit-scrollbar-thumb:window-inactive { background: rgba(114,114,114,0.4); } Я нашел это руководство в Интернете, спасибо Еревану I found this guide on the internet, thanks Yerevan
-
Inquiry from a private message "SeNioR how to format the username in the subject so that the nick is colored as on the phone". Go to ACP > Appearance > Themes > Your theme > Edit HTML/CSS > open postContainer template Find: <h3 class='ipsType_sectionHead cAuthorPane_author ipsType_blendLinks ipsType_break'><strong>{template="userLink" group="global" app="core" params="$comment->author(), $comment->warningRef(), FALSE, $comment->isAnonymous()"}</strong> Change to: <h3 class='ipsType_sectionHead cAuthorPane_author ipsType_blendLinks ipsType_break'><strong>{template="userLink" group="global" app="core" params="$comment->author(), $comment->warningRef(), NULL, $comment->isAnonymous()"}</strong> Запрос из личного сообщения "SeNioR как отформатировать логин в теме, чтобы ник был окрашен как на телефоне". Перейдите в ACP > Внешний вид > Темы > Ваша тема > Редактировать HTML/CSS > открыть шаблон postContainer. Находить: <h3 class='ipsType_sectionHead cAuthorPane_author ipsType_blendLinks ipsType_break'><strong>{template="userLink" group="global" app="core" params="$comment->author(), $comment->warningRef(), FALSE, $comment->isAnonymous()"}</strong> Изменить на: <h3 class='ipsType_sectionHead cAuthorPane_author ipsType_blendLinks ipsType_break'><strong>{template="userLink" group="global" app="core" params="$comment->author(), $comment->warningRef(), NULL, $comment->isAnonymous()"}</strong> Credit to SeNioR
-
Позже на этой неделе я загружу сюда дополнение с улучшенной статистикой.
-
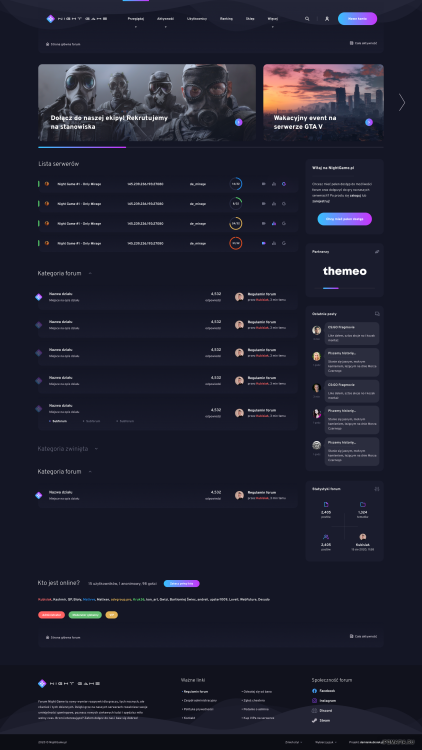
https://drive.google.com/file/d/1PQs98BzY7SgjST4W4csGT7HOSKhSwV9a/view Credit to SeNioR
-
6.0.1 TeamSpeak Module 6.0.1.zip
-
версия 2.4.6 version 2.4.6 https://drive.google.com/file/d/13qbbxVXE0V-wGH_0gzebTi69Hcla8lTb/view?usp=sharing
-
Извини, дорогой друг.. Я просто пытался помочь.
-
Просмотр файла Crypto.com Payment Gateway Start accepting crypto payments today - Crypto.com Payment Gateway for Invision Community. Tap into the global cryptocurrency economy and start accepting Bitcoin and other popular cryptocurrencies on your community. Начните принимать криптовалютные платежи уже сегодня - Платежный шлюз Crypto.com для сообщества Invision. Прикоснитесь к мировой экономике криптовалют и начните принимать биткойны и другие популярные криптовалюты в своем сообществе. Добавил MrHaim Добавлено 04/29/23 Категория Интеграции Язык ENGLISH
-
 Start accepting crypto payments today - Crypto.com Payment Gateway for Invision Community. Tap into the global cryptocurrency economy and start accepting Bitcoin and other popular cryptocurrencies on your community. Начните принимать криптовалютные платежи уже сегодня - Платежный шлюз Crypto.com для сообщества Invision. Прикоснитесь к мировой экономике криптовалют и начните принимать биткойны и другие популярные криптовалюты в своем сообществе.Free
 -
Просмотр файла YooKassa Payment Gateway YooKassa Payment Gateway for Invision Community! YooKassa works only with companies. Payment methods in YooKassa: Bank cards. American express. Electronic money. Cash. Internet banking. Phone balance. B2B payments. Платежный шлюз YooKassa для сообщества Invision! YooKassa работает только с компаниями. Способы оплаты в YooKassa: Банковские карты. American Express. Электронные деньги. Наличные. Интернет-банкинг. Баланс телефона. B2B-платежи. Добавил MrHaim Добавлено 04/29/23 Категория Интеграции Язык ENGLISH
-
 YooKassa Payment Gateway for Invision Community! YooKassa works only with companies. Payment methods in YooKassa: Bank cards. American express. Electronic money. Cash. Internet banking. Phone balance. B2B payments. Платежный шлюз YooKassa для сообщества Invision! YooKassa работает только с компаниями. Способы оплаты в YooKassa: Банковские карты. American Express. Электронные деньги. Наличные. Интернет-банкинг. Баланс телефона. B2B-платежи.Free
 -
Понял.. пытался помочь, извините
-
<div class="widget_name"> <!-- You can change name of every widget you add--> <div class=" ipsPad_half"> <link href="https://fonts.googleapis.com/css?family=Montserrat:400,700" rel="stylesheet"> <!-- If you add another button, you need to change the every number from css style, e.g.: .box4 need to change to .box5 to not overwrite--> <style media="screen" type="text/css"> * { font-family: 'Montserrat', sans-serif; } .box4{ position: relative; cursor: pointer; width: 285px; height: 50px; background-color: #8918a7; overflow: hidden; border-radius: 6px; box-shadow: 0 2px 8px 0 rgba(0,0,0,0.3); transition: 400ms ease-in-out; } .shade4{ position: relative; width: 148px; height: 100px; background: #561f76; opacity: 0.5; left: 200px; transform: rotate(135deg); top: -16px; transition: all ease-in-out 500ms; } .boxText4{ position: absolute; font-size: 15px; font-weight: 700; color: white; left: 70px; top: 15px; transition: all ease-in-out 400ms; } .boxJoin4{ z-index: 2; position: absolute; font-size: 17px; font-weight: 700; color: white; opacity: 0; transform: scale(0.3); transition: all ease-in-out 400ms; left: 25px; top: 15px; } .boxLogo4{ position: absolute; font-size: 38px; color: #fff; top: 5px; margin-left: 10px; transition: all ease-in-out 400ms; } #boxArrow4{ z-index: 2; color: white; font-size: 24px; position: absolute; left: 256px; top: 12px; transition: all ease-in-out 400ms; } .box4:hover { box-shadow: 0 6px 8px 0 rgba(0,0,0,0.3); } .box4:hover .shade4{ transform: rotate(90deg); height: 320px; top: -140px; left: 68px; } .box4:hover .boxText4{ top: -48px; } .box4:hover .boxJoin4{ opacity: 1; transform: scale(1); } .box4:hover .boxLogo4{ top: -48px; } .box4:hover #boxArrow4{ transform: translateX(60px); } </style> <div class="box4"> <a href="https://forum.resursele.ro/faq/"> <!-- Link of button--> <i class="fa fa-question-circle boxLogo4"></i> <!-- Icon of button, it is run on Font Awesome Icons only if theme support fontawesome--> <!-- <img class="boxLogo4" src="https://steamstore-a.akamaihd.net/public/shared/images/header/globalheader_logo.png"> --> <span class="boxJoin4">HAVE A QUESTION?</span><!-- Hover text--> <span class="boxText4">F.A.Q</span><!-- Button text--> <i id="boxArrow4" class="fa fa-angle-right"></i> <div class="shade4"> </div> </a> </div> </div> </div> Credit to CristiOprea13

-
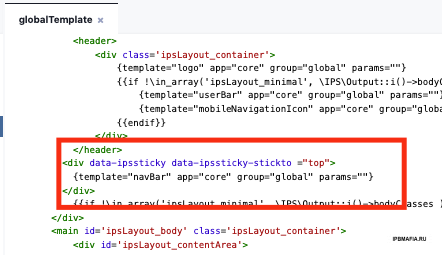
you will need to look for this in you theme вам нужно будет найти это в вашей теме {template ="navbar" app = "core" group="global" params = ""} you will need to change it to this вам нужно будет изменить его на это <div data-ipssticky data-ipssticky-stickto ="top" > {template ="navbar" app = "core" group="global" params = ""} </div> This is how you do it. Go to YOURTHEME/Edit HTML & CSS/globaltemplate And put the code like this and save it! Вот как вы это делаете. Перейдите в YOURTHEME/Edit HTML & CSS/globaltemplate И поместите такой код и сохраните его! Credit to one_finger_man1
-
This tutorial (that i made !) will show you how to put a sidebar block with members online like on xenforo. Go on your template > boardIndexTemplate and search : <if test="sideBarEnabled2:|:$this->templateVars['sidebar_enabled']"> <div id='index_stats' class='ipsLayout_right clearfix' <if test="sidebarclosed2:|:IPSCookie::get('hide_sidebar') == '1'">style='display: none'</if>> Add After: <!-- Members online --> <div class='ipsSideBlock clearfix'> <h3>Members online</h3> <div class='_sbcollapsable'> <if test="activeNames:|:count($stats['NAMES']) && $this->settings['show_active']"> <p> <span class='name'>{parse expression="implode( ",</span> <span class='name'>", $stats['NAMES'] )"}</span> </p> </if> </br> <p>Online :<if test="showActive:|:$this->settings['show_active'] && $this->memberData['gbw_view_online_lists']">{parse expression="sprintf( $stats['TOTAL'] )"}</if> <if test="$this->settings['show_active']"><p class='statistics_brief desc'> {parse expression="sprintf( $this->lang->words['active_users_detail'], $stats['MEMBERS'], $stats['GUESTS'], $stats['ANON'] )"} <if test="onlineListEnabled:|:$this->settings['allow_online_list']"></if> </p></if></p> </div> </div> <!-- Members online END --> Этот урок (который я сделал!) покажет вам, как разместить блок боковой панели с участниками онлайн, как на xenforo. Перейдите в свой шаблон > boardIndexTemplate и выполните поиск: <if test="sideBarEnabled2:|:$this->templateVars['sidebar_enabled']"> <div id='index_stats' class='ipsLayout_right clearfix' <if test="sidebarclosed2:|:IPSCookie::get('hide_sidebar') == '1'">style='display: none'</if>> Добавить после: <!-- Members online --> <div class='ipsSideBlock clearfix'> <h3>Members online</h3> <div class='_sbcollapsable'> <if test="activeNames:|:count($stats['NAMES']) && $this->settings['show_active']"> <p> <span class='name'>{parse expression="implode( ",</span> <span class='name'>", $stats['NAMES'] )"}</span> </p> </if> </br> <p>Online :<if test="showActive:|:$this->settings['show_active'] && $this->memberData['gbw_view_online_lists']">{parse expression="sprintf( $stats['TOTAL'] )"}</if> <if test="$this->settings['show_active']"><p class='statistics_brief desc'> {parse expression="sprintf( $this->lang->words['active_users_detail'], $stats['MEMBERS'], $stats['GUESTS'], $stats['ANON'] )"} <if test="onlineListEnabled:|:$this->settings['allow_online_list']"></if> </p></if></p> </div> </div> <!-- Members online END --> Credit to theezy
-
-
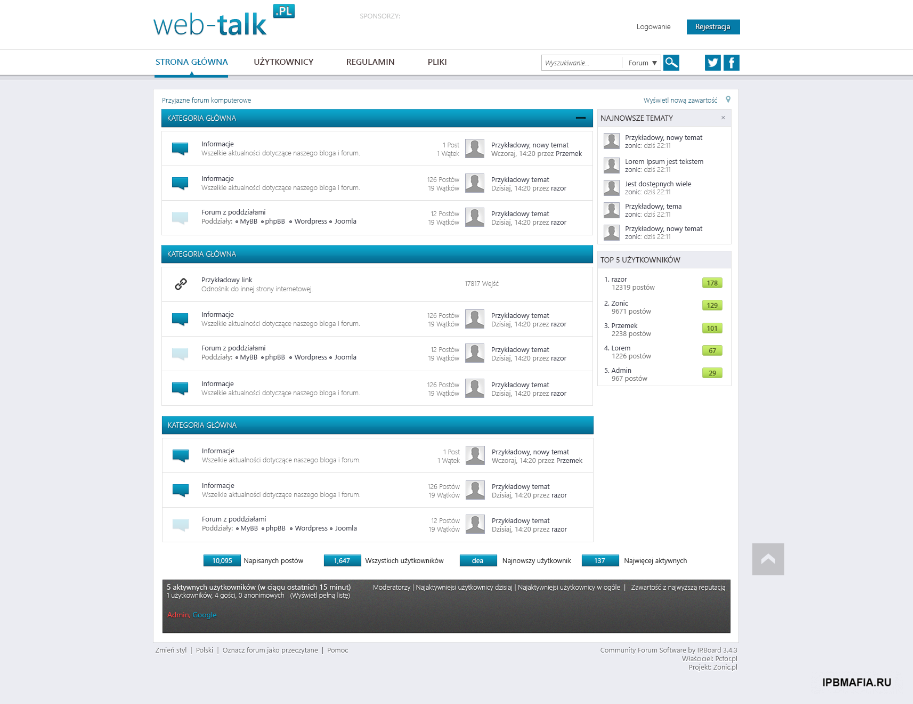
Credit to Diox? WT-Blue-PSD.zip
-
Credit to CzareK PaintBall.rar