
MrHaim
-
Регистрация
-
В сети
Posts posted by MrHaim
-
-
-
-
-
-
simple way to add the ranks
ACP Users Groups. Select any group (eg Administrator) and click Edit. Group settings In "Group name" add:простой способ добавить ранги
Группы пользователей ACP. Выберите любую группу (например, «Администратор») и нажмите «Изменить». Настройки группы В "Название группы" добавить:
Цитата<span class='defaultGroup admin'>Administrator</span>
ACP Appearance Styles and templates Edit HTML and CSS Tab CSS custom custom.css Paste the code below
Внешний вид ACP Стили и шаблоны Редактирование HTML и CSS Вкладка CSS custom custom.css Вставьте код ниже/ * Groups * / .defaultGroup { border-radius: 2px; color: #fff; display: inline-block; font-weight: 500; letter-spacing: 0; padding: 0 15px; text-shadow: none; vertical-align: middle; font-size: 12px; height: 30px; line-height: 30px; box-shadow: 0 -3px 0 rgba(0, 0, 0, 0.15) inset; } .admin { background-color: #c75050; } .admin:before { content: "\f005"; font-family: 'FontAwesome'; margin-right: 3px; }
If you do not want an asterisk in front of the group name, remove the .admin: before class from the .CSS code (in custom.css)
rank to be displayed only in topics, then just use this code:Если вы не хотите звездочку перед именем группы, удалите .admin: перед классом из кода .CSS (в custom.css)
ранг будет отображаться только в темах, тогда просто используйте этот код:
/* Grupy */
.ipsComment_author .defaultGroup {
  border-radius: 2px;
    color: #fff;
    display: inline-block;
    font-weight: 500;
    letter-spacing: 0;
    padding: 0 15px;
    text-shadow: none;
    vertical-align: middle;
    font-size: 12px;
    height: 30px;
    line-height: 30px;
  box-shadow: 0 -3px 0 rgba(0, 0, 0, 0.15) inset;
}
.ipsComment_author .admin {
background-color: #c75050;
}
.ipsComment_author .admin:before {
  content: "\f005";
   font-family: 'FontAwesome';
   margin-right: 3px;
}
Credit to one_finger_man1
-
Login to your ACP;
Select the theme you want to add it to;
Click "Edit HTML and CSS";
In the "CSS" tab, add to"custom.css":
Войдите в свою учетную запись;
Выберите тему, к которой вы хотите добавить его;
Нажмите «Редактировать HTML и CSS»;
Во вкладке «CSS» добавляем в «custom.css»:::-webkit-scrollbar { width: 12px; } ::-webkit-scrollbar-track { -webkit-box-shadow: inset 0 0 6px rgba(0,0,0,0.3); -webkit-border-radius: 1px; border-radius: 1px; } ::-webkit-scrollbar-thumb { -webkit-border-radius: 1px; border-radius: 1px; background: rgba(114,114,114,0.8); -webkit-box-shadow: inset 0 0 6px rgba(0,0,0,0.5); } ::-webkit-scrollbar-thumb:window-inactive { background: rgba(114,114,114,0.4); }
Я нашел это руководство в Интернете, спасибо Еревану
I found this guide on the internet, thanks Yerevan
-
Inquiry from a private message "SeNioR how to format the username in the subject so that the nick is colored as on the phone".
Go to ACP > Appearance > Themes > Your theme > Edit HTML/CSS > open postContainer template
Find:
<h3 class='ipsType_sectionHead cAuthorPane_author ipsType_blendLinks ipsType_break'><strong>{template="userLink" group="global" app="core" params="$comment->author(), $comment->warningRef(), FALSE, $comment->isAnonymous()"}</strong>
Change to:
<h3 class='ipsType_sectionHead cAuthorPane_author ipsType_blendLinks ipsType_break'><strong>{template="userLink" group="global" app="core" params="$comment->author(), $comment->warningRef(), NULL, $comment->isAnonymous()"}</strong>
Запрос из личного сообщения "SeNioR как отформатировать логин в теме, чтобы ник был окрашен как на телефоне".
Перейдите в ACP > Внешний вид > Темы > Ваша тема > Редактировать HTML/CSS > открыть шаблон postContainer.
Находить:
<h3 class='ipsType_sectionHead cAuthorPane_author ipsType_blendLinks ipsType_break'><strong>{template="userLink" group="global" app="core" params="$comment->author(), $comment->warningRef(), FALSE, $comment->isAnonymous()"}</strong>
Изменить на:
<h3 class='ipsType_sectionHead cAuthorPane_author ipsType_blendLinks ipsType_break'><strong>{template="userLink" group="global" app="core" params="$comment->author(), $comment->warningRef(), NULL, $comment->isAnonymous()"}</strong>
Credit to SeNioR
-
-
-
-
версия 2.4.6
version 2.4.6
https://drive.google.com/file/d/13qbbxVXE0V-wGH_0gzebTi69Hcla8lTb/view?usp=sharing
-
-
Crypto.com Payment Gateway
Start accepting crypto payments today - Crypto.com Payment Gateway for Invision Community.
Tap into the global cryptocurrency economy and start accepting Bitcoin and other popular cryptocurrencies on your community.Начните принимать криптовалютные платежи уже сегодня - Платежный шлюз Crypto.com для сообщества Invision.
Прикоснитесь к мировой экономике криптовалют и начните принимать биткойны и другие популярные криптовалюты в своем сообществе.
-
Добавил
-
Добавлено04/29/23
-
Категория
-
ЯзыкENGLISH
-
-
YooKassa Payment Gateway
YooKassa Payment Gateway for Invision Community!
YooKassa works only with companies.Payment methods in YooKassa:
- Bank cards.
- American express.
- Electronic money.
- Cash.
- Internet banking.
- Phone balance.
- B2B payments.
Платежный шлюз YooKassa для сообщества Invision!
YooKassa работает только с компаниями.Способы оплаты в YooKassa:
Банковские карты.
American Express.
Электронные деньги.
Наличные.
Интернет-банкинг.
Баланс телефона.
B2B-платежи.
-
Добавил
-
Добавлено04/29/23
-
Категория
-
ЯзыкENGLISH
-
1 минуту назад, Respected сказал:
MrHaim спасибо конечно за твои старания, но подобный контент не совсем актуален, что эти кнопки, что psd макеты, это лишний шум на форуме.
Понял.. пытался помочь, извините
-
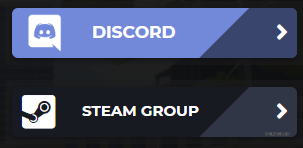
<div class="widget_name"> <!-- You can change name of every widget you add-->

<div class=" ipsPad_half">

   <link href="https://fonts.googleapis.com/css?family=Montserrat:400,700" rel="stylesheet">
<!-- If you add another button, you need to change the every number from css style, e.g.: .box4 need to change to .box5 to not overwrite-->
<style media="screen" type="text/css">
* {
font-family: 'Montserrat', sans-serif;
}
.box4{
  position: relative;
  cursor: pointer;
  width: 285px;
  height: 50px;
  background-color: #8918a7;
  overflow: hidden;
border-radius: 6px;
box-shadow: 0 2px 8px 0 rgba(0,0,0,0.3);
transition: 400ms ease-in-out;
}

.shade4{
  position: relative;
  width: 148px;
  height: 100px;
  background: #561f76;
  opacity: 0.5;
  left: 200px;
  transform: rotate(135deg);
  top: -16px;
  transition: all ease-in-out 500ms;
}

.boxText4{
  position: absolute;
  font-size: 15px;
  font-weight: 700;
  color: white;
  left: 70px;
  top: 15px;
  transition: all ease-in-out 400ms;
}

.boxJoin4{
  z-index: 2;
  position: absolute;
  font-size: 17px;
  font-weight: 700;
  color: white;
  opacity: 0;
transform: scale(0.3);
  transition: all ease-in-out 400ms;
  left: 25px;
  top: 15px;
}

.boxLogo4{
  position: absolute;
  font-size: 38px;
color: #fff;
  top: 5px;
  margin-left: 10px;
  transition: all ease-in-out 400ms;
}

#boxArrow4{
  z-index: 2;
  color: white;
  font-size: 24px;
  position: absolute;
  left: 256px;
  top: 12px;
  transition: all ease-in-out 400ms;
}

.box4:hover {
box-shadow: 0 6px 8px 0 rgba(0,0,0,0.3);
}

.box4:hover .shade4{
  transform: rotate(90deg);
  height: 320px;
  top: -140px;
  left: 68px;
}

.box4:hover .boxText4{
  top: -48px;
}

.box4:hover .boxJoin4{
  opacity: 1;
transform: scale(1);
}

.box4:hover .boxLogo4{
  top: -48px;
}

.box4:hover #boxArrow4{
transform: translateX(60px);
}

</style>

<div class="box4">
<a href="https://forum.resursele.ro/faq/"> <!-- Link of button-->
   <i class="fa fa-question-circle boxLogo4"></i> <!-- Icon of button, it is run on Font Awesome Icons only if theme support fontawesome-->
  <!-- <img class="boxLogo4" src="https://steamstore-a.akamaihd.net/public/shared/images/header/globalheader_logo.png"> -->
  <span class="boxJoin4">HAVE A QUESTION?</span><!-- Hover text-->
  <span class="boxText4">F.A.Q</span><!-- Button text-->
  <i id="boxArrow4" class="fa fa-angle-right"></i>
  <div class="shade4">
  </div>
</a>
</div>

</div>
</div>
Credit to CristiOprea13
- NarcoRP and Ishidarex77
-
 2
2
-
you will need to look for this in you theme
вам нужно будет найти это в вашей теме{template ="navbar" app = "core" group="global" params = ""}you will need to change it to this
вам нужно будет изменить его на это<div data-ipssticky data-ipssticky-stickto ="top" > {template ="navbar" app = "core" group="global" params = ""} </div>
This is how you do it. Go to YOURTHEME/Edit HTML & CSS/globaltemplate
And put the code like this and save it!Вот как вы это делаете. Перейдите в YOURTHEME/Edit HTML & CSS/globaltemplate
И поместите такой код и сохраните его!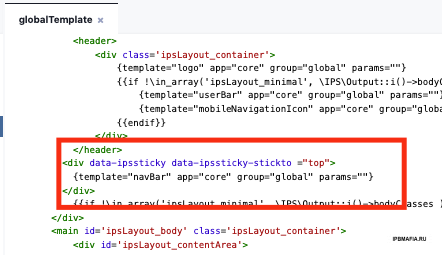
Credit to one_finger_man1
-
This tutorial (that i made !) will show you how to put a sidebar block with members online like on xenforo.
Go on your template > boardIndexTemplate and search :<if test="sideBarEnabled2:|:$this->templateVars['sidebar_enabled']"> <div id='index_stats' class='ipsLayout_right clearfix' <if test="sidebarclosed2:|:IPSCookie::get('hide_sidebar') == '1'">style='display: none'</if>>
Add After:
<!-- Members online --> <div class='ipsSideBlock clearfix'> <h3>Members online</h3> <div class='_sbcollapsable'> <if test="activeNames:|:count($stats['NAMES']) && $this->settings['show_active']"> <p> <span class='name'>{parse expression="implode( ",</span> <span class='name'>", $stats['NAMES'] )"}</span> </p> </if> </br> <p>Online :<if test="showActive:|:$this->settings['show_active'] && $this->memberData['gbw_view_online_lists']">{parse expression="sprintf( $stats['TOTAL'] )"}</if> <if test="$this->settings['show_active']"><p class='statistics_brief desc'> {parse expression="sprintf( $this->lang->words['active_users_detail'], $stats['MEMBERS'], $stats['GUESTS'], $stats['ANON'] )"} <if test="onlineListEnabled:|:$this->settings['allow_online_list']"></if> </p></if></p> </div> </div> <!-- Members online END -->
Этот урок (который я сделал!) покажет вам, как разместить блок боковой панели с участниками онлайн, как на xenforo.
Перейдите в свой шаблон > boardIndexTemplate и выполните поиск:
<if test="sideBarEnabled2:|:$this->templateVars['sidebar_enabled']">
        <div id='index_stats' class='ipsLayout_right clearfix' <if test="sidebarclosed2:|:IPSCookie::get('hide_sidebar') == '1'">style='display: none'</if>>
Добавить после:
<!-- Members online -->
<div class='ipsSideBlock clearfix'>
<h3>Members online</h3>
<div class='_sbcollapsable'>
<if test="activeNames:|:count($stats['NAMES']) && $this->settings['show_active']">
<p>
<span class='name'>{parse expression="implode( ",</span> <span class='name'>", $stats['NAMES'] )"}</span>
</p>
</if>
</br>
<p>Online :<if test="showActive:|:$this->settings['show_active'] && $this->memberData['gbw_view_online_lists']">{parse expression="sprintf( $stats['TOTAL'] )"}</if>
<if test="$this->settings['show_active']"><p class='statistics_brief desc'>
{parse expression="sprintf( $this->lang->words['active_users_detail'], $stats['MEMBERS'], $stats['GUESTS'], $stats['ANON'] )"}
<if test="onlineListEnabled:|:$this->settings['allow_online_list']"></if>
</p></if></p>

</div>
</div>
<!-- Members online END -->
Credit to theezy
-
-
-
-
-

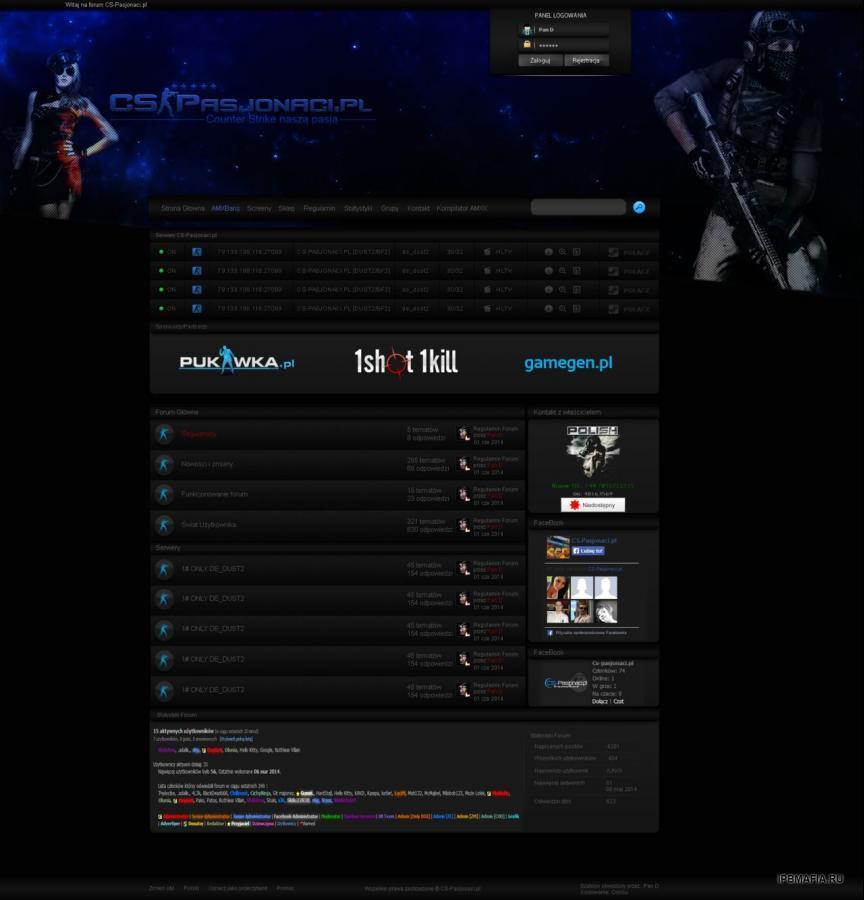
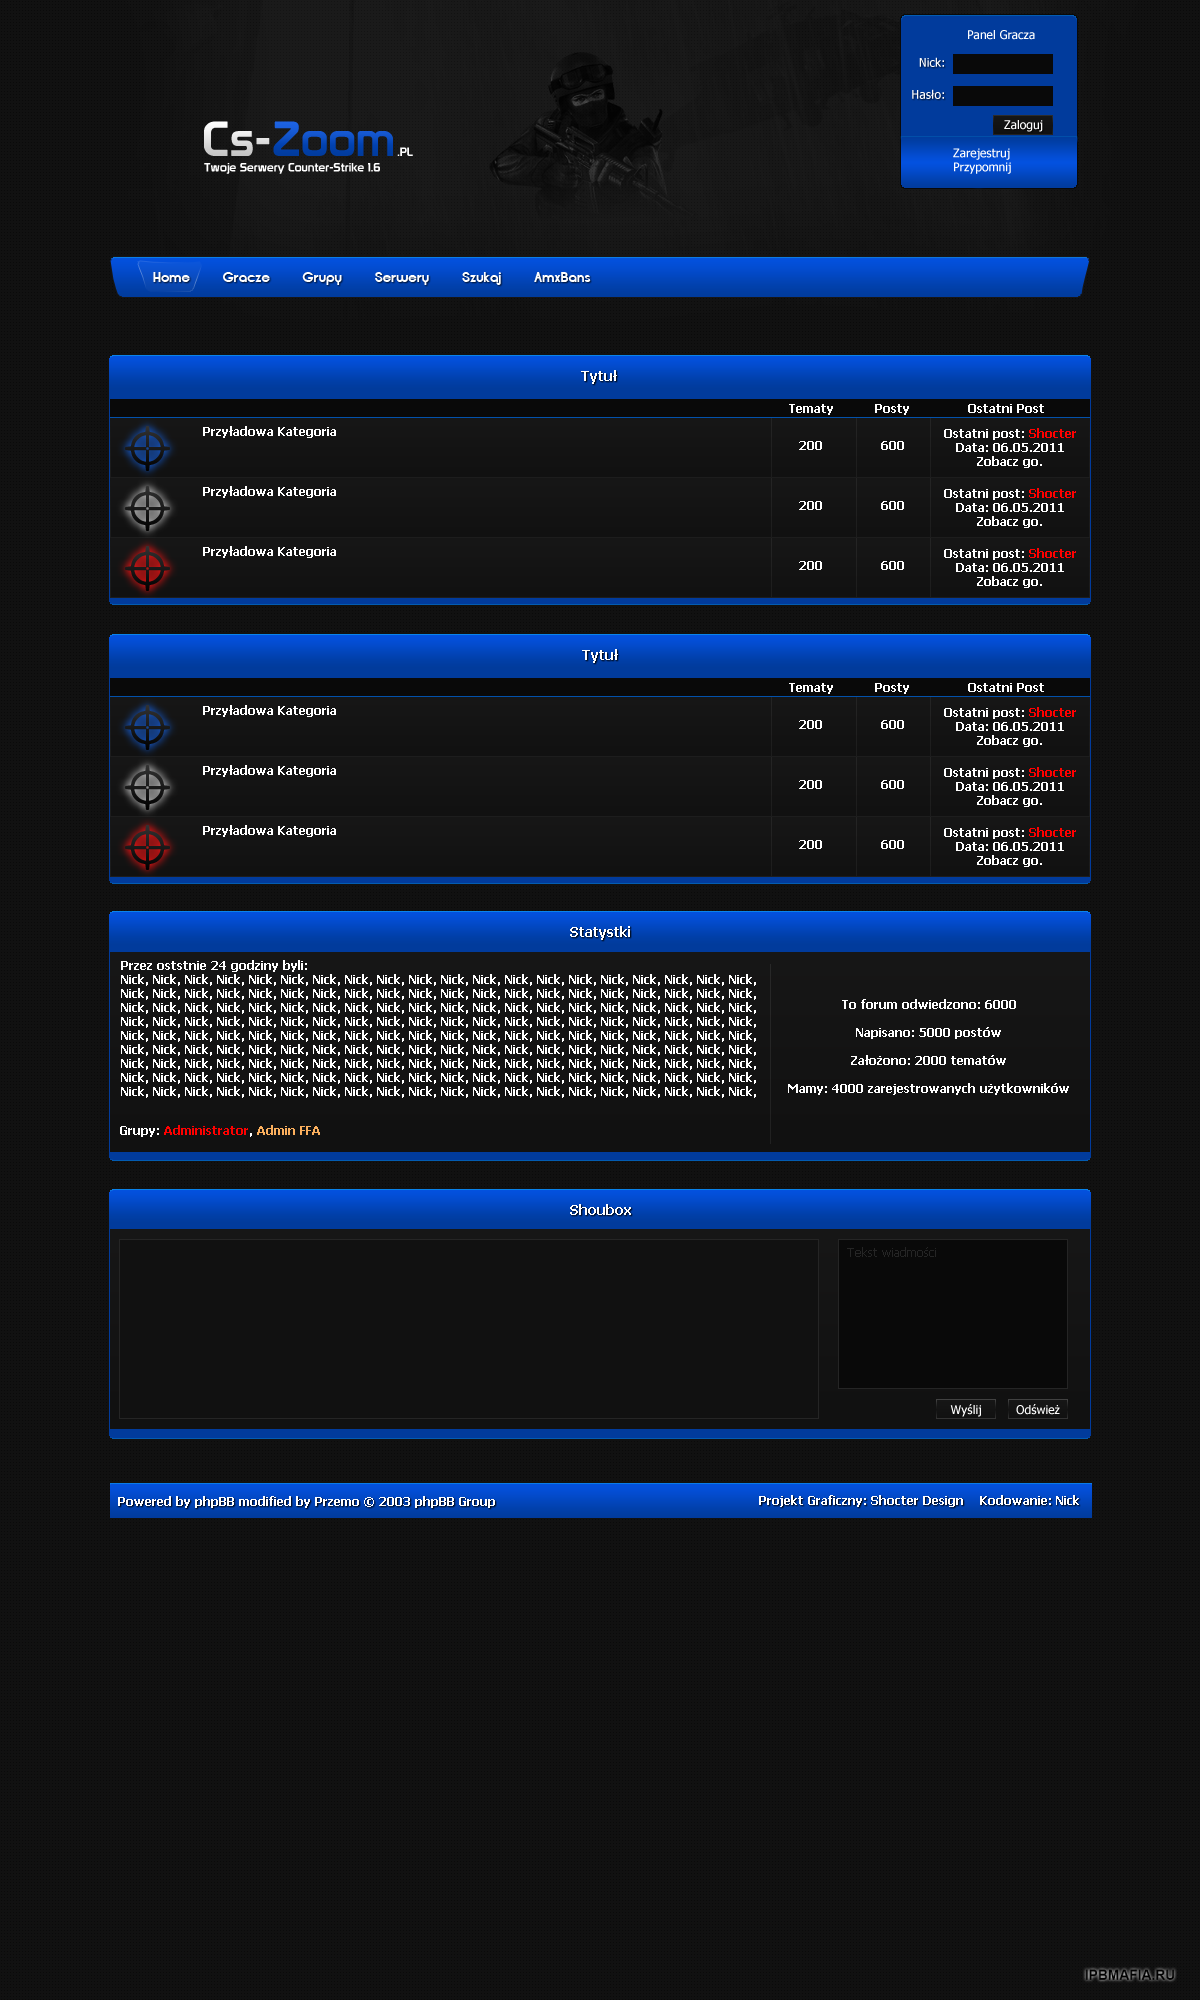
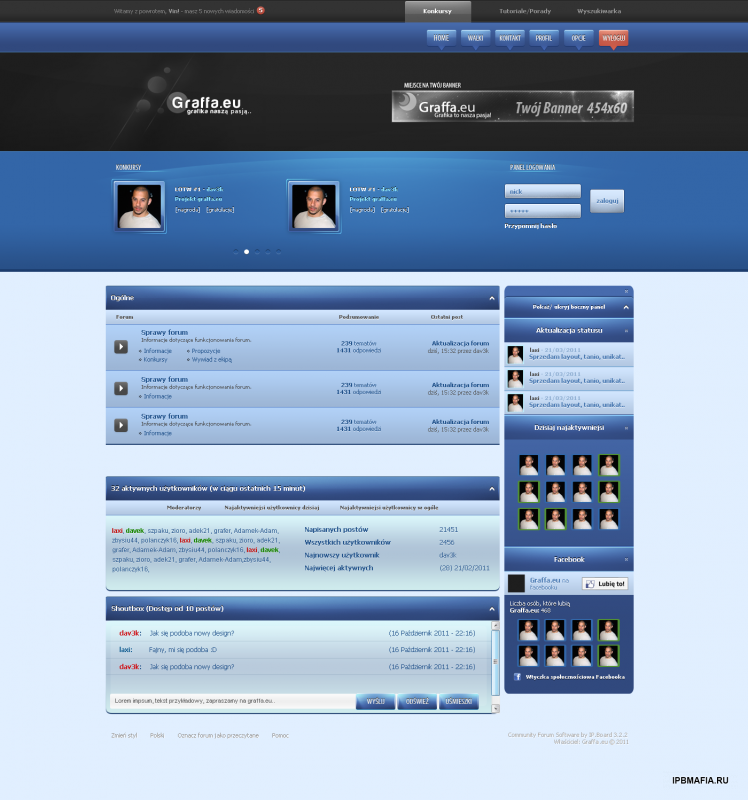
Привет. Делюсь готовым макетом проекта форума Graff. Проект создан для phpBB2 скриптом Przemo, но его можно закодировать для другого, например MyBB.
Авторы проекта dav3k и laxi. В пакет входит PSD-файл для редактирования в Photoshop.
Hi. I am sharing a ready-made layout of the Graff forum project. The project was created for the phpBB2 by Przemo script, but it can be coded for another, e.g. MyBB.
The authors of the project are dav3k and laxi. The package includes a PSD file for editing in Photoshop.
Credit to CzareK
-
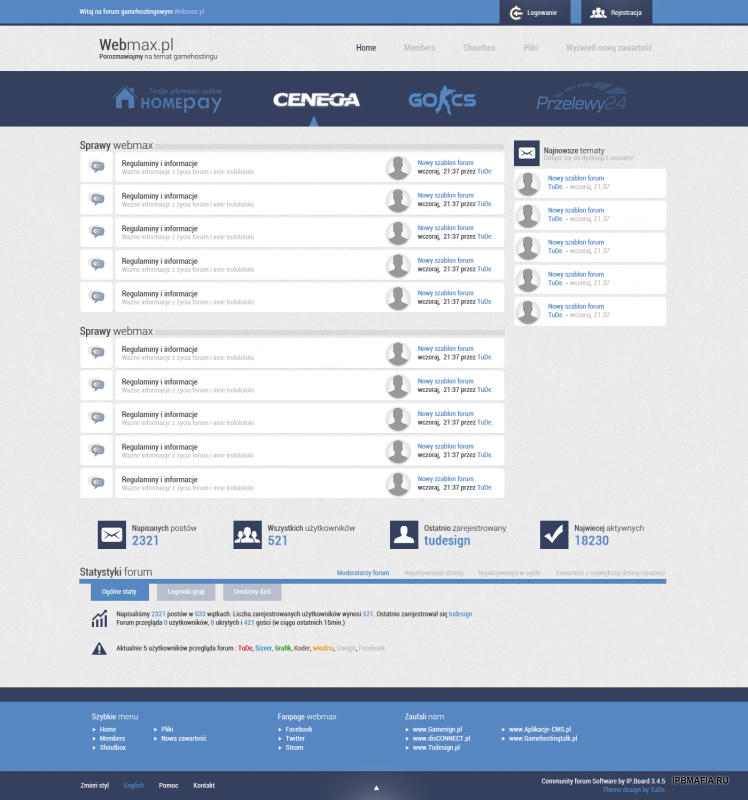

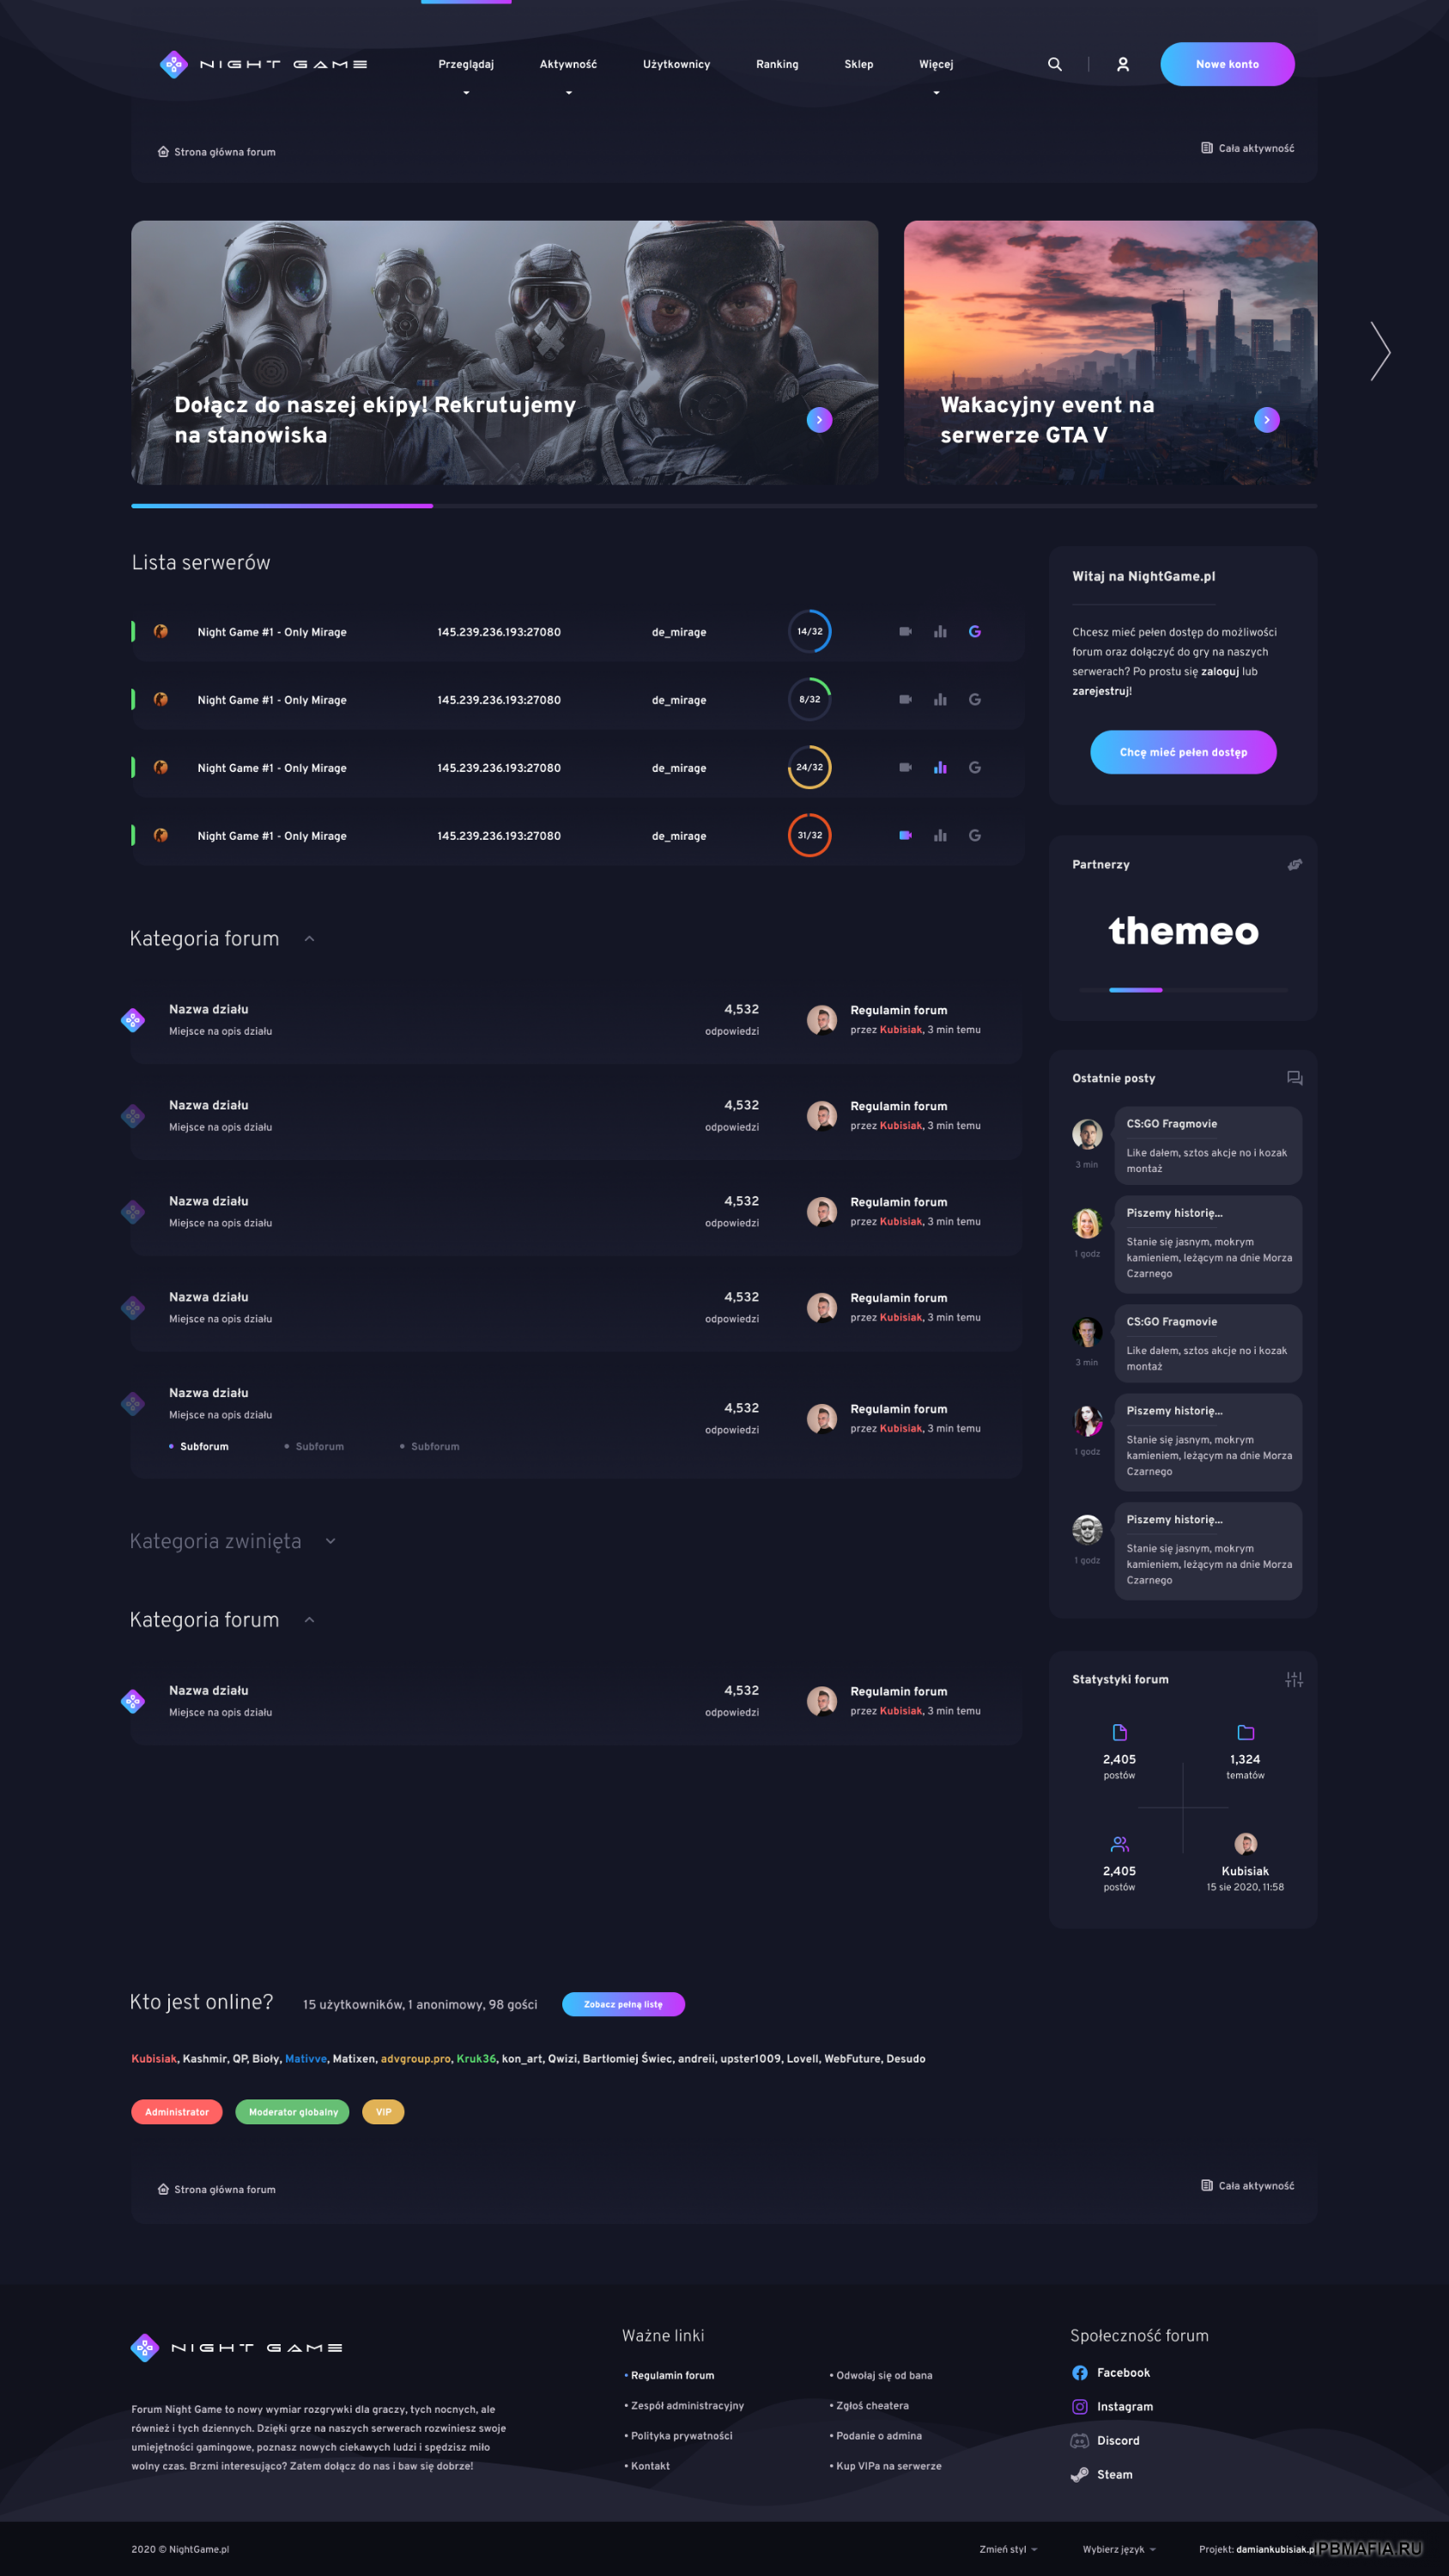


Layout CS-Jump pl (PSD)
in Web-дизайн
Posted
https://drive.google.com/file/d/113xny47R36fgc04kNs6IUpo_t_E8LSbd/view?usp=sharing
Credit to spokoadk