
MrHaim
-
Регистрация
-
В сети
Posts posted by MrHaim
-
-
Привет. В сегодняшнем гайде я напишу, как добавить группы в CSS, вместо графических (изображенных) групп. Руководство предназначено для версии сценария Invision Community 4.1.
.png.b41d592207f60d839ae3f2ceb3229e00.png)
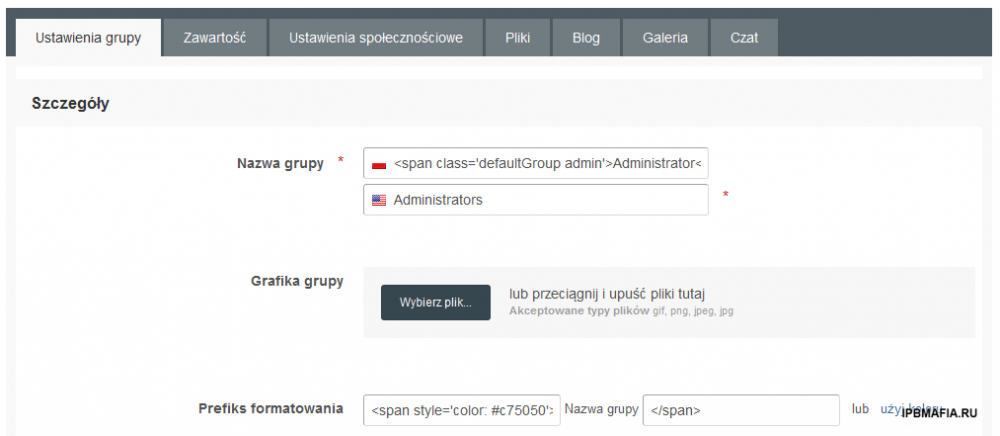
Перейдите в ACP --> Пользователи --> Группы --> Выберите любую группу (например, Администратор) и нажмите Изменить --> Настройки группы.
В «Название группы» добавить:
<span class='defaultGroup admin'>Administrator</span>
Щелкните Сохранить.
ACP --> Внешний вид --> Стили и шаблоны --> Редактировать HTML и CSS --> вкладка CSS --> пользовательский --> custom.css
Вставьте код ниже
/* Grupy */
.defaultGroup {
  	border-radius: 2px;
    color: #fff;
    display: inline-block;
    font-weight: 500;
    letter-spacing: 0;
    padding: 0 15px;
    text-shadow: none;
    vertical-align: middle;
    font-size: 12px;
    height: 30px;
    line-height: 30px;
  	box-shadow: 0 -3px 0 rgba(0, 0, 0, 0.15) inset;
}
.admin {
 	background-color: #c75050;
}
.admin:before {
 	 content: "\f005";
  	 font-family: 'FontAwesome';
  	 margin-right: 3px;
}
Нажмите Сохранить.
Если вам не нужна звездочка перед именем группы, удалите класс .admin:before из кода .CSS (в custom.css).
Я не знаю, как сейчас выглядит ваш код, но если вы хотите, чтобы группа появлялась только в сообщении, в частности, в разделе пользовательской панели, вы должны предварить свой код классом .cAuthorPane.
Пример:
/* Grupy */
.cAuthorPane .defaultGroup {....}
.cAuthorPane .admin {....}
.cAuthorPane .admin:before {.....}
English
Hi. In today's guide, I will write how to add groups in CSS, instead of graphic (picture) groups. The guide is for the Invision Community 4.1 script version.
Go to ACP --> Users --> Groups --> Select any group (e.g. Administrator) and click Edit --> Group settings
In "Group name" add:
<span class='defaultGroup admin'>Administrator</span>
Click Save.
ACP --> Appearance --> Styles and Templates --> Edit HTML and CSS --> CSS tab --> custom --> custom.css
Paste the code below
/* Grupy */
.defaultGroup {
  	border-radius: 2px;
    color: #fff;
    display: inline-block;
    font-weight: 500;
    letter-spacing: 0;
    padding: 0 15px;
    text-shadow: none;
    vertical-align: middle;
    font-size: 12px;
    height: 30px;
    line-height: 30px;
  	box-shadow: 0 -3px 0 rgba(0, 0, 0, 0.15) inset;
}
.admin {
 	background-color: #c75050;
}
.admin:before {
 	 content: "\f005";
  	 font-family: 'FontAwesome';
  	 margin-right: 3px;
}
Click Save.
If you do not want an asterisk in front of the group name, remove the .admin:before class from the .CSS code (in custom.css).
if you want the group to appear only in the topic, precede the code with the class responsible for the user panel section, i.e. .cAuthorPane.
Example:
/* Grupy */
.cAuthorPane .defaultGroup {....}
.cAuthorPane .admin {....}
.cAuthorPane .admin:before {.....}
Credit to CzareK
-
-
-
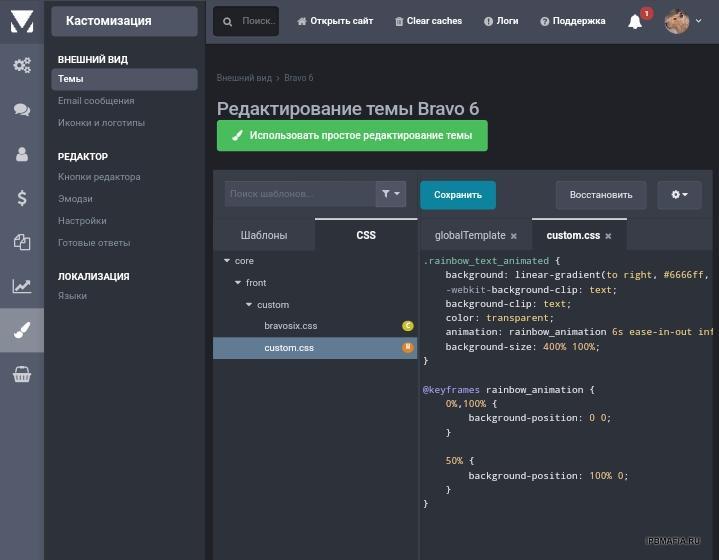
Если вы хотите получить только анимированный эффект радуги, выполните следующие действия.
Перейдите в ACP > Внешний вид > Темы > Ваша тема > Редактировать HTML и CSS > вкладка CSS > Пользовательский > custom.css.
Вставьте следующий код в шаблон «custom.css».
.rainbow_text_animated {
    background: linear-gradient(to right, #6666ff, #0099ff , #00ff00, #ff3399, #6666ff);
    -webkit-background-clip: text;
    background-clip: text;
    color: transparent;
    animation: rainbow_animation 6s ease-in-out infinite;
    background-size: 400% 100%;
}

@keyframes rainbow_animation {
    0%,100% {
        background-position: 0 0;
    }

    50% {
        background-position: 100% 0;
    }
}
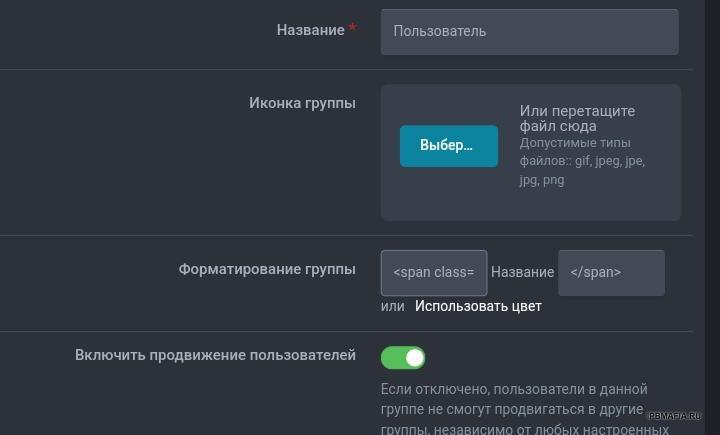
Сохраните шаблон и перейдите в Пользователи > Группы > Изменить группу.
В поле «Формат префикса» вставьте
<span class="rainbow_text_animated">
а во втором поле рядом с ним конечный тег, т.е.:
</span>

Если вы хотите получить градиентный текст с эффектом радуги и анимированную иконку (Font Awesome) перед именем пользователя, добавьте следующий код в custom.css под кодом для радуги, чтобы анимировать иконку короны:
.magic {
    animation: magic 3s infinite;
}
@keyframes magic {
    0% {
        transform: scale(1);
    }
    10% {
        transform: scale(0.9) rotate(-6deg);
    }
    30%,
    50%,
    70% {
        transform: scale(1.15) rotate(6deg);
    }
    40%,
    60% {
        transform: scale(1.15) rotate(-6deg);
    }
    80%,
    100% {
        transform: scale(1) rotate(0);
    }
}
Сохраните шаблон и перейдите в Пользователи > Группы > Изменить группу.
В поле «Префикс формата» замените код следующим:
<span class="rainbow_text_animated"><i style="color:red;" class="fas fa-crown faa-tada animated magic" aria-hidden="true"></i>
Код будет работать в шаблоне, использующем версию 5 Font Awesome, которая принадлежит вам.
По умолчанию в шаблоне IPS по-прежнему реализована версия 4.7, которая не имеет в своей коллекции значка короны. Если кто-то использует шаблон с версией 4.7, он должен изменить иконку и класс на другой:
<span class="rainbow_text_animated"><i class="fa fa-shield magic" style="color:red;" aria-hidden="true"></i>
Как видите, я изменил значок на «щит», потому что в FA 4.7 он кажется наиболее подходящим для группы «Владелец» или «Администратор».
Окончательный результат:

Вы также можете добавить к иконке/тексту эффект свечения (текст-тень) или мигающие сверкающие звезды... возможностей масса 😉
English
If you only want an animated rainbow effect, follow these steps.
Go to ACP > Appearance > Themes > Your Theme > Edit HTML & CSS > CSS tab > Custom > custom.css.
Paste the following code into the "custom.css" template.
.rainbow_text_animated {
    background: linear-gradient(to right, #6666ff, #0099ff , #00ff00, #ff3399, #6666ff);
    -webkit-background-clip: text;
    background-clip: text;
    color: transparent;
    animation: rainbow_animation 6s ease-in-out infinite;
    background-size: 400% 100%;
}

@keyframes rainbow_animation {
    0%,100% {
        background-position: 0 0;
    }

    50% {
        background-position: 100% 0;
    }
}
Save the template and go to Users > Groups > Edit group.
In the "Format prefix" field, paste
<span class="rainbow_text_animated">
and in the second field next to it, the ending tag, i.e.:
</span>
If you want to get a gradient text with a rainbow effect and an animated icon (Font Awesome) in front of the username, add the following code to the custom.css under the code for the rainbow to animate the crown icon:
.magic {
    animation: magic 3s infinite;
}
@keyframes magic {
    0% {
        transform: scale(1);
    }
    10% {
        transform: scale(0.9) rotate(-6deg);
    }
    30%,
    50%,
    70% {
        transform: scale(1.15) rotate(6deg);
    }
    40%,
    60% {
        transform: scale(1.15) rotate(-6deg);
    }
    80%,
    100% {
        transform: scale(1) rotate(0);
    }
}
Save the template and go to Users > Groups > Edit group.
In the "Format prefix" field, replace the code with the following:
<span class="rainbow_text_animated"><i style="color:red;" class="fas fa-crown faa-tada animated magic" aria-hidden="true"></i>
The code will work in a template that uses Font Awesome version 5, which is yours.
By default, version 4.7 is still implemented in the IPS template, which does not have a crown icon in its collection. If someone uses the template with version 4.7, he must change the icon and class to another:
<span class="rainbow_text_animated"><i class="fa fa-shield magic" style="color:red;" aria-hidden="true"></i>
As you can see I changed the icon to "shield", because in FA 4.7 it seems to be the most suitable icon for the group "Owner" or "Administrator".
The final result:
You can also add a glow effect (text-shadow) or blinking sparkling stars to the icon/text... there are plenty of possibilities 😉
Credit to SeNioR
-
Если вы хотите получить только анимированный эффект радуги, выполните следующие действия.
Перейдите в ACP > Внешний вид > Темы > Ваша тема > Редактировать HTML и CSS > вкладка CSS > Пользовательский > custom.css.
Вставьте следующий код в шаблон «custom.css».
.rainbow_text_animated {
    background: linear-gradient(to right, #6666ff, #0099ff , #00ff00, #ff3399, #6666ff);
    -webkit-background-clip: text;
    background-clip: text;
    color: transparent;
    animation: rainbow_animation 6s ease-in-out infinite;
    background-size: 400% 100%;
}

@keyframes rainbow_animation {
    0%,100% {
        background-position: 0 0;
    }

    50% {
        background-position: 100% 0;
    }
}
Сохраните шаблон и перейдите в Пользователи > Группы > Изменить группу.
В поле «Формат префикса» вставьте
<span class="rainbow_text_animated">
а во втором поле рядом с ним конечный тег, т.е.:
</span>
 </span>
Credit to SeNioRЕсть еще много стилей, о которых я открою тему позже.
-
Inquiry from a private message "SeNioR how to format the username in the subject so that the nick is colored as on the phone".
Go to ACP > Appearance > Themes > Your theme > Edit HTML/CSS > open postContainer template
Find:
<h3 class='ipsType_sectionHead cAuthorPane_author ipsType_blendLinks ipsType_break'><strong>{template="userLink" group="global" app="core" params="$comment->author(), $comment->warningRef(), FALSE, $comment->isAnonymous()"}</strong>
Change to:
<h3 class='ipsType_sectionHead cAuthorPane_author ipsType_blendLinks ipsType_break'><strong>{template="userLink" group="global" app="core" params="$comment->author(), $comment->warningRef(), NULL, $comment->isAnonymous()"}</strong>
Russian:
Запрос из личного сообщения "SeNioR как отформатировать логин в теме, чтобы ник был окрашен как на телефоне".
Перейдите в ACP > Внешний вид > Темы > Ваша тема > Редактировать HTML/CSS > открыть шаблон postContainer.
Находить:
<h3 class='ipsType_sectionHead cAuthorPane_author ipsType_blendLinks ipsType_break'><strong>{template="userLink" group="global" app="core" params="$comment->author(), $comment->warningRef(), FALSE, $comment->isAnonymous()"}</strong>
Изменить на:
<h3 class='ipsType_sectionHead cAuthorPane_author ipsType_blendLinks ipsType_break'><strong>{template="userLink" group="global" app="core" params="$comment->author(), $comment->warningRef(), NULL, $comment->isAnonymous()"}</strong>
Credit to SeNioR
-
Версия 5 выйдет совсем скоро, судя по всему, она прогрессирует семимильными шагами. Как вы думаете, что изменится в системе? На мой взгляд, должны быть огромные изменения.
Version 5 will be released very soon, by the looks of it, it is progressing by leaps and bounds. What do you think will change in the system? There must be huge changes in my opinion.
-
-
-
9 минут назад, ryancoolround сказал:
/* Рамки уведомлений */

[data-lkNotify*="new_likes"] {
	border: 2px #ce00ff solid;
}
[data-lkNotify*="new_comment"] {
	border: 2px #00aaff solid;
}
[data-lkNotify*="new_private_message"] {
	border: 2px #267638 solid;
}
[data-lkNotify*="trophies"] {
	border: 2px #22eaa9 solid;
}
[data-lkNotify*="profile_comment"] {
	border: 2px #3d0bd6 solid;
}
[data-lkNotify*="new_status"] {
	border: 2px #1e18d8 solid;
}
[data-lkNotify*="mention"] {
	border: 2px #00aaff solid;
}
[data-lkNotify*="new_note"] {
	border: 2px #6f9c41 solid;
}
[data-lkNotify*="profile_reply"] {
	border: 2px #73d13b solid;
}
[data-lkNotify*="quote"] {
	border: 2px #00aaff solid;
}
[data-lkNotify*="warn"] {
	border: 2px #ff0000  solid;
}
[data-lkNotify*="approved_content"] {
	border: 2px #9bbb67 solid;
}
[data-lkNotify*="my_solution"] {
	border: 2px #ffbf00 solid;
}
[data-lkNotify*="event_reminder"] {
	border: 2px #2a00ff solid;
}
[data-lkNotify*="new_badge"] {
	border: 2px #2c8c69 solid;
}
[data-lkNotify*="new_content"] {
	border: 2px #046d07 solid;
}
[data-lkNotify*="mine_solved"] {
	border: 2px #6bdf82 solid;
}
[data-lkNotify*="new_rank"] {
	border: 2px #2145a5 solid;
}

/* Конец рамок уведомлений */
Ух ты! Мне понравилось и я взял. Спасибо вам большое за обмен. Удивительный
-
-
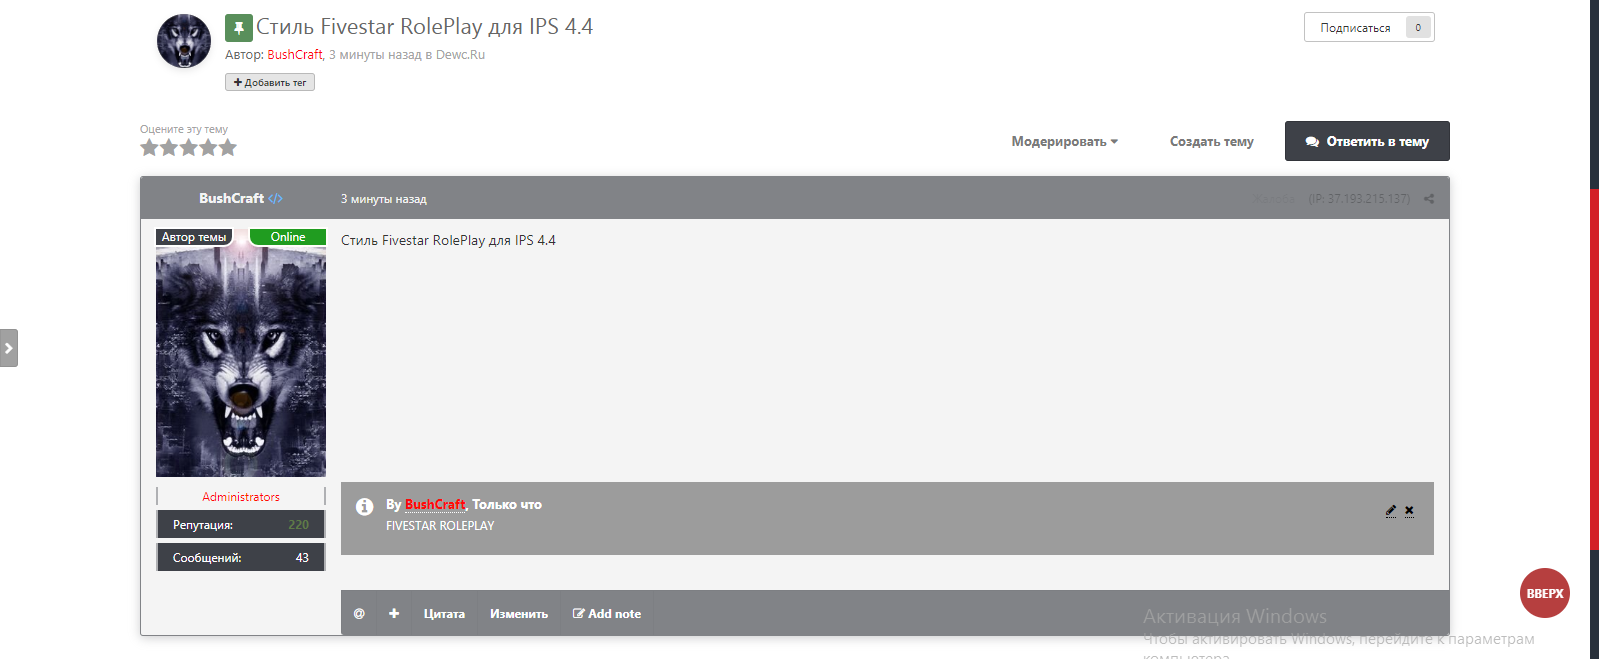
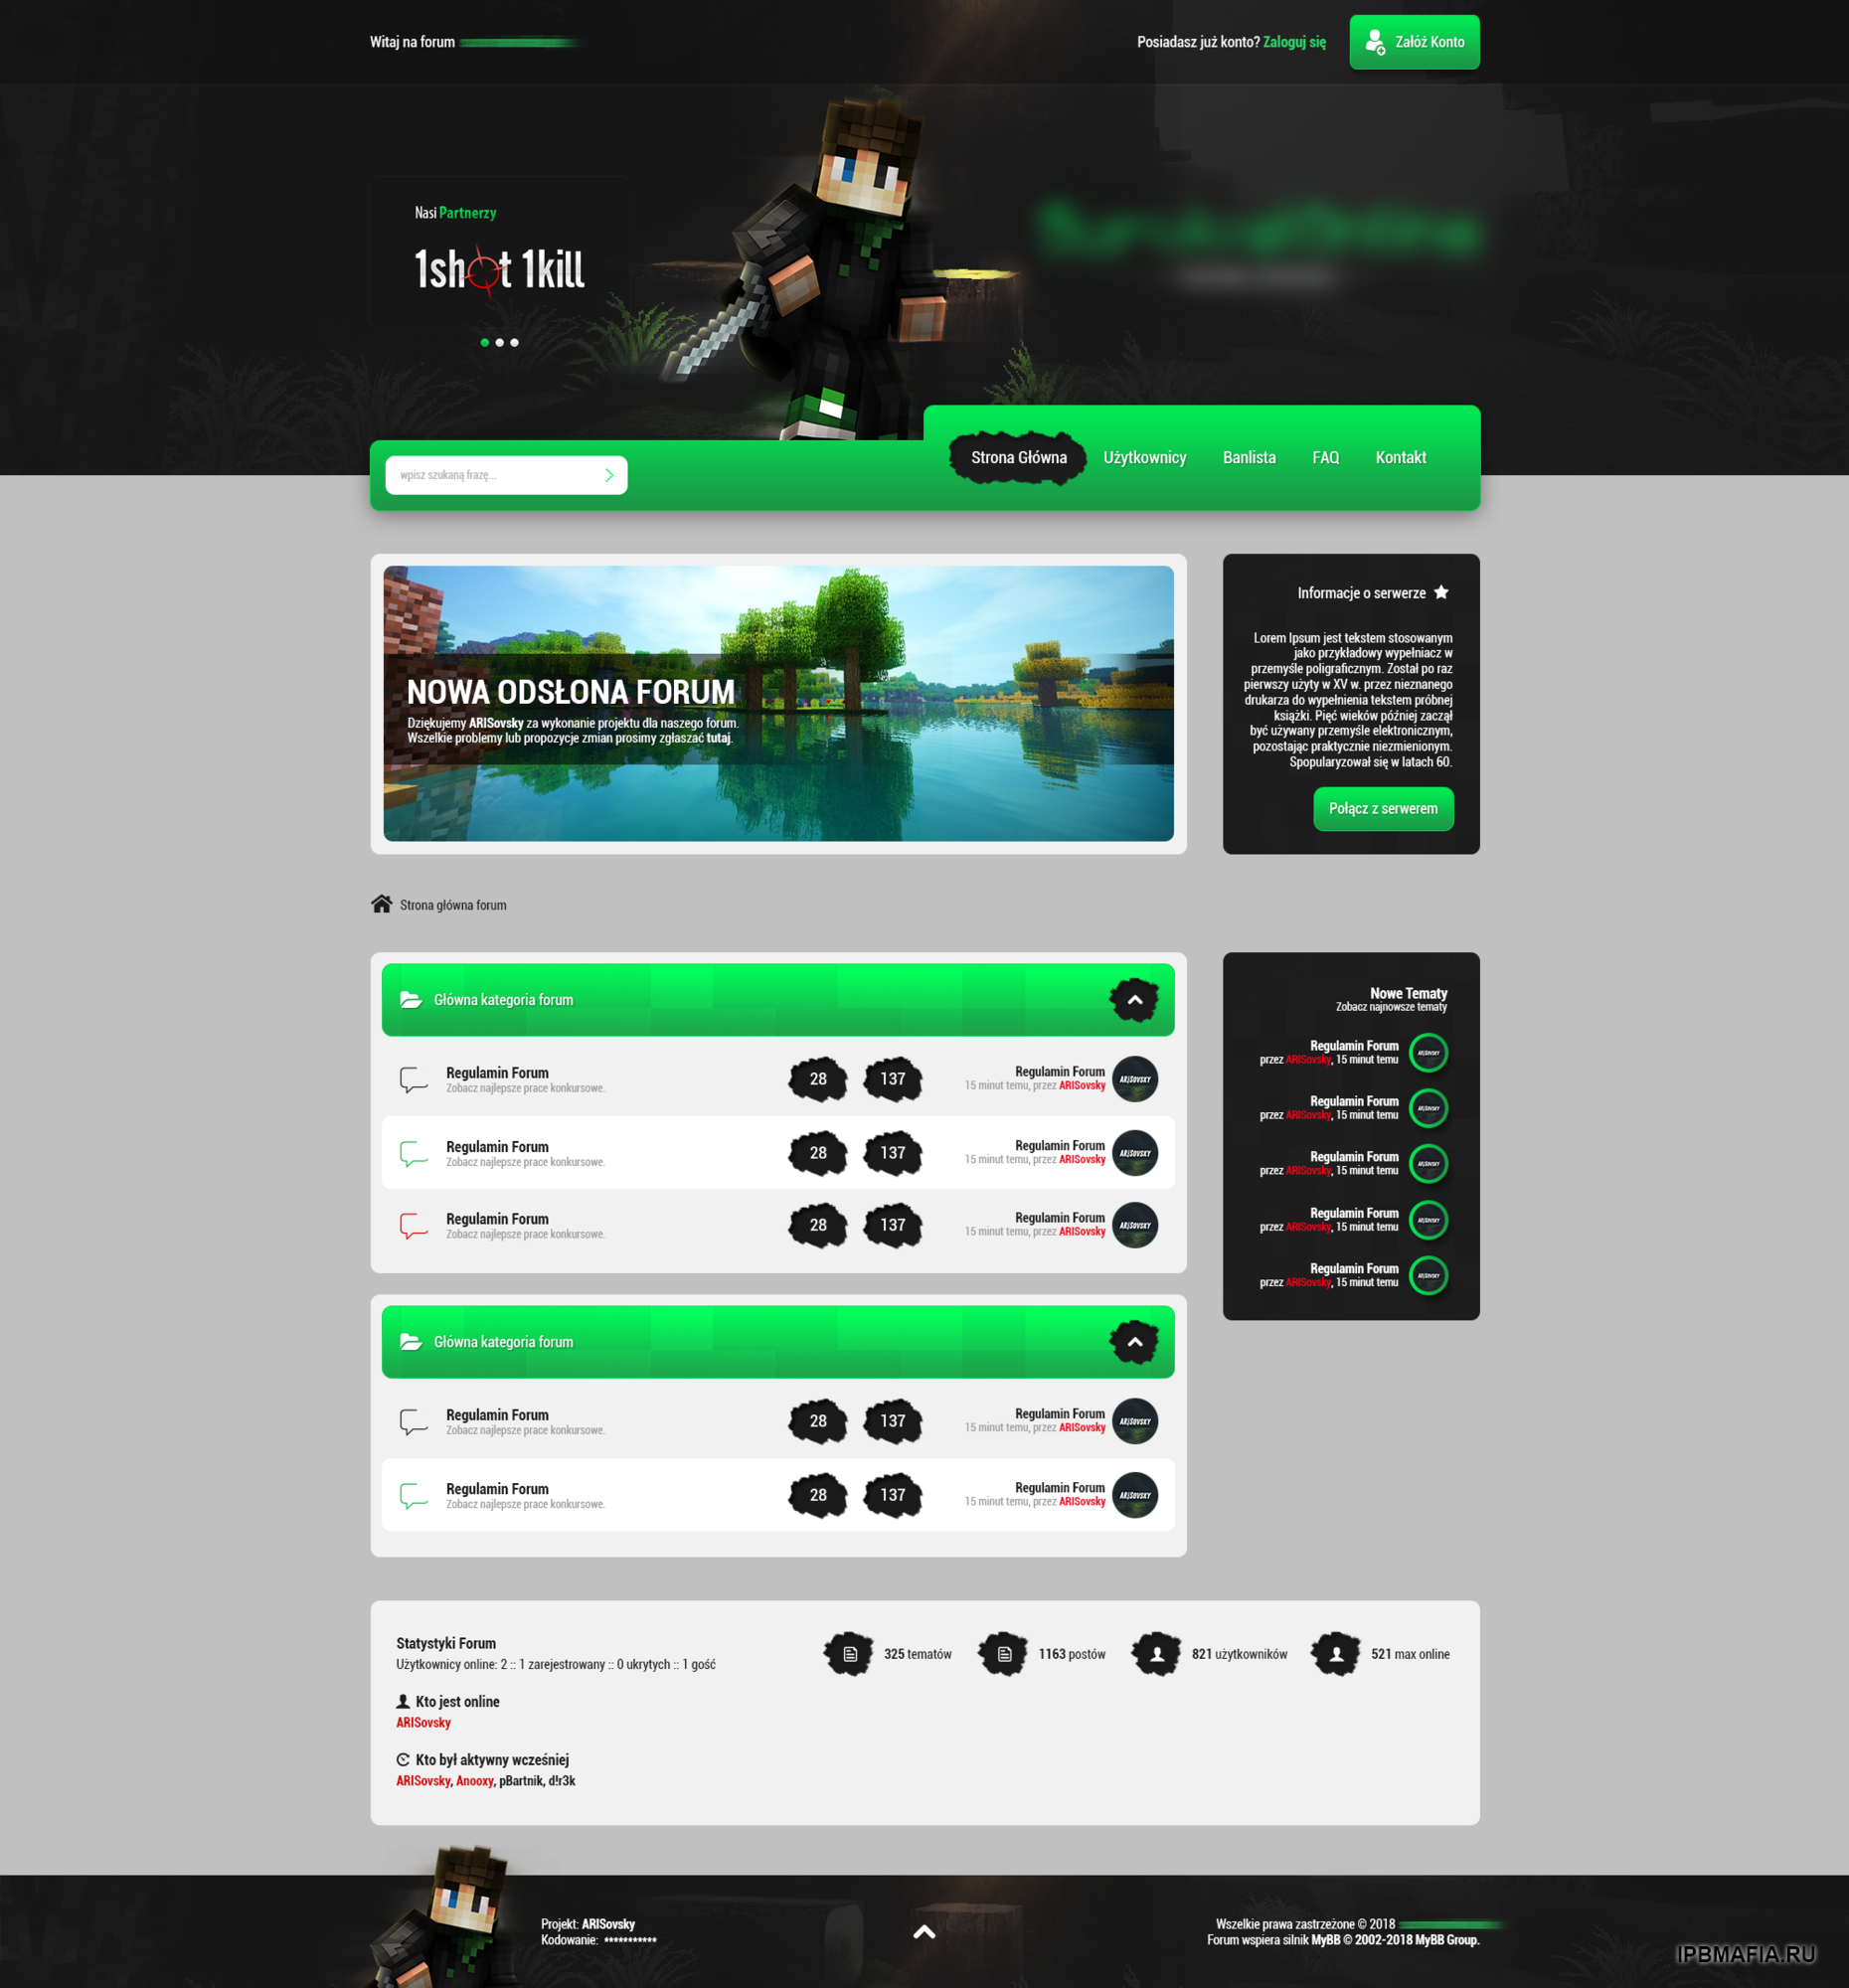
FiveStar RolePlay Theme
Credit to ANDROS
-
Добавил
-
Добавлено04/13/23
-
Категория
-
ЯзыкRUS
-
-
-
The first step will be to add the following code to 2 notification templates:
data-lkNotify='{$notification['notification']->notification_key}'
we can find them in:
Styles -> Edit HTML/CSS -> Templates -> core -> front -> system -> notificationsAjax and notificationsRows
notificationsAjax - popup with notifications
We add the above code snippet in place as in the screenshot below.

notificationsRows - subpage with notifications
We add the same code snippet in place as in the screenshot below.

It remains to add the CSS code to the template. For this we go to:
Styles -> Edit HTML/CSS -> CSS -> core -> front -> custom -> custom.css
Add colors according to the scheme below:
[data-lkNotify*="new_likes"] {
	background-image: linear-gradient(to right, green, transparent)!important;
}
[data-lkNotify*="warn"] {
	background-image: linear-gradient(to right, red, transparent)!important;
}
Usage examples:
- new_likes
- new_comments
- new_private_message
- trophies
- profile_comment
- new_status
- mention
- new_note
- profile_reply
- quote
Russian
Первым шагом будет добавление следующего кода в 2 шаблона уведомлений:
data-lkNotify='{$notification['notification']->notification_key}'
мы можем найти их в:
Стили -> Редактировать HTML/CSS -> Шаблоны -> ядро -> лицевая часть -> система -> уведомления Ajax и уведомления Rows
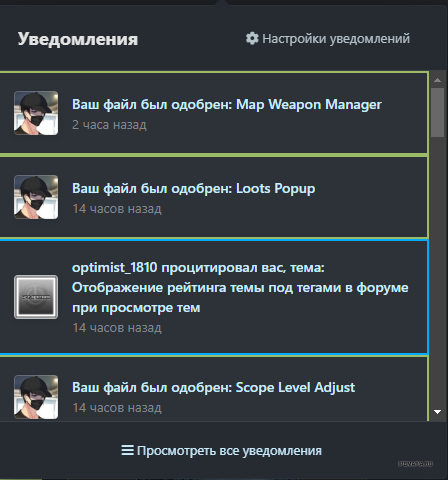
уведомления Ajax - всплывающее окно с уведомлениями
Мы добавляем приведенный выше фрагмент кода на место, как на скриншоте ниже.
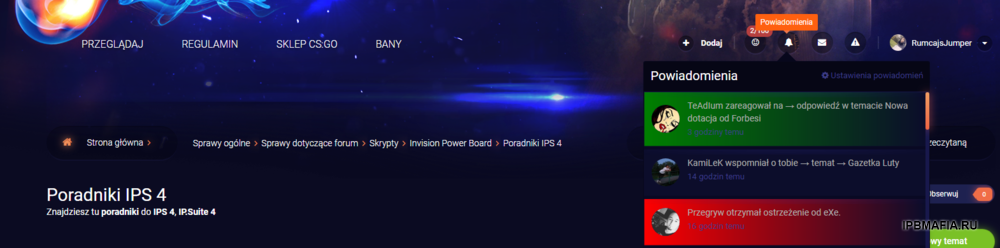
уведомления Rows - подстраница с уведомлениями
Добавляем тот же фрагмент кода, что и на скриншоте ниже.
Осталось добавить код CSS в шаблон. Для этого идем в:
Стили -> Редактировать HTML/CSS -> CSS -> core -> front -> custom -> custom.css
Добавьте цвета по схеме ниже:
[data-lkNotify*="new_likes"] {
	background-image: linear-gradient(to right, green, transparent)!important;
}
[data-lkNotify*="warn"] {
	background-image: linear-gradient(to right, red, transparent)!important;
}
Примеры использования:
- новые_лайки
- новые_комментарии
- новое_частное_сообщение
- трофеи
- profile_comment
- новый_статус
- упомянуть
- новая_заметка
- profile_reply
- цитировать
Credit to RumcajsJumper
-
[Wolf] Topic Ratings
this tiny plugin will add star ratings to topic rows!
Note:
you should enable topic star ratings and give access for users
этот крошечный плагин добавит звездочки в строки темы!
Примечание:
вы должны включить звездные рейтинги тем и предоставить доступ для пользователей
-
Добавил
-
Добавлено04/13/23
-
Категория
-
ЯзыкENGLISH
-
-
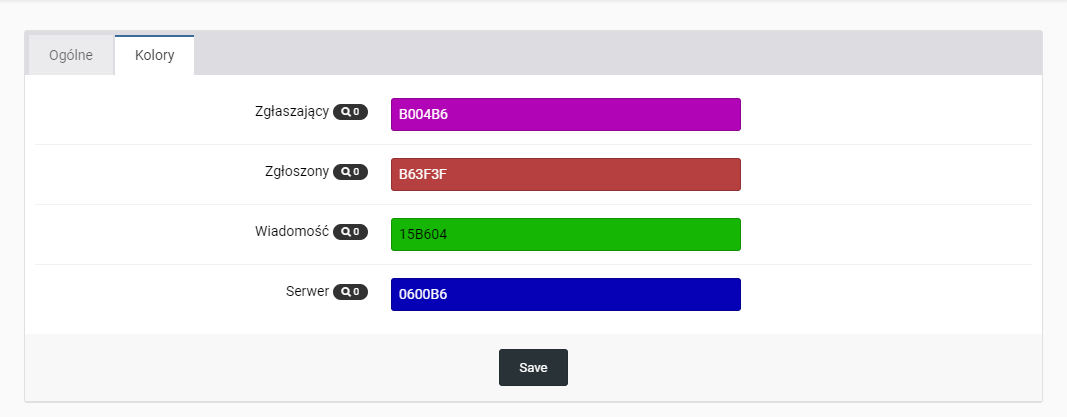
(WK) Report system
The plugin displays player reports from CS: GO and CS 1.6 servers. The plugin connects to a separate database, it is also safe for a potential admin who respects user data on his forum. The package includes full modification configuration instructions.
Плагин отображает отчеты игроков с серверов CS:GO и CS 1.6. Плагин подключается к отдельной базе данных, поэтому он безопасен для потенциального админа, уважающего данные пользователей на своем форуме. В комплект поставки входит полное руководство по настройке модификации.
-
Добавил
-
Добавлено04/13/23
-
Категория
-
ЯзыкENGLISH
-
-
-
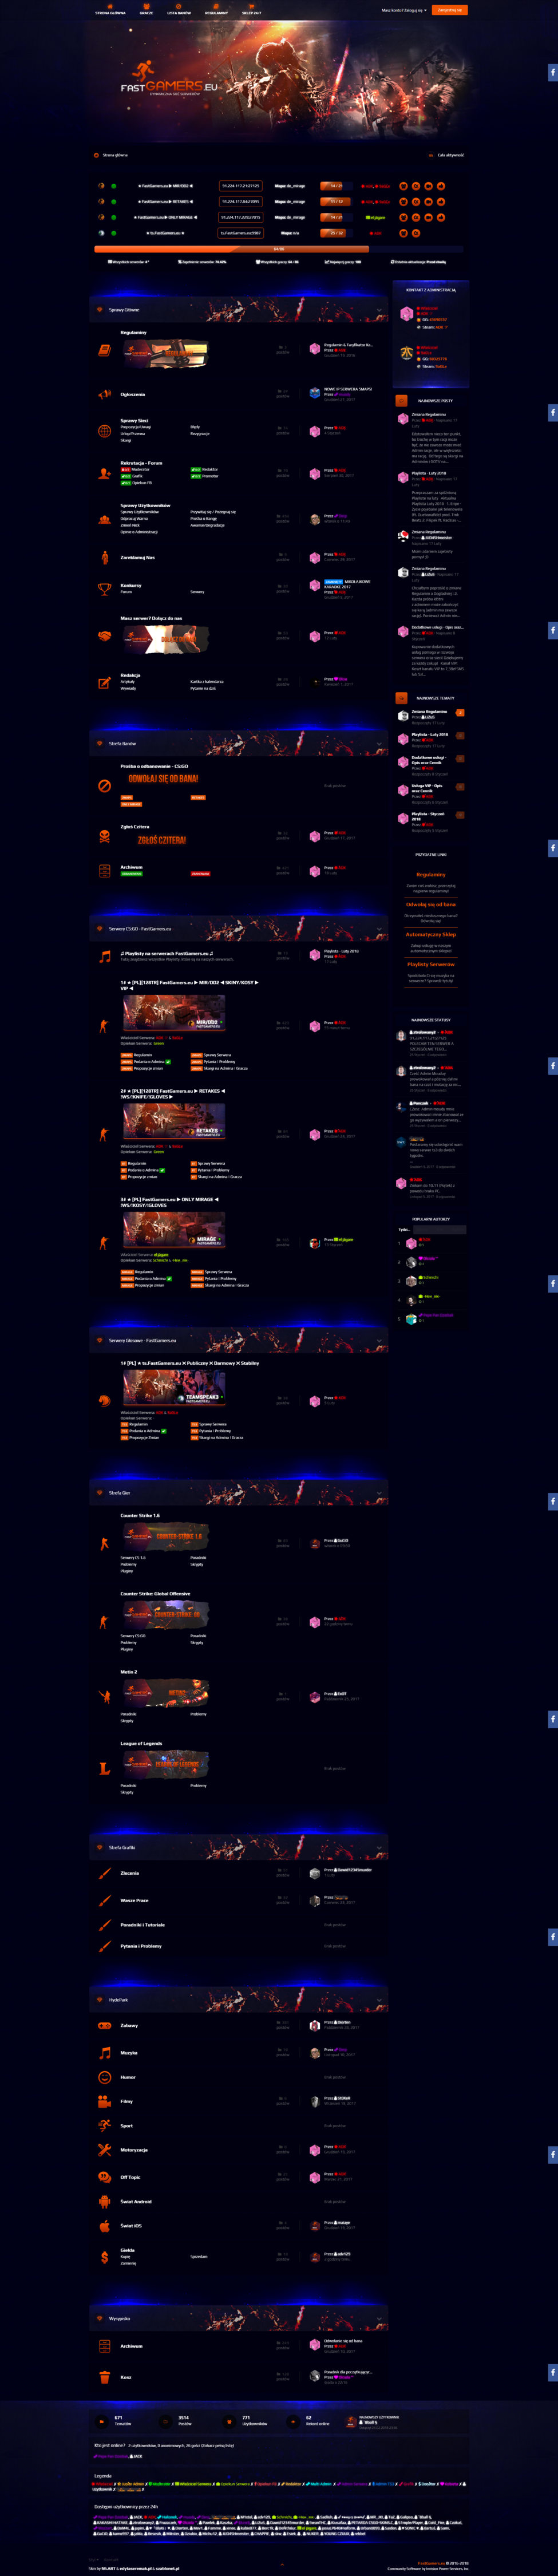
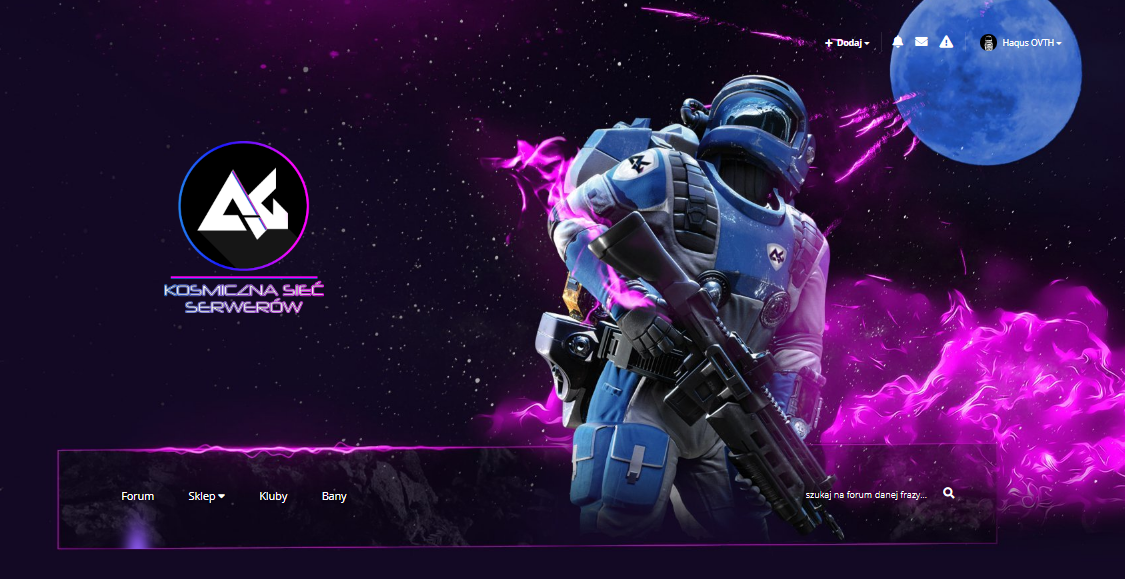
Astralgames.pl
Credit to Haqus
-
Добавил
-
Добавлено04/13/23
-
Категория
-
ЯзыкENGLISH
-
-
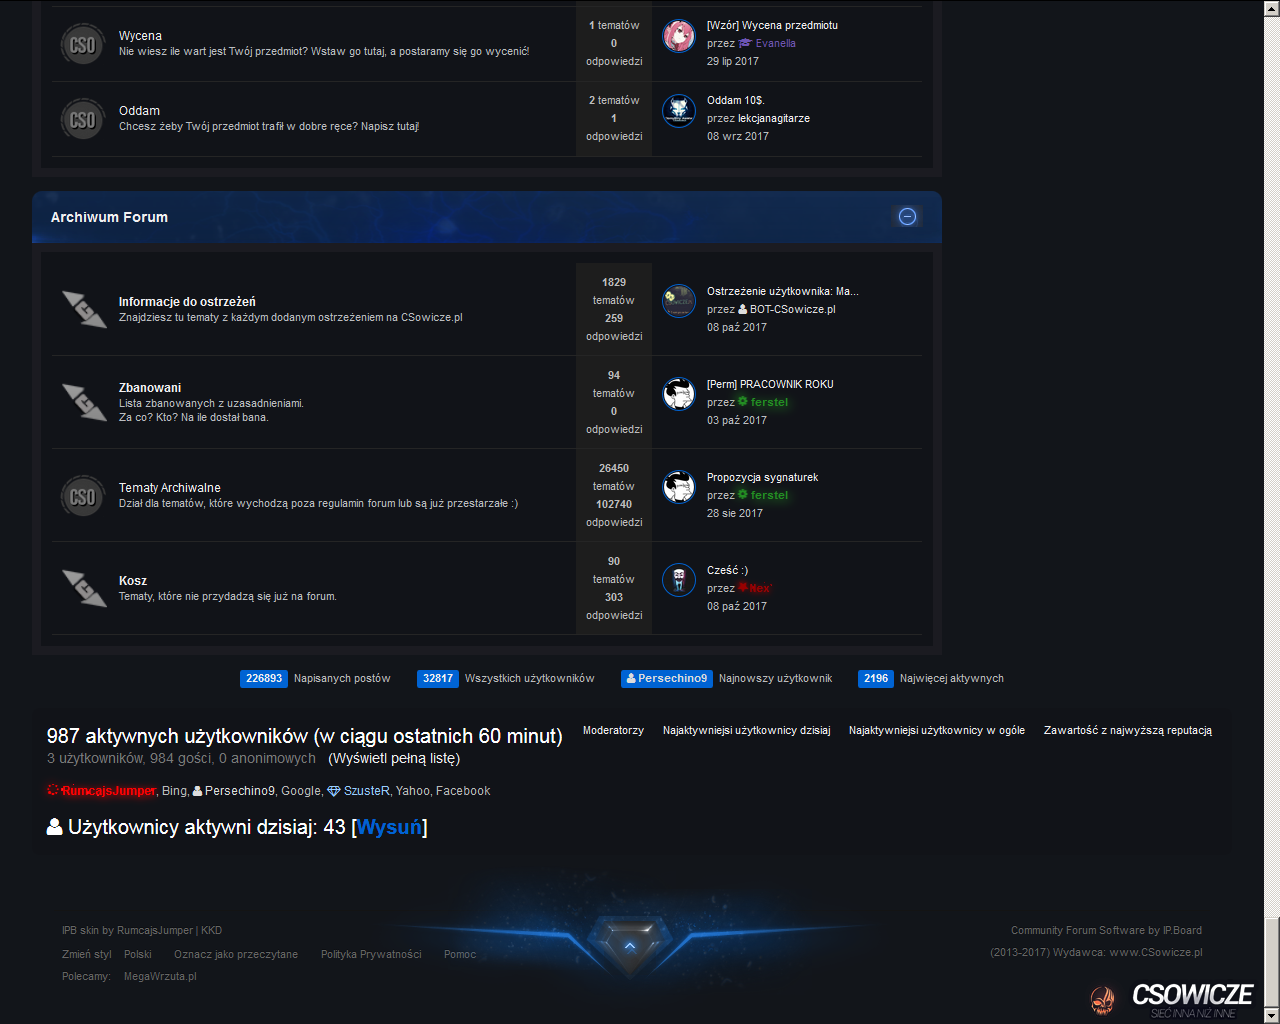
CSowicze.pl Theme
Credit to ANDROS
-
Добавил
-
Добавлено04/13/23
-
Категория
-
ЯзыкRUS
-
-
AFKZOne
Кредит кому-то по имени Аарон
-
Добавил
-
Добавлено04/10/23
-
Категория
-
ЯзыкENGLISH
-
-
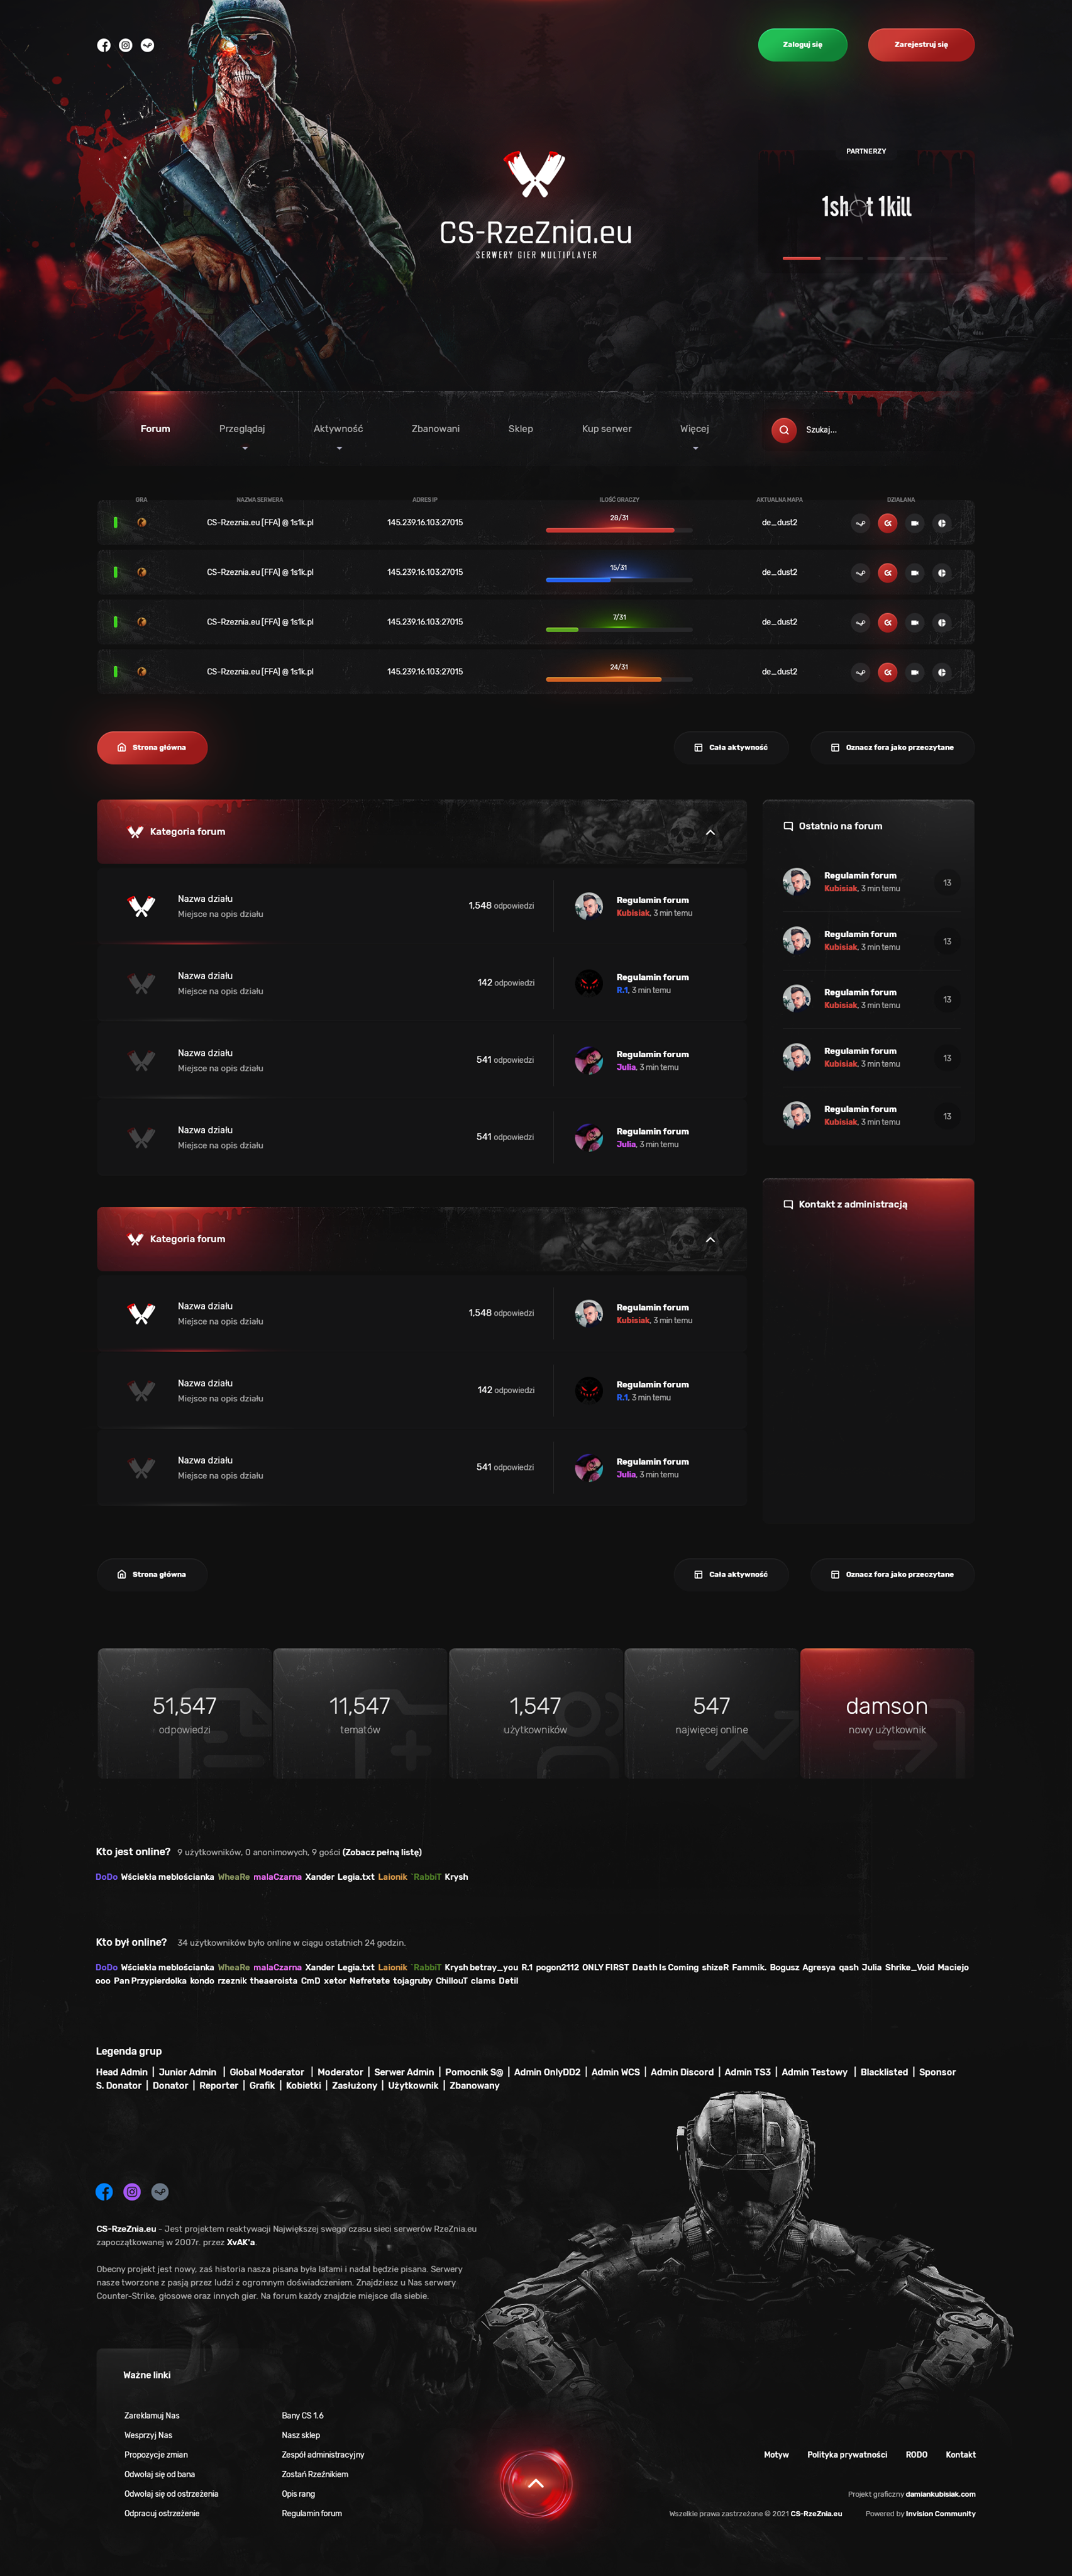
Blood Gaming (CS-RzeZnia) Dark Red Theme
Credit to PLSettipl
-
Добавил
-
Добавлено04/13/23
-
Категория
-
ЯзыкENGLISH
-
-
-
-
Hi. In this short tutorial, I will describe how to set the default font name and size (and optionally color) in CKEditor on IPS Community Suite.
To set the default font, log into ACP and go to the Appearance tab, then Themes.
Edit the HTML and CSS of your theme and paste the JS code below before the closing tag
<script>
	if(typeof CKEDITOR !='undefined'){
		CKEDITOR.addCss(".cke_editable{cursor:text; font-size: 20px; font-family: Georgia; color:#27ae60 !important}");
		CKEDITOR.config.font_defaultLabel='Georgia';
		CKEDITOR.config.fontSize_defaultLabel='20px';
	}
</script>
After applying the above code, the default font in CKEditor will be Georgia, with a size of 20 pixels, colored red.
To remove text coloring, remove the color:#27ae60 value from the above code.
Credit for the official discussion
Credit to SeNioR
RUSSIAN:
Привет. В этом кратком руководстве я опишу, как установить имя и размер шрифта по умолчанию (и, возможно, цвет) в CKEditor в IPS Community Suite.
Чтобы установить шрифт по умолчанию, войдите в ACP и перейдите на вкладку «Внешний вид», затем «Темы».
Отредактируйте HTML и CSS своей темы и вставьте приведенный ниже код JS перед закрывающим тегом.
<script>
	if(typeof CKEDITOR !='undefined'){
		CKEDITOR.addCss(".cke_editable{cursor:text; font-size: 20px; font-family: Georgia; color:#27ae60 !important}");
		CKEDITOR.config.font_defaultLabel='Georgia';
		CKEDITOR.config.fontSize_defaultLabel='20px';
	}
</script>
После применения приведенного выше кода шрифтом по умолчанию в CKEditor будет шрифт Georgia размером 20 пикселей красного цвета.
Чтобы убрать цвет текста, удалите значение color:#27ae60 из приведенного выше кода.
Кредит на официальное обсуждение
Кредит SeNioR


![[Wolf] Topic Ratings](https://ipbmafia.ru/uploads/monthly_2023_04/201490810_TopicRatings(1).png.a3f09d01d204b4a991c475c729a70d00.png.d5d96079c42dcd6a96d9653fabab0d81.png)

Как сделать ранг "радуга" с радужным цветом и анимированным значком короны?
in Invision Community 4 Support
Странно, простите меня, если мой русский плохой.
я использую гугл переводчик
Пожалуйста, пришлите мне скриншот