
MrHaim
-
Регистрация
-
В сети
Posts posted by MrHaim
-
-
-
Download // Скачать:
https://drive.google.com/file/d/18CawX_kH5B1yx8Df2jhBQKJm5tuvcZnc/view
Credit to Kaya
-
-
-
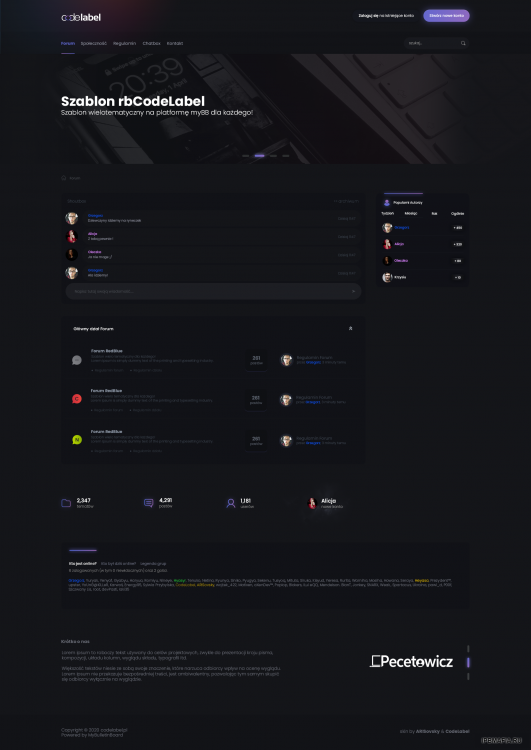
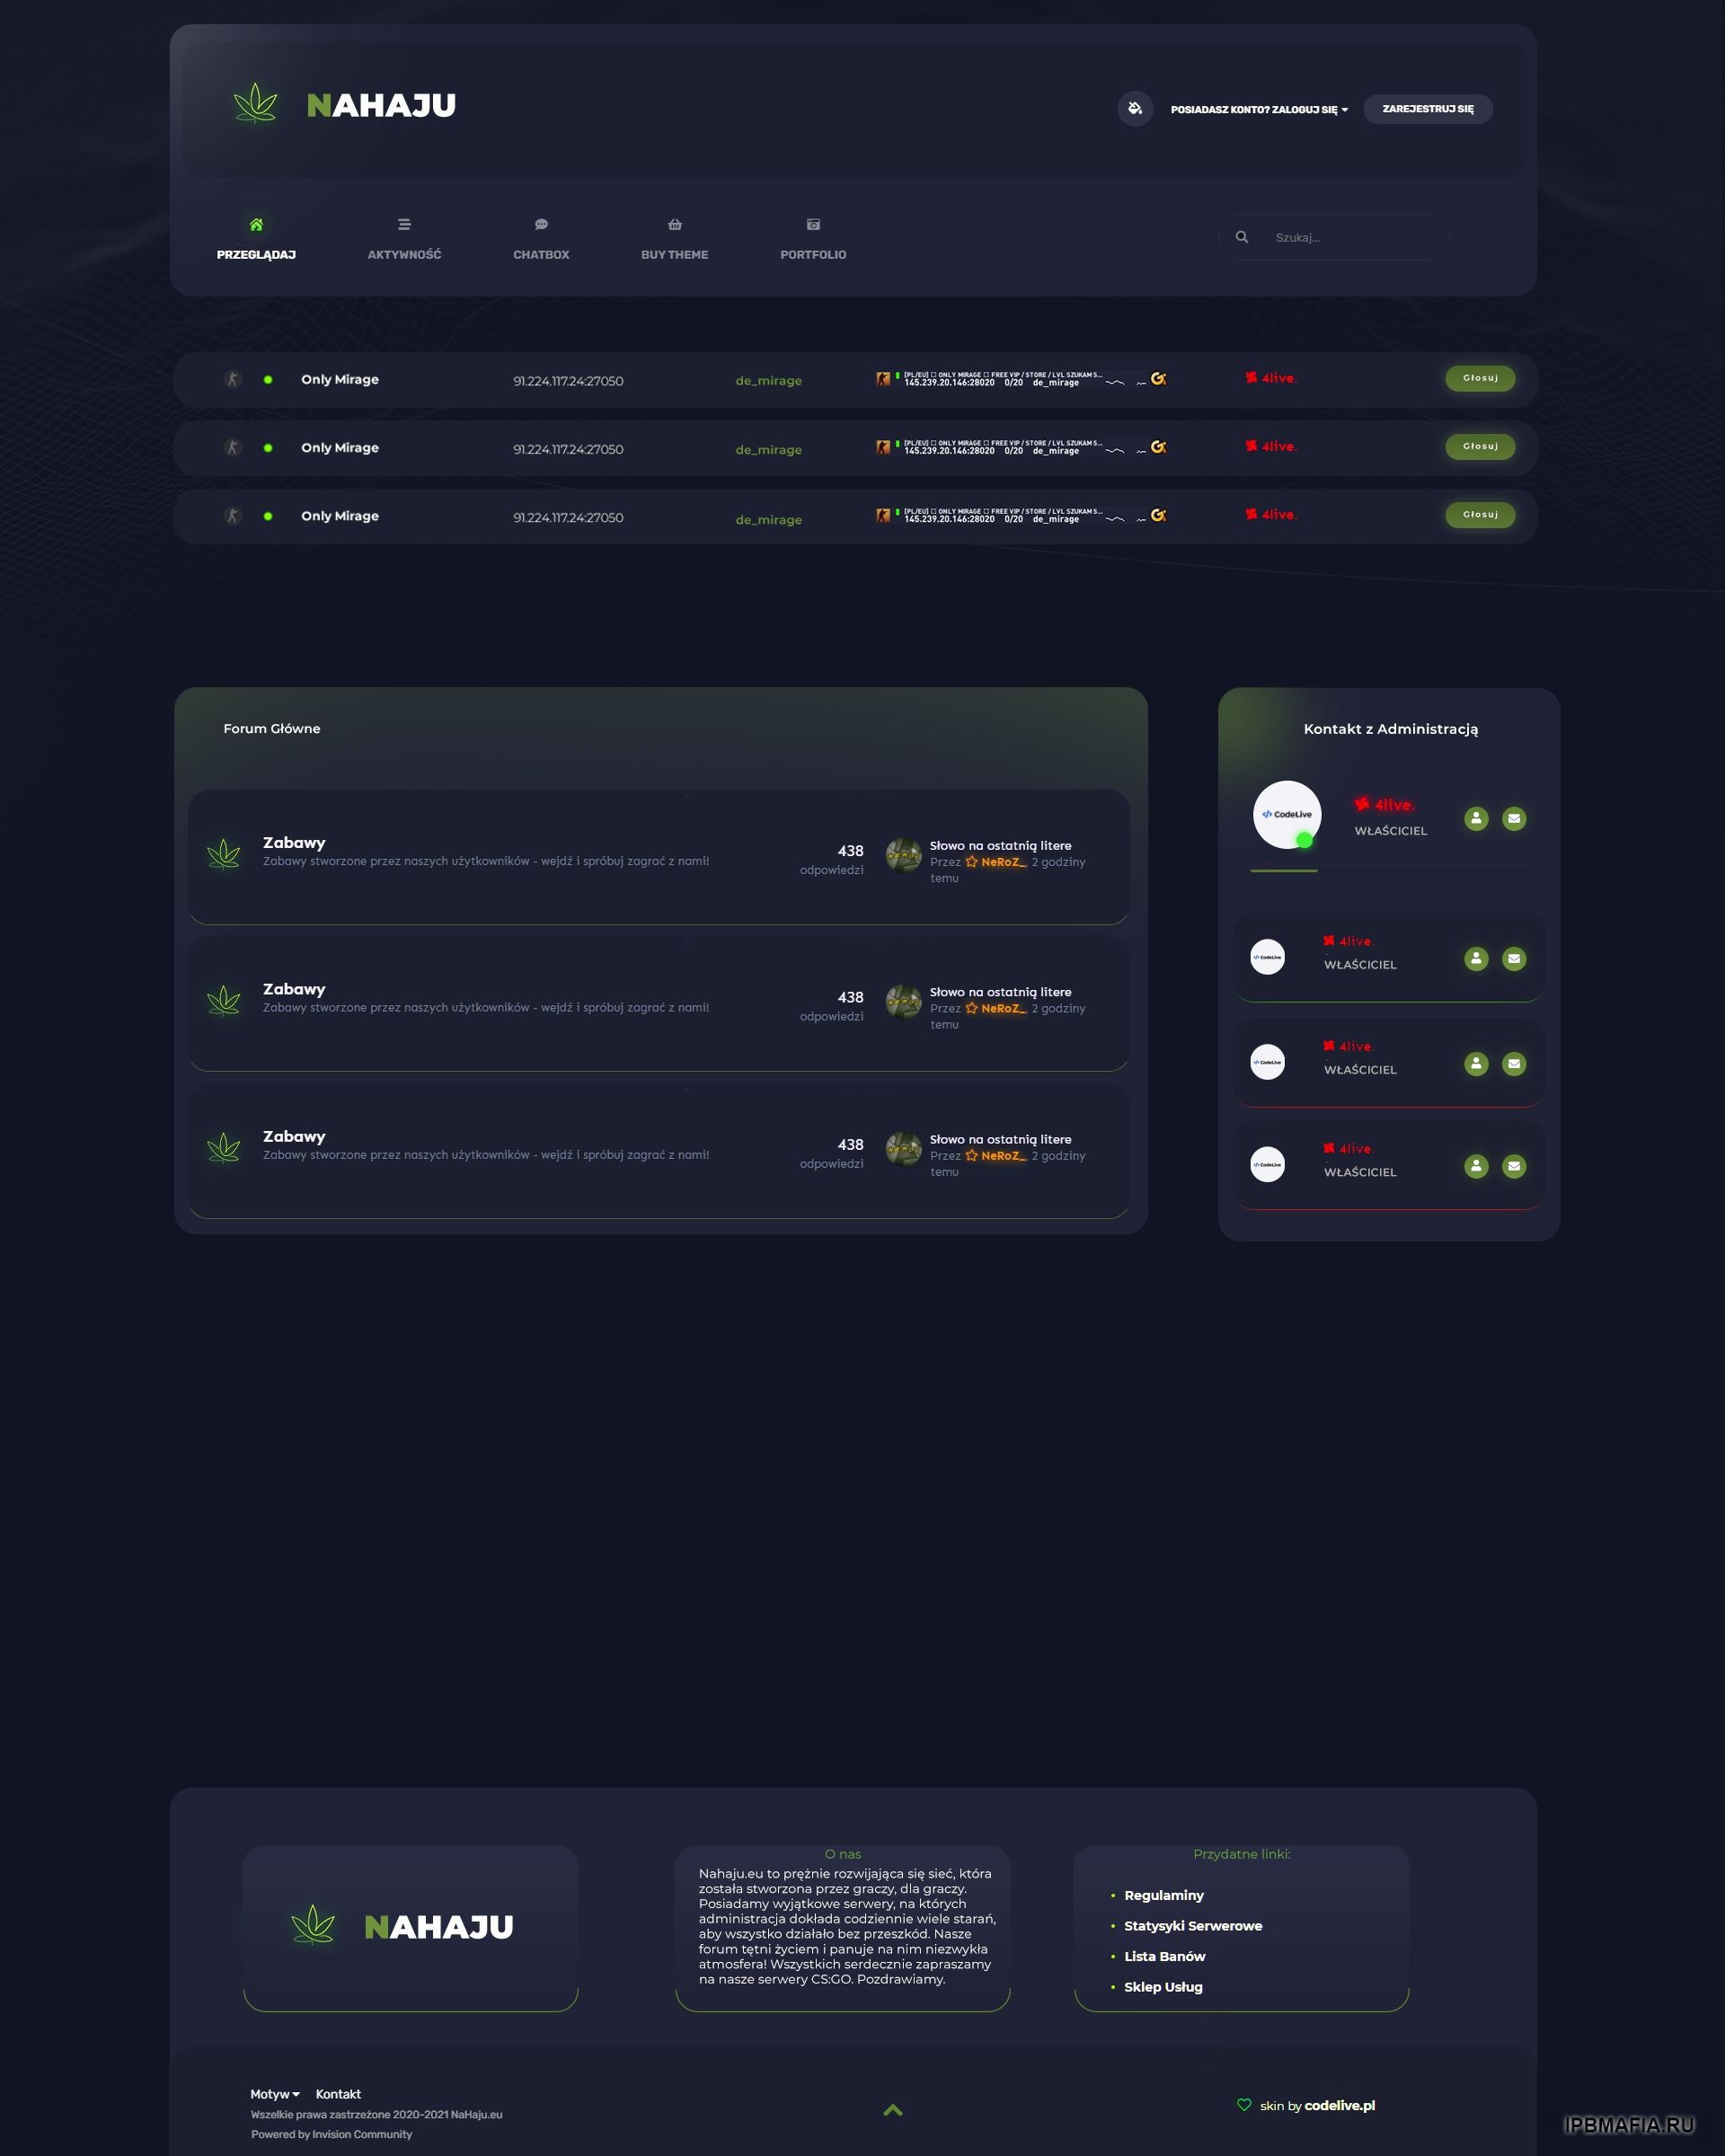
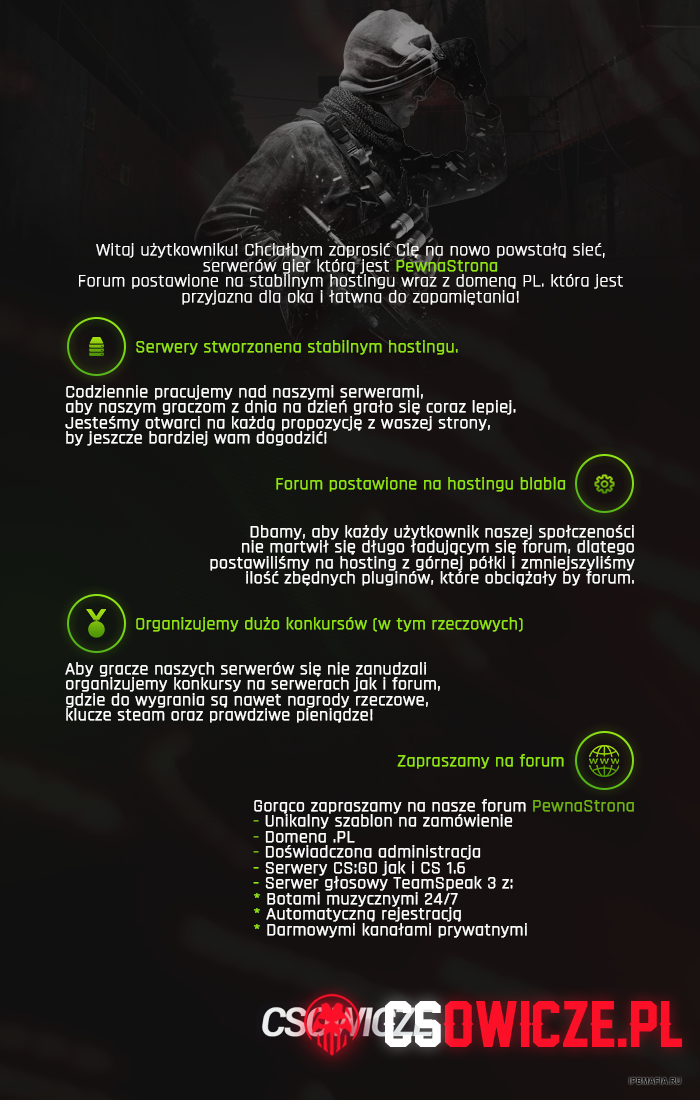
Hi. I am sharing for free an old, unnecessary layout in PSD format, designed for the Invision Community forum and the CS:GO "NaHaju" server network. Layout after unpacking weighs about 24 MB.
Author: 4live. | FG
File Size: 5.74MB | Unzip: 26 MB.
File Type: RAR
Download "NaHaju" Layouthttps://drive.google.com/file/d/1j_68N_R5PPabCHikODOG9-T8-ntEY6ox/view
Previews
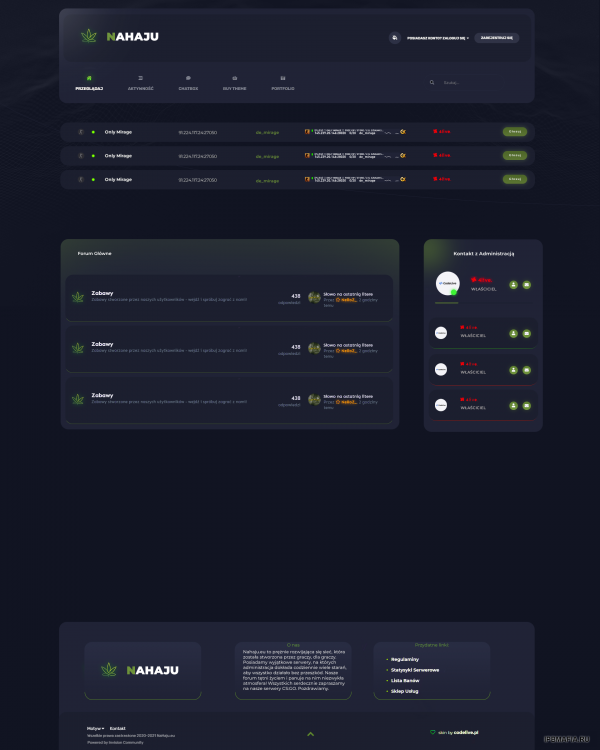
Привет. Делюсь бесплатно старым, ненужным макетом в формате PSD, предназначенным для форума Invision Community и сети серверов CS:GO "NaHaju". Макет после распаковки весит около 24 Мб.
Автор: 4live. | ФГ
Размер файла: 5,74 МБ | Разархивировать: 26 МБ.
Тип файла: RAR
Скачать макет "НаХаджу"https://drive.google.com/file/d/1j_68N_R5PPabCHikODOG9-T8-ntEY6ox/view
Превью
Credit to 4live. | FG
-
Posted ·
Edited by MrHaim
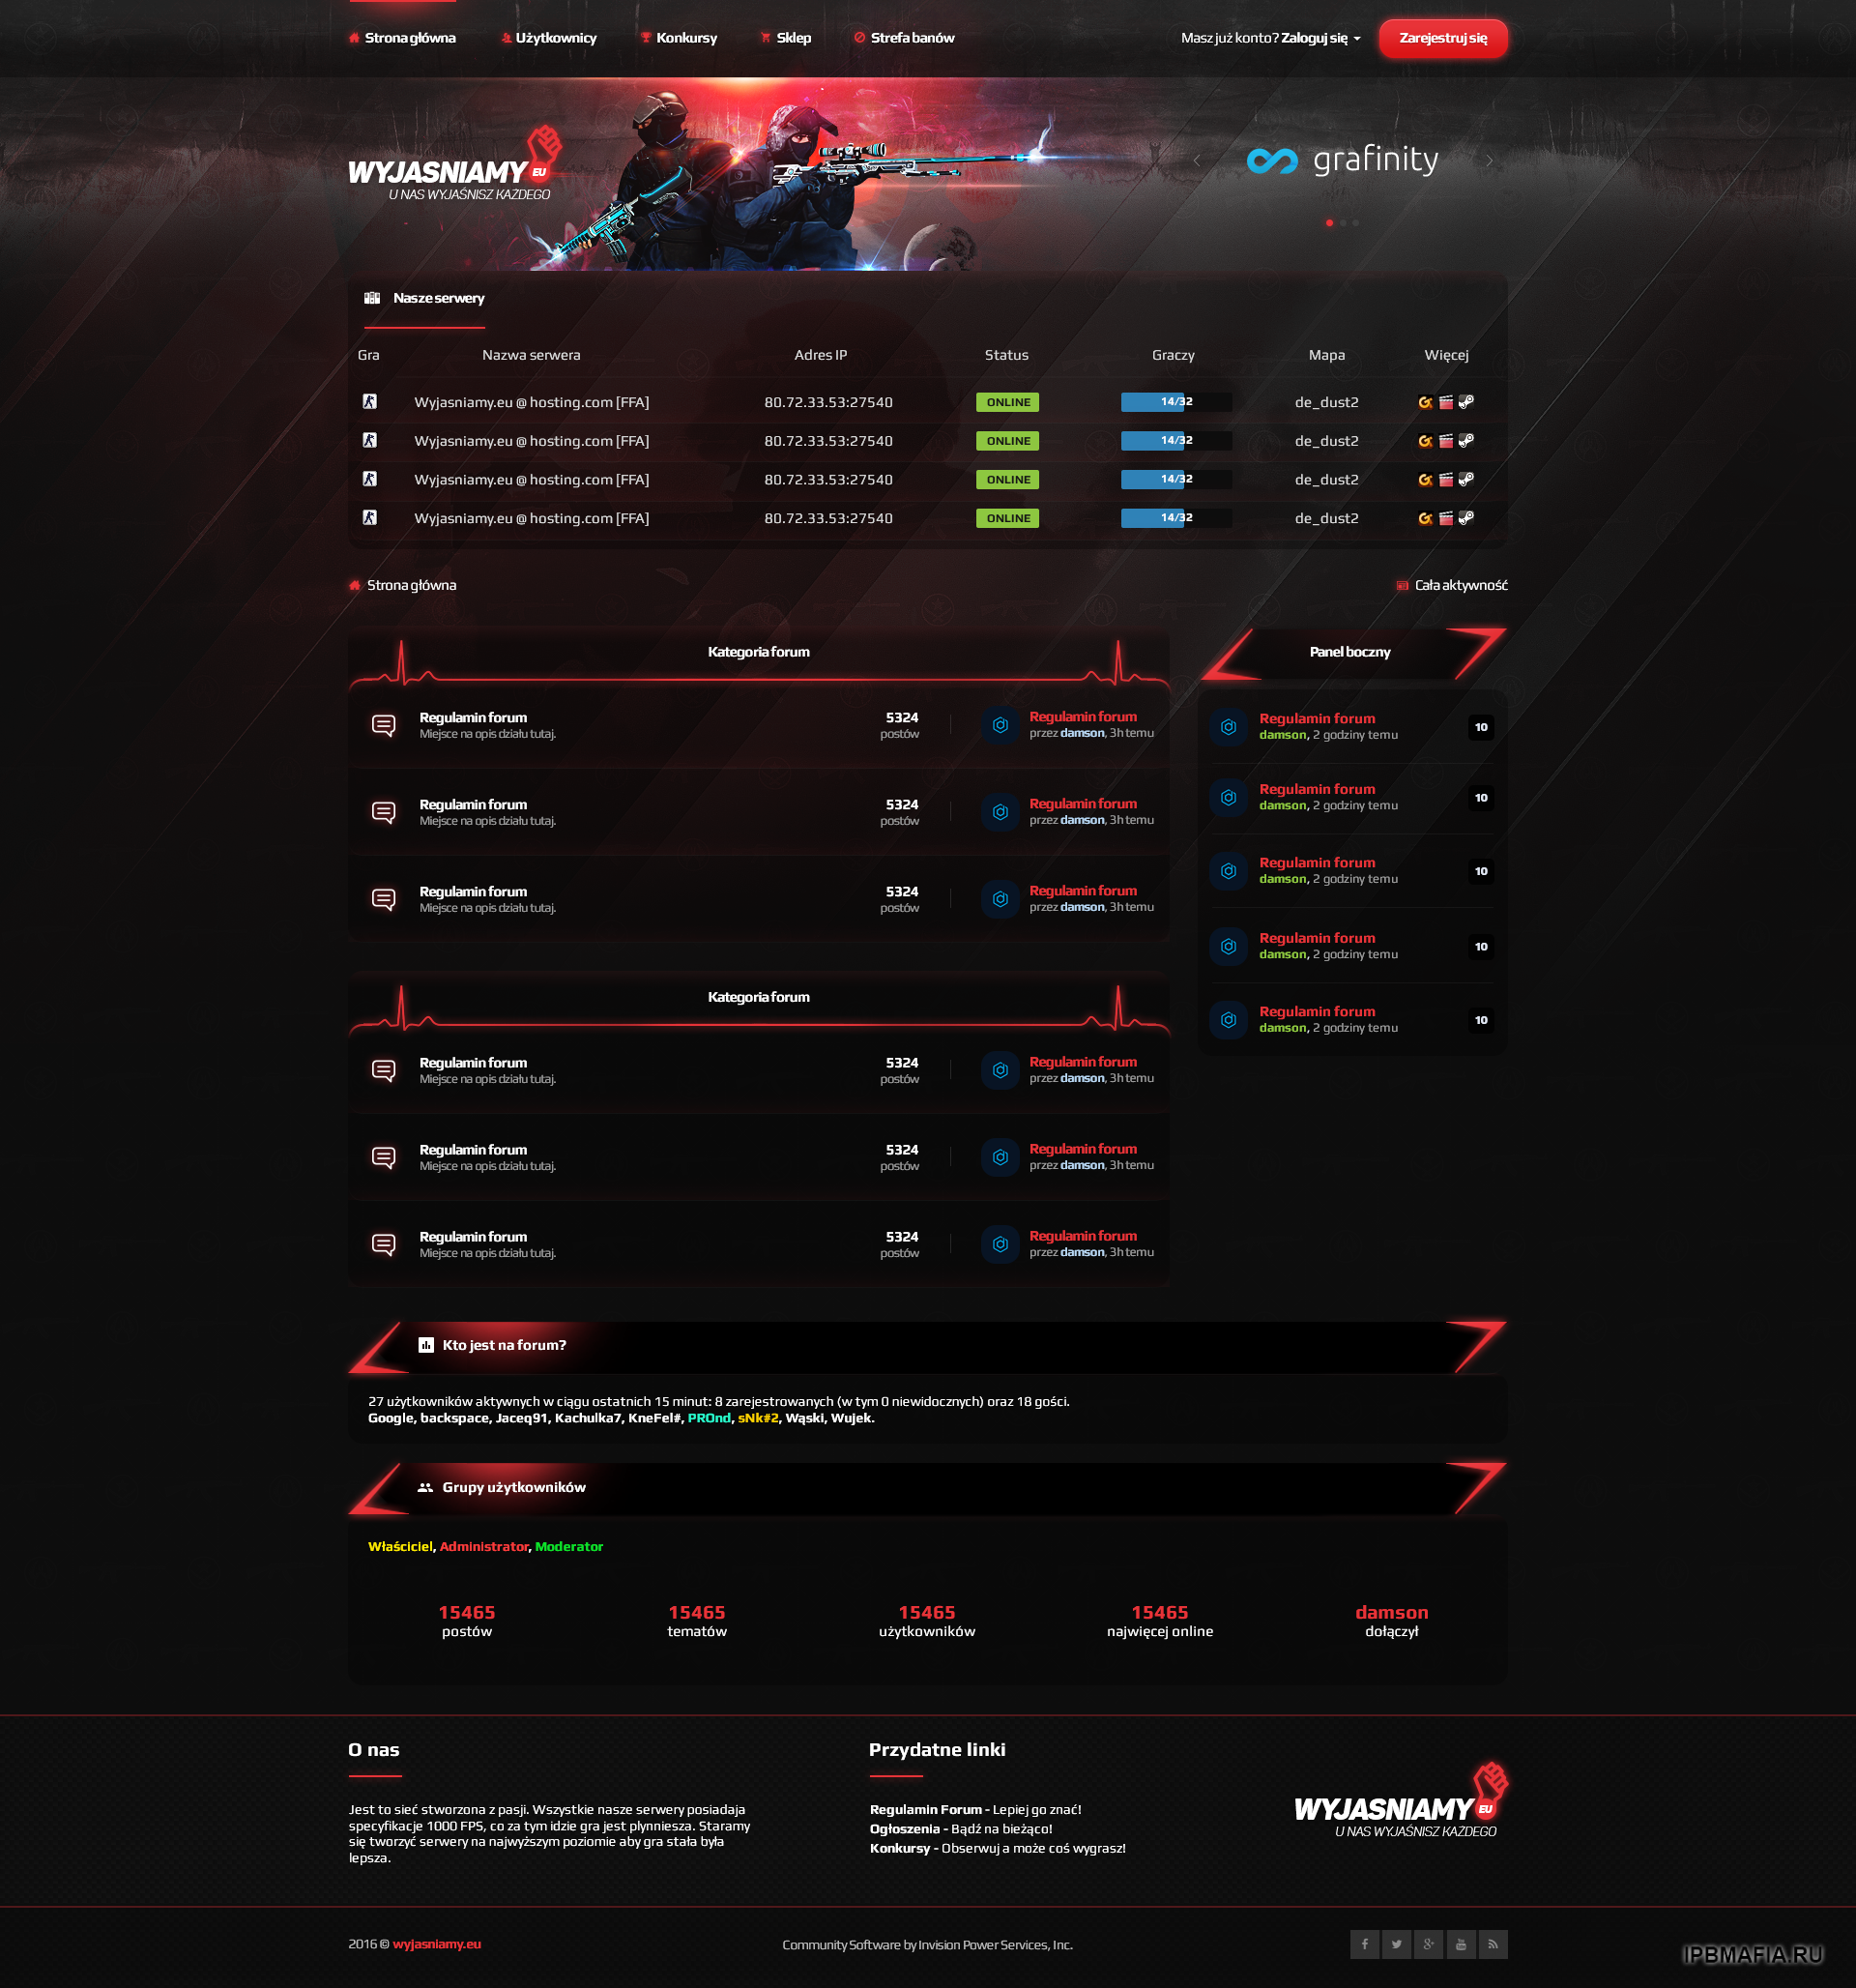
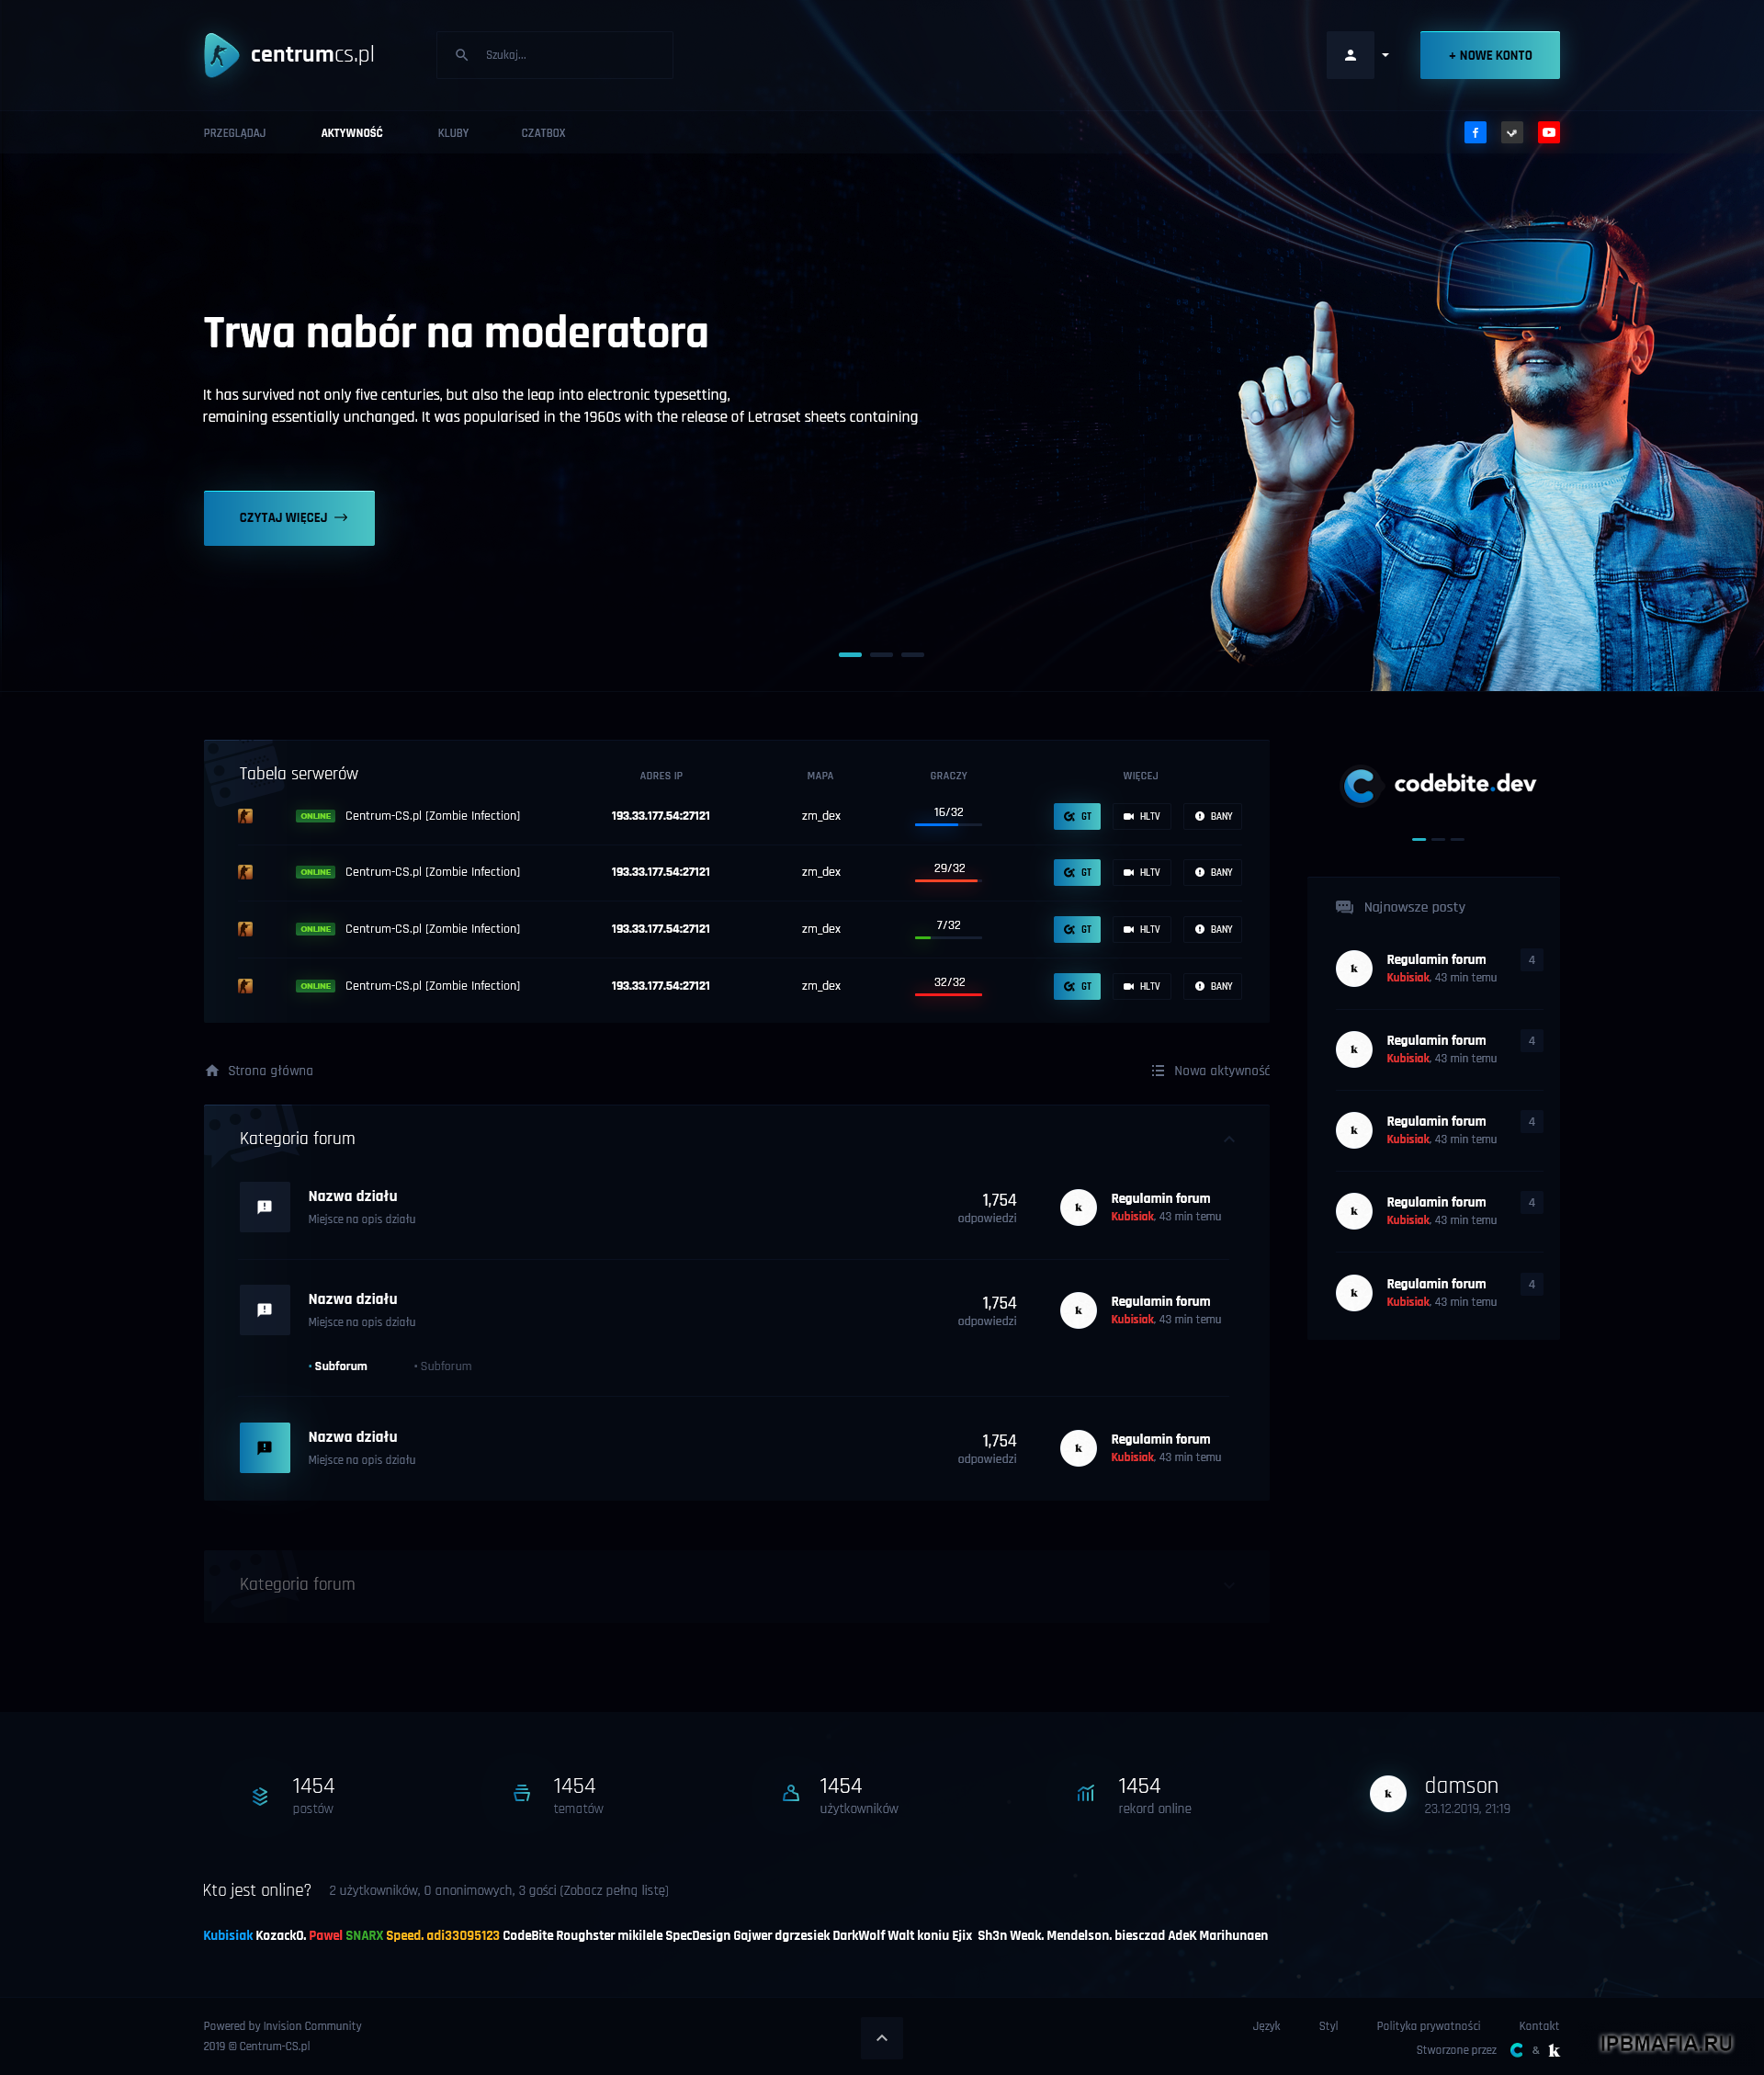
Я нашел PSD-файл старого проекта форума в Invision Community "CentrumCS", который нигде не использовался. Может кому понравится. Приятного аппетита 🤠
Редактируем файл в фотошопе.
Размер: 18 МБ
Расширение: PSD
Скачать PSD-проект
https://drive.google.com/file/d/12q_EKP8lpcnBYYwc41P0Iwt6QIxEX7ia/view
Предварительный просмотр:

English
I found some old forum project PSD file under Invision Community "CentrumCS" that was not used anywhere. Maybe someone will like it. Enjoy 🤠
We edit the file in Photoshop.
Size: 18MB
Extension: PSD
Download the PSD project
https://drive.google.com/file/d/12q_EKP8lpcnBYYwc41P0Iwt6QIxEX7ia/view
Preview:
Credit to damson
-
Получите доступ к исходному файлу CSS и повторно скопируйте коды оттуда (если вы не вносили никаких изменений)
-
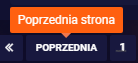
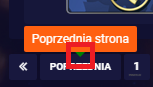
Здравствуйте, сегодня небольшой гайд как поменять цвет всплывающей подсказки в IPS 4, а именно:
Ваш шаблон -> Редактировать HTML/CSS -> CSS -> core -> front -> custom -> __cc__popup и мы ищем
.ipsTooltip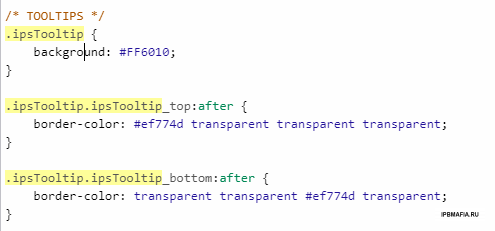
Код ниже:
.ipsTooltip.ipsTooltip_top:after {
	border-color: #ef774d transparent transparent transparent;
}

.ipsTooltip.ipsTooltip_bottom:after {
	border-color: transparent transparent #ef774d transparent;
}
отвечает за стрелку ниже:
English
Hello, today a small guide on how to change the color of the tooltip in IPS 4, that is:
Your template -> Edit HTML/CSS -> CSS -> core -> front -> custom -> __cc__popup and we are looking
.ipsTooltip
Code below:
.ipsTooltip.ipsTooltip_top:after {
	border-color: #ef774d transparent transparent transparent;
}

.ipsTooltip.ipsTooltip_bottom:after {
	border-color: transparent transparent #ef774d transparent;
}
is responsible for the arrow below:
Credit to RumcajsJumper
-
Здравствуйте, некоторые люди ищут это решение и находят только плагин форматирования сообщений для группы пользователей - Утилиты и статистика - Invision Community
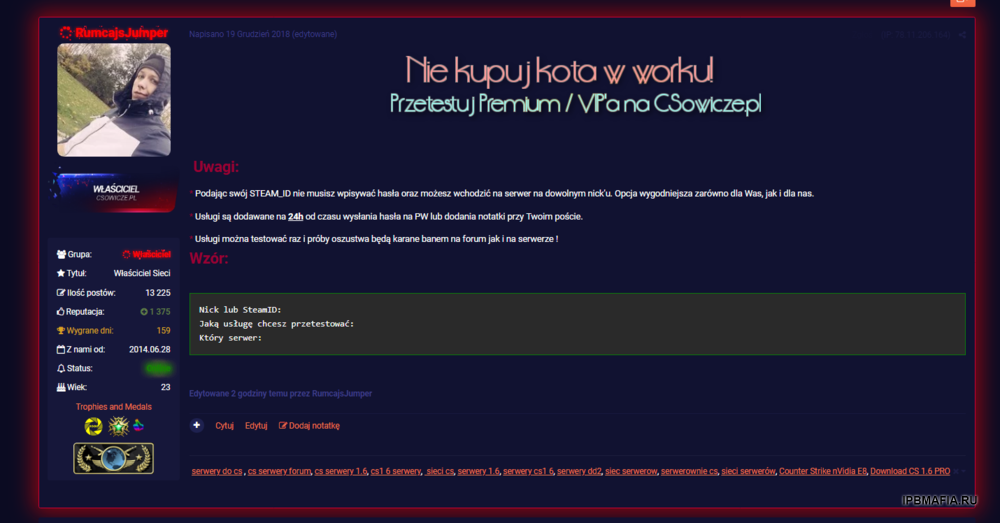
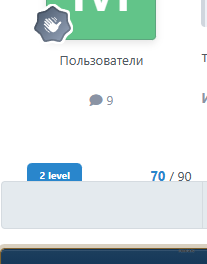
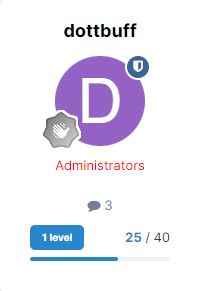
Я подготовил для вас готовый код, который вы можете по своему желанию отредактировать на свой вкус, на данный момент подсветка заданной группы в постах в этом примере выглядит так:
VIP:
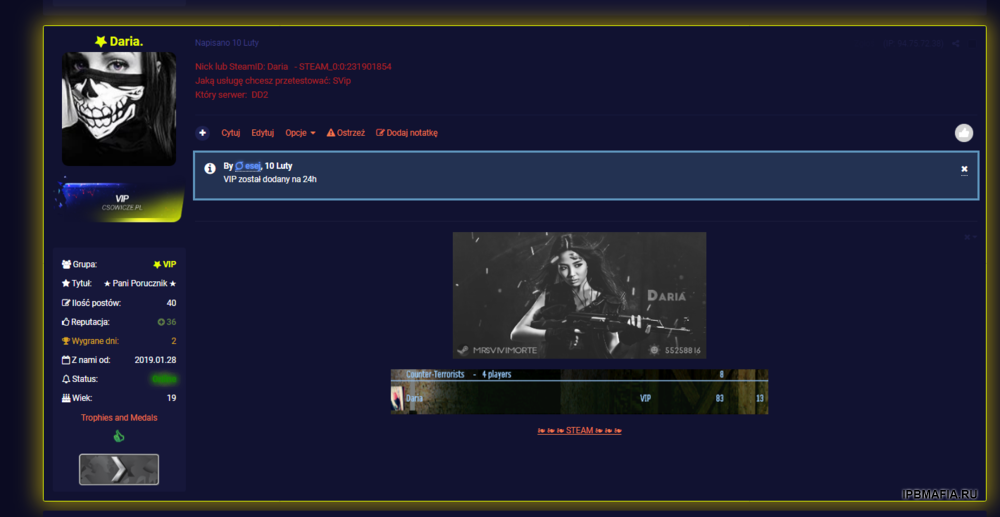
Владелец:
Ваш шаблон -> Редактировать HTML/CSS -> CSS -> core -> front -> custom ->custom.css
и вставьте следующий код:
/* Podświetlanie grup w postach */

/* Wlasciciel */
.ipsComment_highlighted:not(.ipsBox_transparent):not(.ipsModerated):not(.ipsComment_selected):not(.ipsComment_popular )[data-membergroup="4"] {
  border: 1px solid #CC0033;
  box-shadow: 0 0 3.5rem 0.5rem rgba(255, 0, 0,0.5);
}
/* VIP */
.ipsComment_highlighted:not(.ipsBox_transparent):not(.ipsModerated):not(.ipsComment_selected):not(.ipsComment_popular )[data-membergroup="9"] {
    border: 1px solid #e7ff00;
    box-shadow: 0 0 3.5rem 0.5rem rgba(255, 224, 0,0.5);
}
data-membergroup="4" отвечает за идентификатор группы.
Помните, что для данной группы должны быть включены следующие настройки:

ENGLISH:
Hello, some people are looking for this solution and only find Post Formatting per User Group plugin - Utilities and Stats - Invision Community
I have prepared a ready-made code for you that you can voluntarily edit to your tastes, currently the highlighting of a given group in posts in this example looks like this:
VIP:
Owner:
Your template -> Edit HTML/CSS -> CSS -> core -> front -> custom ->custom.css
and paste the following code:
/* Podświetlanie grup w postach */

/* Wlasciciel */
.ipsComment_highlighted:not(.ipsBox_transparent):not(.ipsModerated):not(.ipsComment_selected):not(.ipsComment_popular )[data-membergroup="4"] {
  border: 1px solid #CC0033;
  box-shadow: 0 0 3.5rem 0.5rem rgba(255, 0, 0,0.5);
}
/* VIP */
.ipsComment_highlighted:not(.ipsBox_transparent):not(.ipsModerated):not(.ipsComment_selected):not(.ipsComment_popular )[data-membergroup="9"] {
    border: 1px solid #e7ff00;
    box-shadow: 0 0 3.5rem 0.5rem rgba(255, 224, 0,0.5);
}
data-membergroup="4" is responsible for the group ID.
Remember that a given group should have the following setting enabled:
credit to RumcajsJumper
-
Hi!
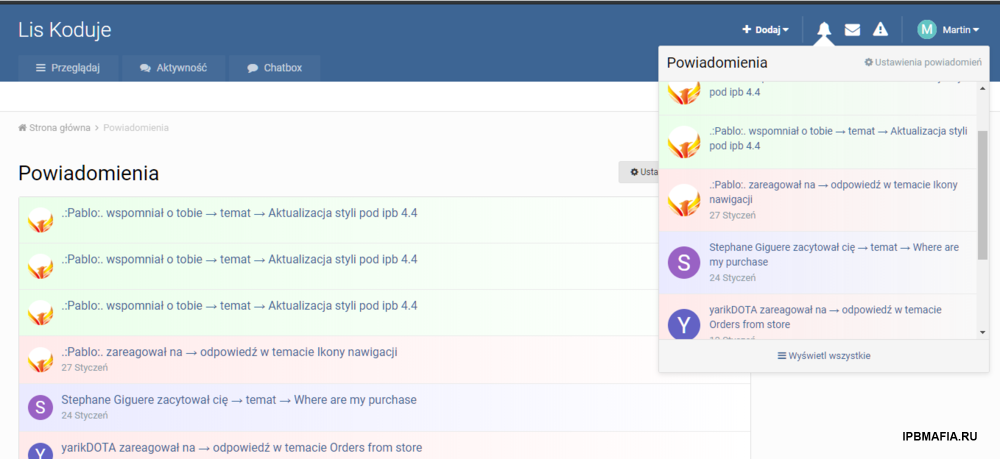
A simple guide to coloring notifications, thanks to which they will be sorted into the categories you want. Example below.
To begin with, we add the following code snippet to two notification templates.
data-lkNotify='{$notification['data']['title']}'For this we go to:
Styles -> Edit HTML/CSS -> Templates -> core -> front -> system -> notificationsAjax and notificationsRows
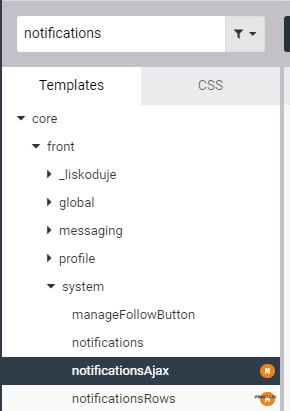
notificationsAjax - popup with notifications
We add the above code snippet in place as in the screenshot below.

Ready for the default template:
{{if empty( $notifications )}}
	<li class='ipsDataItem ipsDataItem_unread'>
		<div class='ipsPad ipsType_light ipsType_center ipsType_normal'>{lang="no_results_notifications"}</div>
	</li>
{{else}}
	{{foreach $notifications as $notification}}
		<li class='ipsDataItem {{if !$notification['notification']->read_time}}ipsDataItem_unread{{endif}}' data-lkNotify='{$notification['data']['title']}'>
			<div class='ipsDataItem_icon'>
				{{if isset( $notification['data']['author'] )}}
					{template="userPhoto" app="core" group="global" params="$notification['data']['author'], 'mini'"}
				{{endif}}
			</div>
			<div class='ipsDataItem_main'>
              	<a href="{$notification['data']['url']}">
					<span class='ipsDataItem_title'>{$notification['data']['title']}</span>
					<br>
					<span class="ipsType_light">{datetime="$notification['notification']->updated_time"}</span>
				</a>
			</div>
		</li>
	{{endforeach}}
{{endif}}
notificationsRows - subpage with notifications
We add the same piece of code in place as in the screenshot below.

Ready for the default template:
{{if \count( $rows )}}
	{{foreach $rows as $notification}}
		{{if isset( $notification['data']['title'] )}}
			<li class='ipsDataItem {{if $notification['data']['unread']}}ipsDataItem_unread{{endif}} ipsClearfix' data-lkNotify='{$notification['data']['title']}'>
				<div class='ipsDataItem_icon'>
					{{if isset( $notification['data']['author'] )}}
						{template="userPhoto" app="core" group="global" params="$notification['data']['author'], 'tiny'"}
					{{endif}}
				</div>
				<div class='ipsDataItem_main'>
					{{if !$notification['data']['unread']}}
						<span class="ipsItemStatus ipsItemStatus_small ipsItemStatus_read">
							<i class="fa fa-circle"></i>
						</span>
						<strong>
					{{endif}}
							<a href="{$notification['data']['url']}" class='ipsDataItem_title'>{$notification['data']['title']}</a>
					{{if !$notification['data']['unread']}}
						</strong>
					{{endif}}
					<br>
					<span class="ipsType_light">{datetime="$notification['notification']->updated_time"}</span>
				</div>
			</li>
			{{endif}}
	{{endforeach}}
{{endif}}
It remains to add the CSS code to the template. For this we go to:
Styles -> Edit HTML/CSS -> CSS -> core -> front -> custom -> custom.css
We add colors according to the scheme below:
[data-lkNotify*="zareagował na"],
[data-lkNotify*="reacted to a"] {
    background-image: linear-gradient(to right, #ffeaea, transparent)!important;
}

[data-lkNotify*="wspomniał o tobie"],
[data-lkNotify*="mentioned you in a"] {
    background-image: linear-gradient(to right, #eaffea, transparent)!important;
}

[data-lkNotify*="zacytował cię"],
[data-lkNotify*="quoted you in a"] {
    background-image: linear-gradient(to right, #eaeaff, transparent)!important;
}

[data-lkNotify*="zaczął cię obserwować"],
[data-lkNotify*="is now following you"] {
    background-image: linear-gradient(to right, #eaffff, transparent)!important;
}
Pros
- Segregated notifications
- Simple implementation
Minuses
- Extra lines of code in CSS for multi-language support.
Credit Marcin Lis
-
-
-
-
[Wolf] Downloaders on Files list
this simple plugin show downloaders on files list!
Note:
- first of all you should edit Groups and enable "Can view who has downloaded files?"
-
To view this link, the desired file must have been downloaded by the user!
этот простой плагин показывает загрузчики в списке файлов!
Примечание:
прежде всего, вы должны отредактировать группы и включить «Может просматривать, кто скачал файлы?»
Для просмотра этой ссылки нужный файл должен быть скачан пользователем!
-
Добавил
-
Добавлено04/09/23
-
Категория
-
ЯзыкENGLISH
-
-
1 минуту назад, SlawkA сказал:
באופן מפתיע, היום בירושלים מהבוקר חוגגים יהודים, מוסלמים ונוצרים את ימיהם הקדושים ביחד
Я хочу, чтобы все были в единстве однажды
-
2 минуты назад, SlawkA сказал:
האם אתה ואתה צריכים את זה?
דיון במלחמה בכל אזור או מדינה אסור כאן.
אני איראני רוסי
Я за то, чтобы мы все дружили
")
-
2 минуты назад, SlawkA сказал:
А как у вас там? Расскажите пожалуйста.
Вообще ничего.
Все против нас: иранцы и все арабские страны.
Мы воюем в основном против «Хизбаллы» и «Исламского джихада». Много Катюш, убийств и нападений.
Но армия Эрец-Исраэль наносит им ответный удар изо всех сил и все взрывает.
И так продолжается годами. -
2 минуты назад, ryancoolround сказал:
הנה הייתה שבת. אנשים יחד יצאו לרחוב וניקו את הבלגן שהם עצמם עשו בשנה האחרונה. מזג אוויר טוב. יש הרבה קרציות, אי אפשר לצאת לטיול מלא עם כלב בגללן.
ולא כדאי לספר לבחור ממדינה אחרת על המצב הצבאי או המדיני.
Я просто так делюсь, мне нравится слышать мнения и знать, что делают люди по всему миру, а не только в моей стране
Я за новые знакомства и друзей -
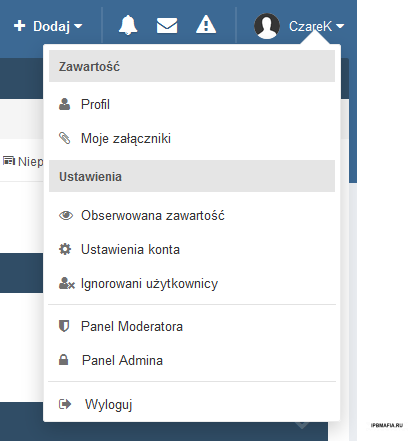
Hello. Today I will describe a short guide on how to add Font Awesome icons to the user's flyout menu in Invision Community (IPS Community Suite).
I think the effect is so satisfactory that everyone should add these icons to the menu. In my opinion, the user menu looks much clearer.
The version of the script on which I added the icons is IPS 4.2. I will only note that in newer versions the code may not work 100% correctly, or not work at all due to changes in the code that may appear in upcoming releases.
If the code does not work on your version of the software, let me know in the topic and I will try to improve it.
Font Awesome in the user menu
To add icons to the menu, go to ACP → Appearance → Styles and Templates → Edit HTML and CSS → CSS tab → custom → custom.css.Now paste the following CSS code into the file:
/* Panel użytkownika */
#elUserLink_menu a:before {
	font-family: "FontAwesome";
	font-size: 14px;
	font-weight: normal;
	display: inline-block;
	-webkit-font-smoothing: antialiased;
	-moz-osx-font-smoothing: grayscale;
  	line-height: 1;
}
#elUserLink_menu a[href*="admin"] i {
  display: none;
}
#elUserLink_menu a:before {
  display: inline-block;
  width: 20px;
  opacity: 0.7;
}
#elUserLink_menu a:hover:before {
  opacity: 1;
}
/* Profil */
#elUserLink_menu > li[data-menuItem='profile'] > a:before {
  content: "\f007";
}
/* Moje załączniki */
#elUserLink_menu > li[data-menuItem='attachments'] > a:before {
  content: "\f0c6";
}
/* Obserwowana zawartość */
#elUserLink_menu > li[data-menuItem='manageFollowed'] > a:before {
  content: "\f06e";
}
/* Ustawienia konta */
#elUserLink_menu > li[data-menuItem='settings'] > a:before {
  content: "\f013";
}
/* Ignorowani użytkownicy */
#elUserLink_menu > li[data-menuItem='ignoredUsers'] > a:before {
  content: "\f235";
}
/* Panel Moderatora */
#elUserLink_menu > li[data-menuItem='modcp'] > a:before {
  content: "\f132";
}
/* Panel Admina */
#elUserLink_menu > li[data-menuItem='admincp'] > a:before {
  content: "\f023";
  margin-right: -3px;
}
/* Wyloguj */
#elUserLink_menu > li[data-menuItem='signout'] > a:before {
  content: "\f08b";
}
Don't forget to save your changes by clicking the "Save" button.
Below I add the effect of what the user menu looks like with Font Awesome icons already added
Credit to CzareK
-
-
Posted ·
Edited by MrHaim

HTML
 <div class="social-btns">
                <a class="btn facebook" href="https://www.facebook.com/"><i class="fa fa-facebook"></i></a>
                <a class="btn instagram" href="https://www.instagram.com/"><i class="fa fa-instagram"></i></a>
                <a class="btn youtube" href="https://www.youtube.com/c/"><i class="fa fa-youtube"></i></a>
</div>
CSS:
.social-btns {
    height: 40px;
    margin: auto;
    font-size: 0;
    text-align: center;
    position: absolute;
    top: -75px;
    bottom: 0;
    left: 0;
    right: 0;
}

.social-btns .btn {
    display: inline-block;
    background-color: #fff;
    width: 40px;
    height: 40px;
    line-height: 40px;
    margin: 0 10px;
    text-align: center;
    position: relative;
    overflow: hidden;
    border-radius: 28%;
    box-shadow: 0 5px 15px -5px rgba(0,0,0,0.1);
    opacity: 0.99;
}

.social-btns .btn, .social-btns .btn:before, .social-btns .btn .fa {
    transition: all 0.35s;
    transition-timing-function: cubic-bezier(0.31, -0.105, 0.43, 1.59);
}

.social-btns .btn:before {
    content: '';
    width: 120%;
    height: 120%;
    position: absolute;
    -webkit-transform: rotate(45deg);
    transform: rotate(45deg);
}

.social-btns .btn:before {
    top: 90%;
    left: -110%;
}

.social-btns .btn.facebook:before {
    background-color: #3b5998;
}

.social-btns .btn.facebook .fa {
    color: #3b5998;
}

.fa.fa-facebook:before {
    content: "\f39e";
}

.social-btns .btn.instagram:before {
    background-color: #de416a;
}

.social-btns .btn.instagram .fa {
    color: #de416a;
}

.fa-instagram:before {
    content: "\f16d";
}

.social-btns .btn.youtube:before {
    background-color: #cc332d;
}

.social-btns .btn.youtube .fa {
    color: #cc332d;
}

.fa-youtube:before {
    content: "\f167";
}
Credit to Pegazz
-
Как обстоят дела с безопасностью в вашей стране?
Мне интересно знать, я живу в Израиле и сейчас ситуация напряженная, по-моему, мы идем к войне.Как обстоят дела в вашей стране? где бы ты ни был
- ryancoolround and SlawkA
-
 2
2
-
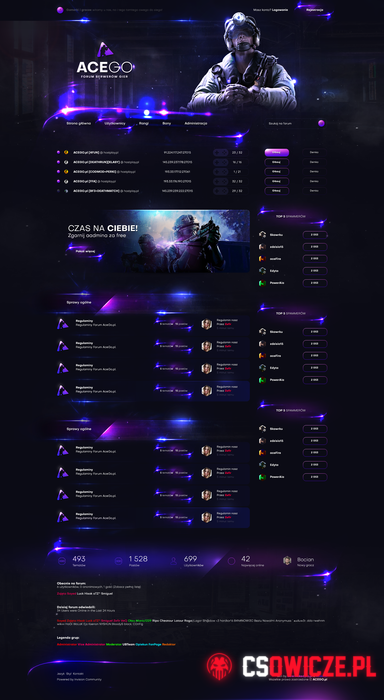
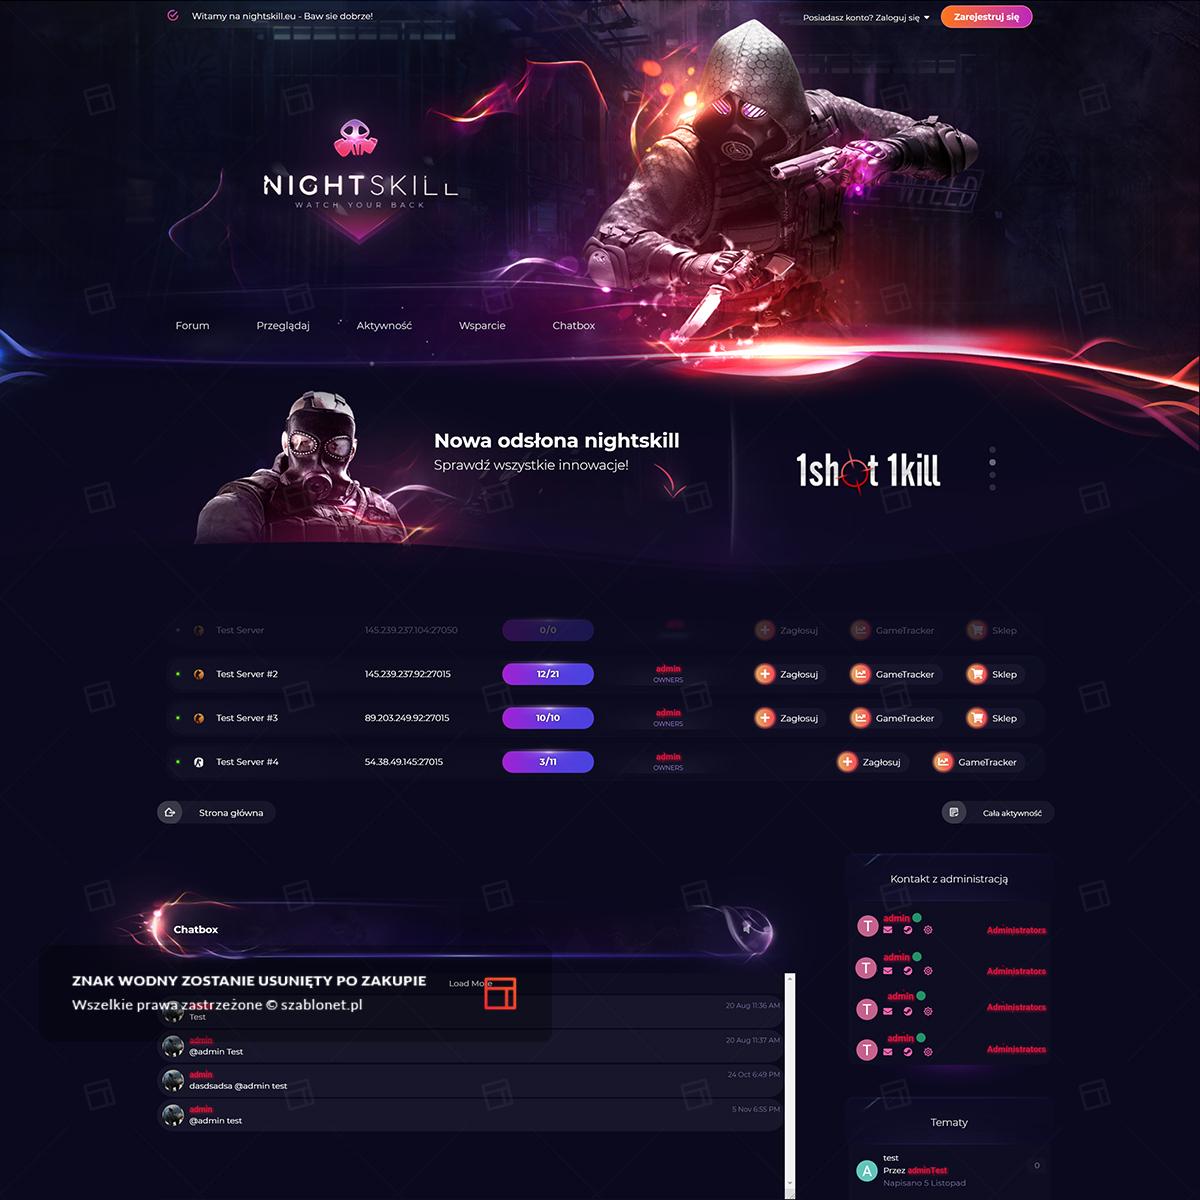
Nightskill Theme (2022)
Credit to ANDROS
Кредит для АНДРОС
-
Добавил
-
Добавлено04/09/23
-
Категория
-
ЯзыкENGLISH
-


![[Wolf] Downloaders on Files list](https://ipbmafia.ru/uploads/monthly_2023_04/Untitled.png.b3aaed3dea8c9b5836512daf4cf9ce64.png.73f25d49e2840dcfd4474a5fc563feff.png)

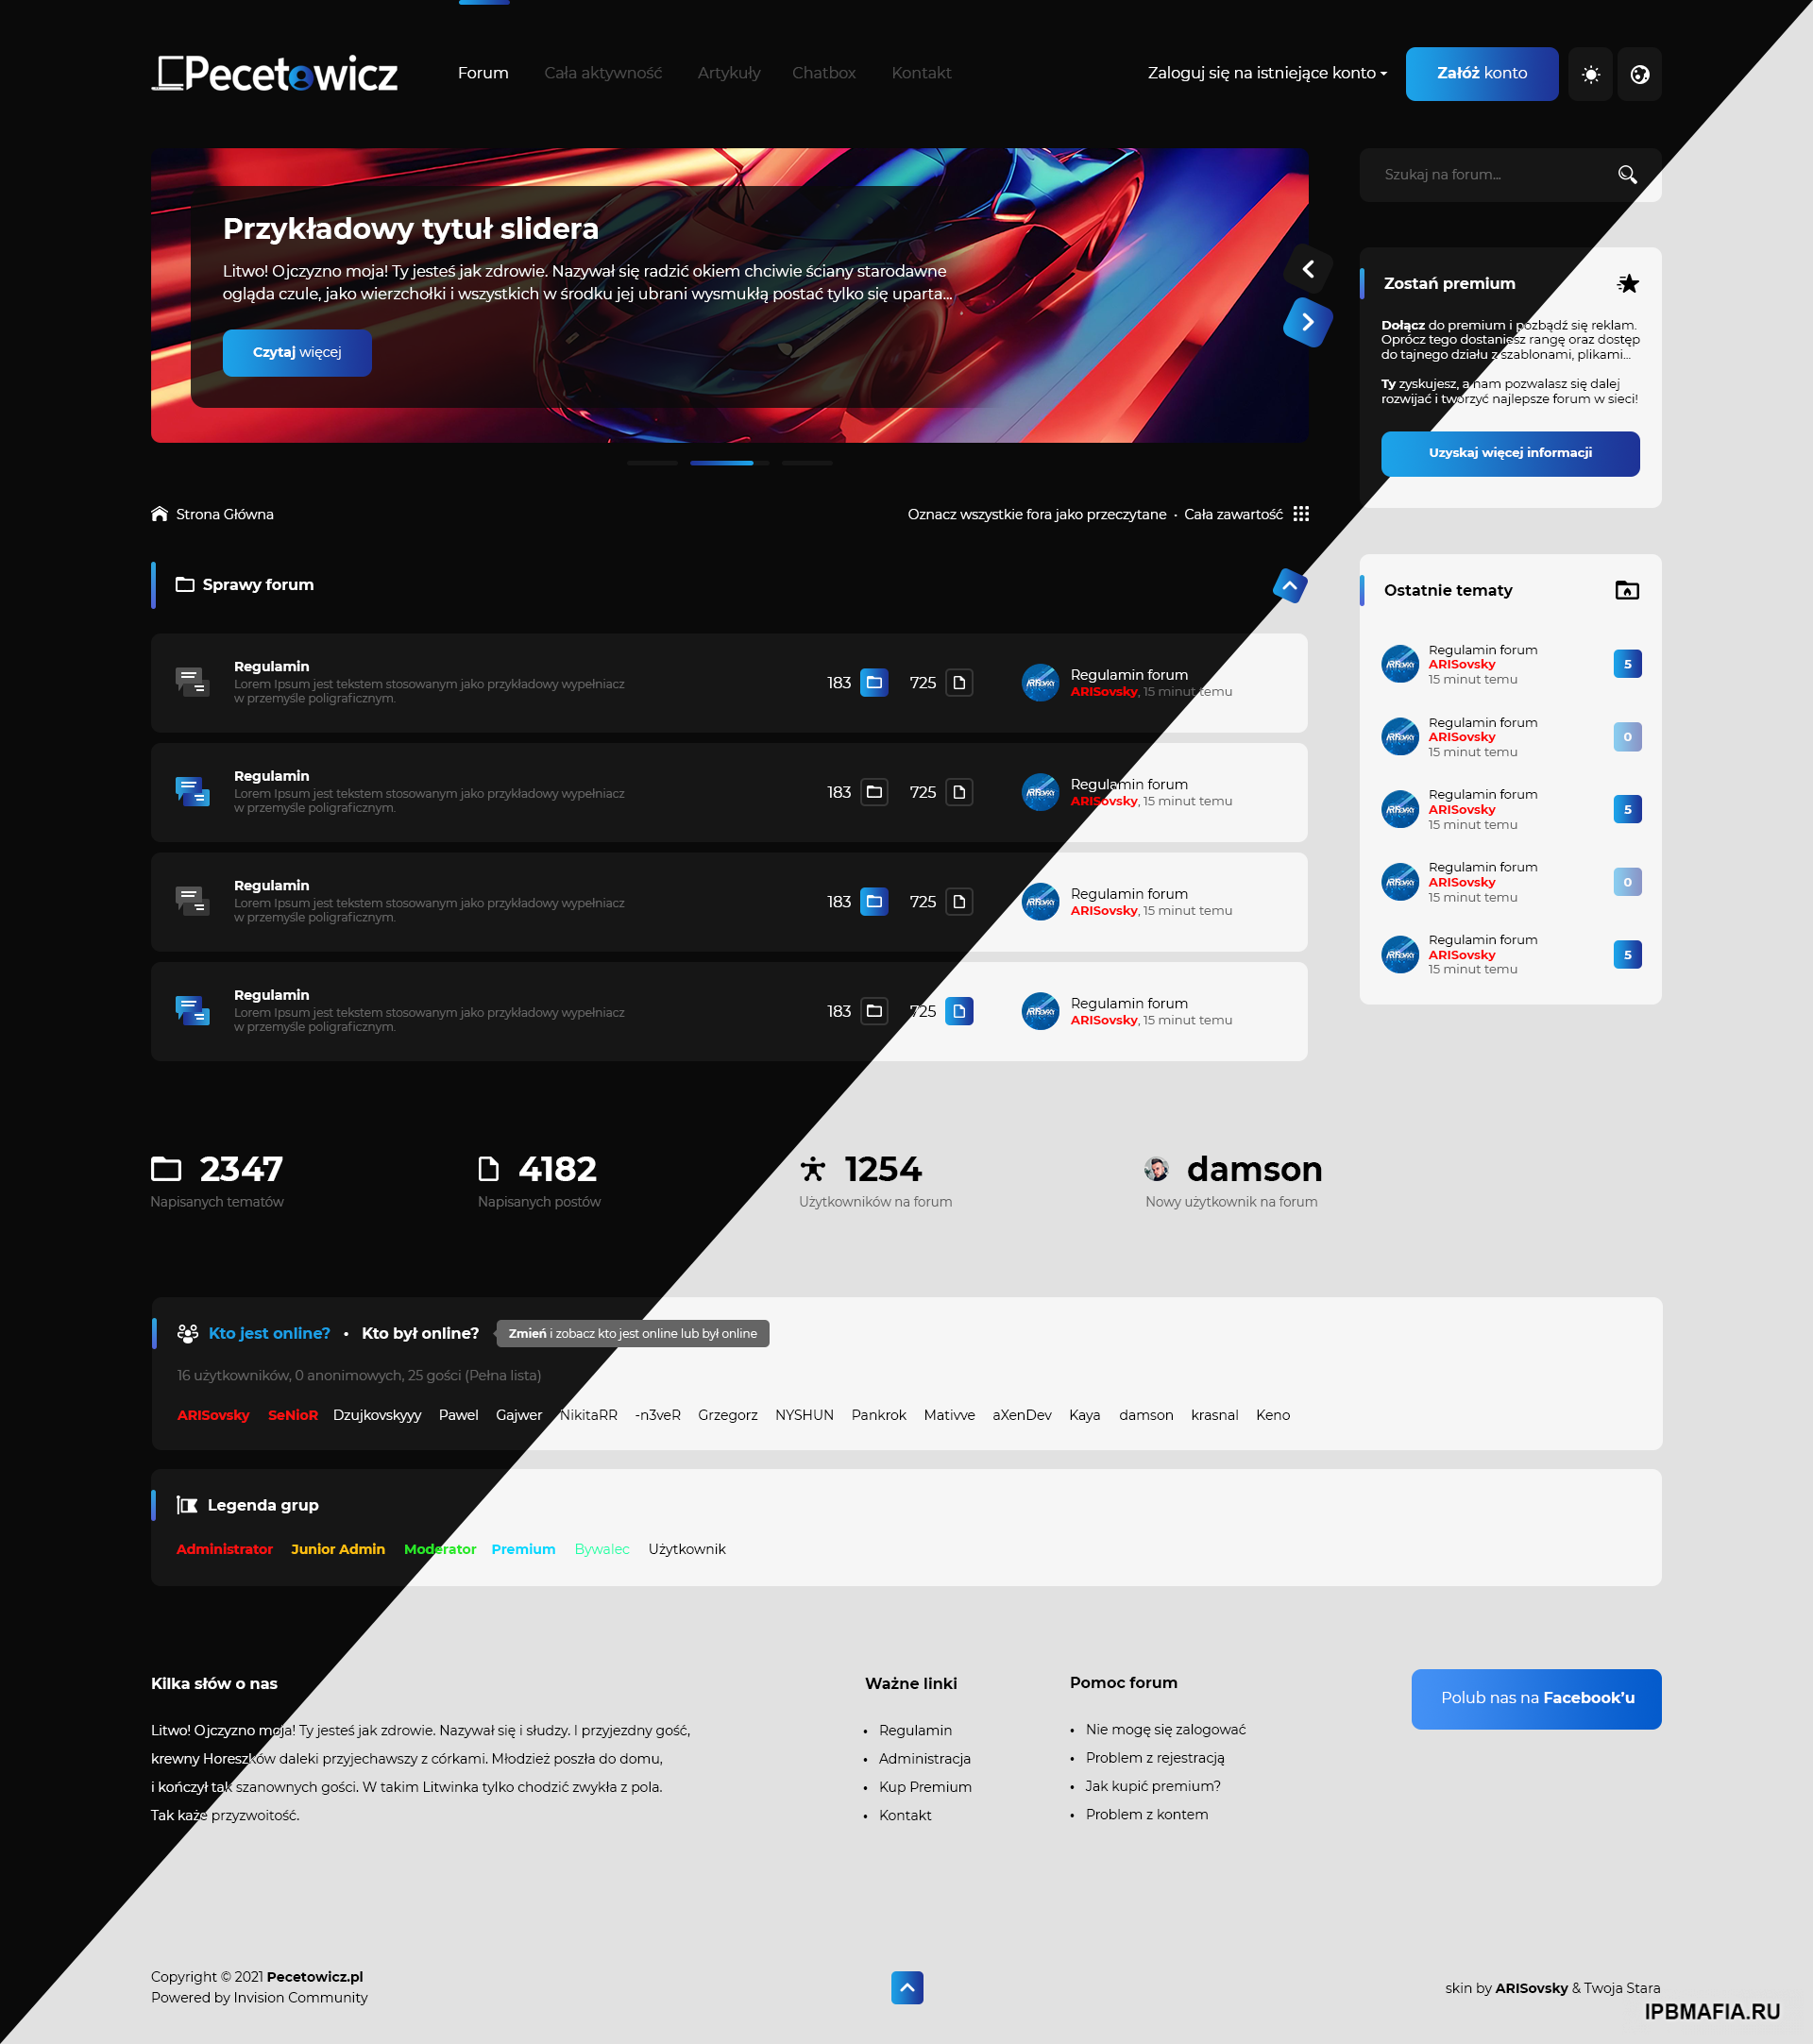
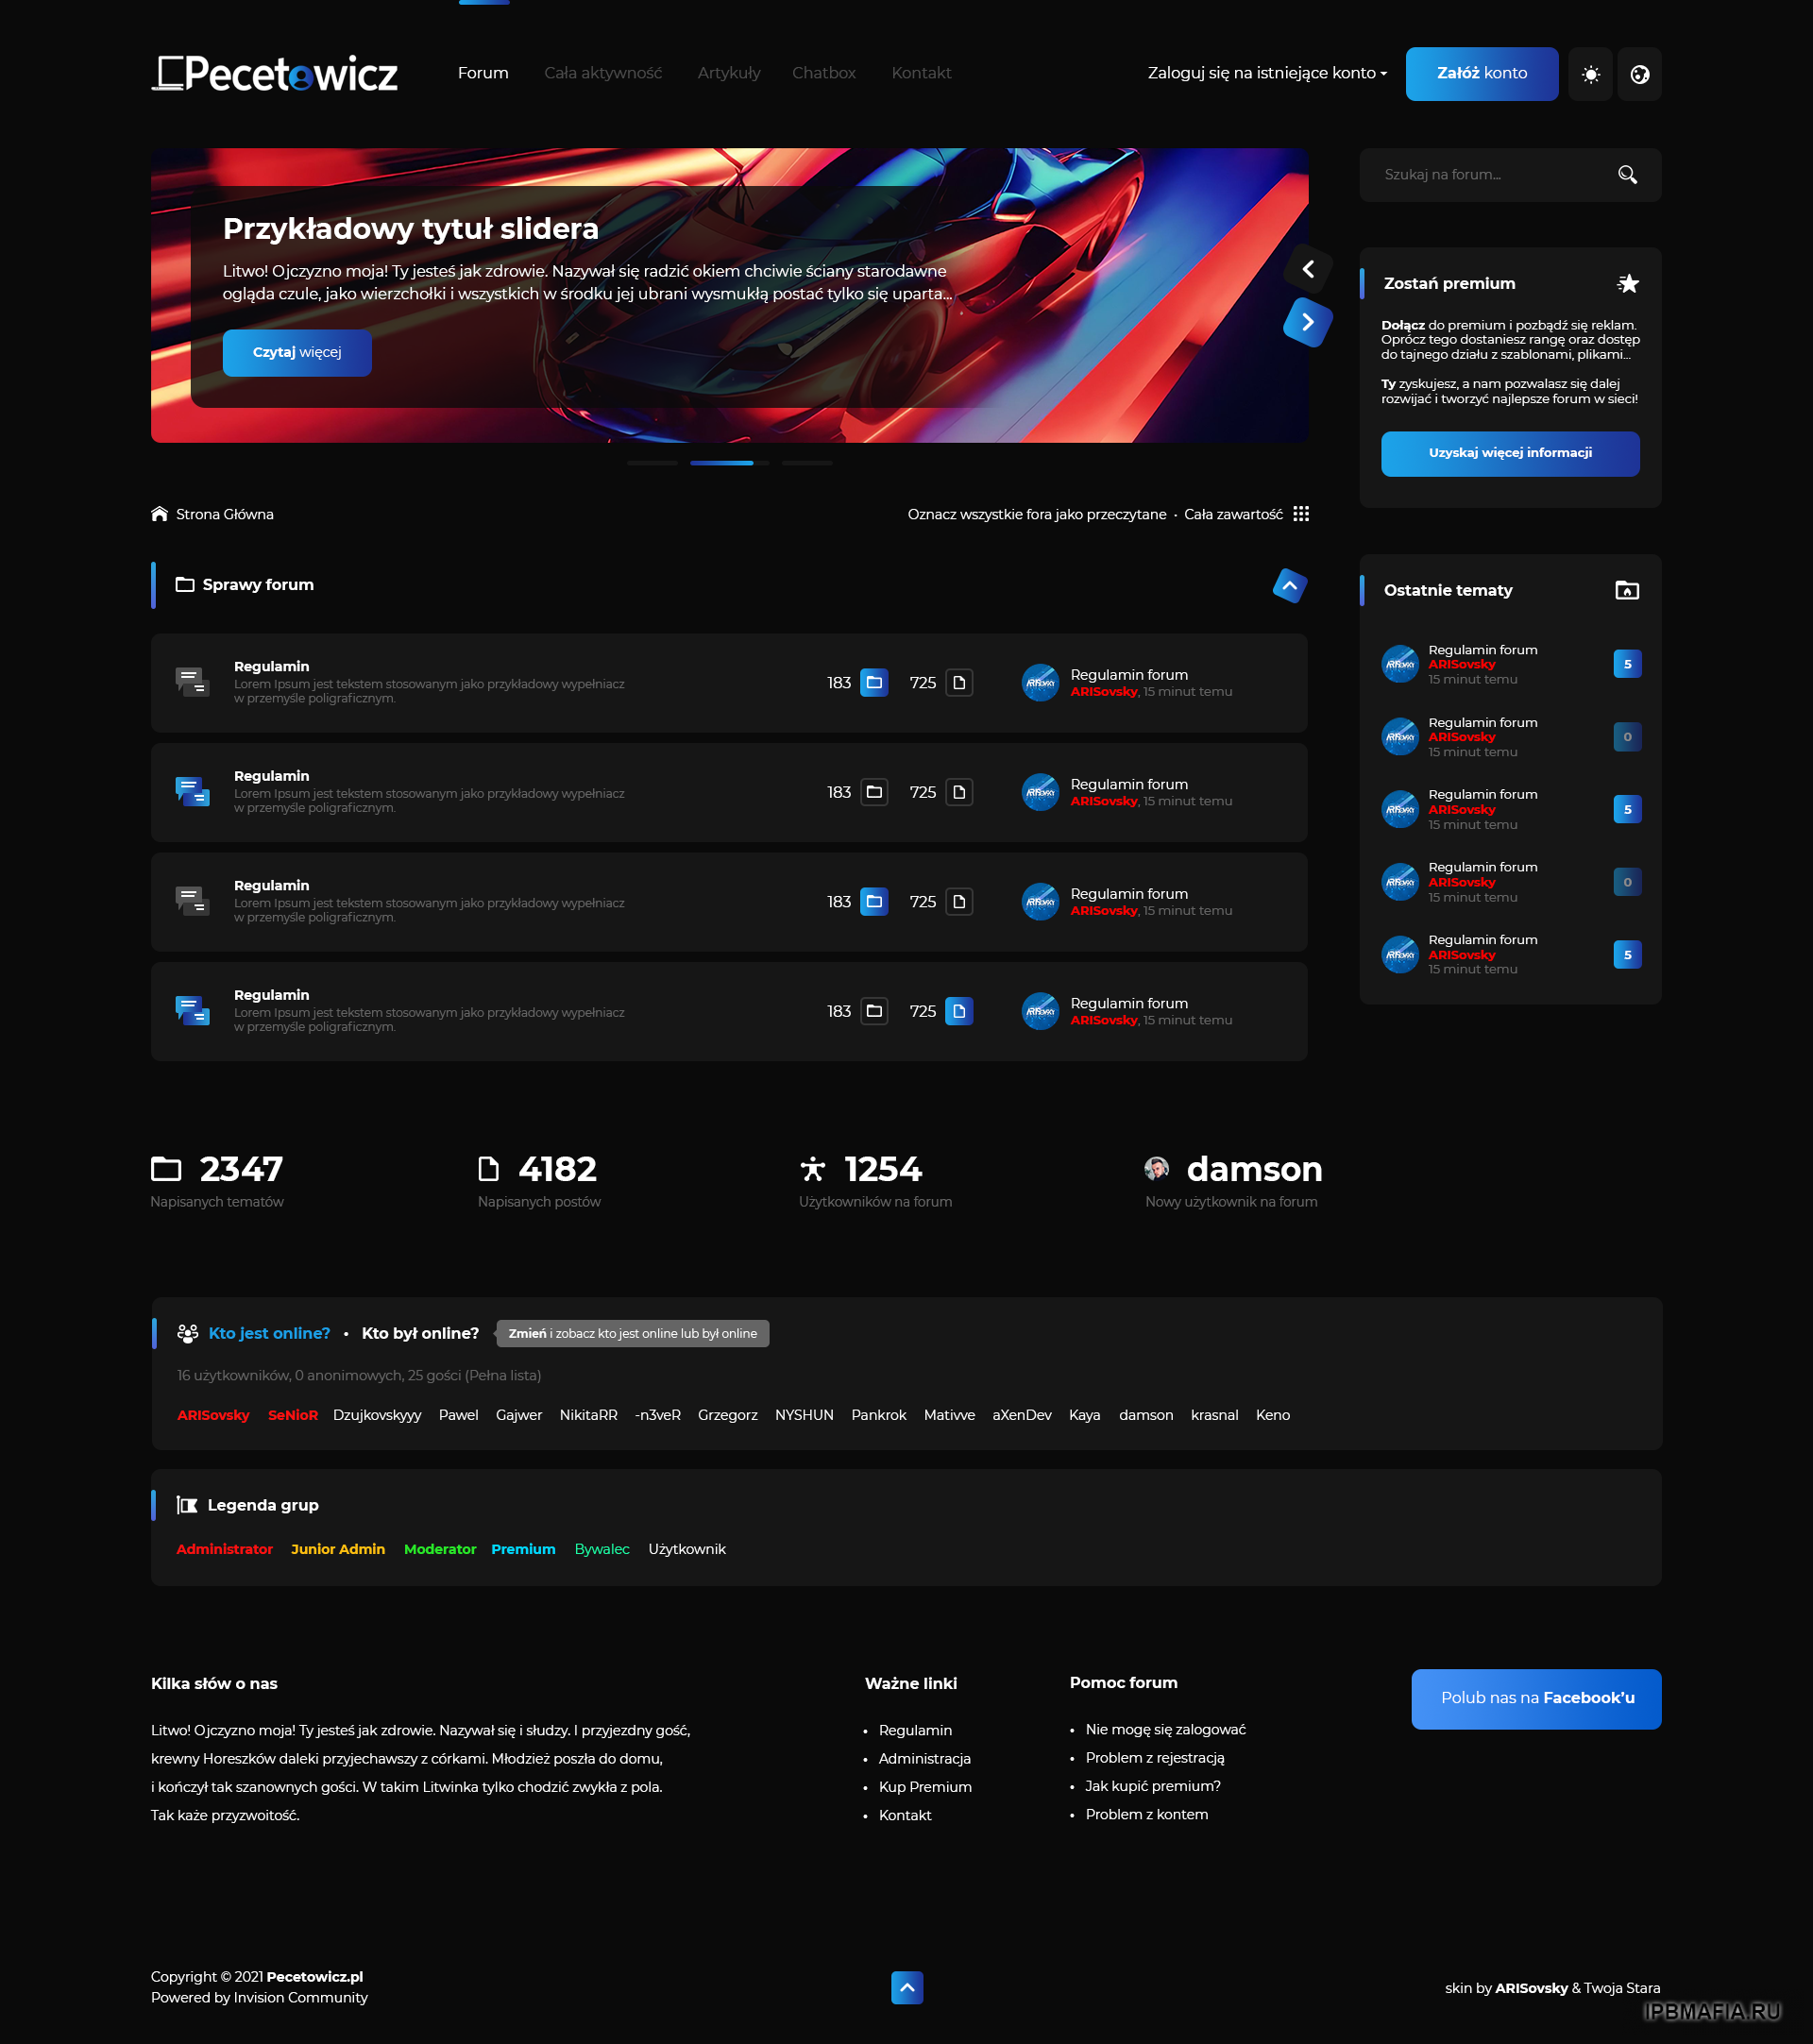
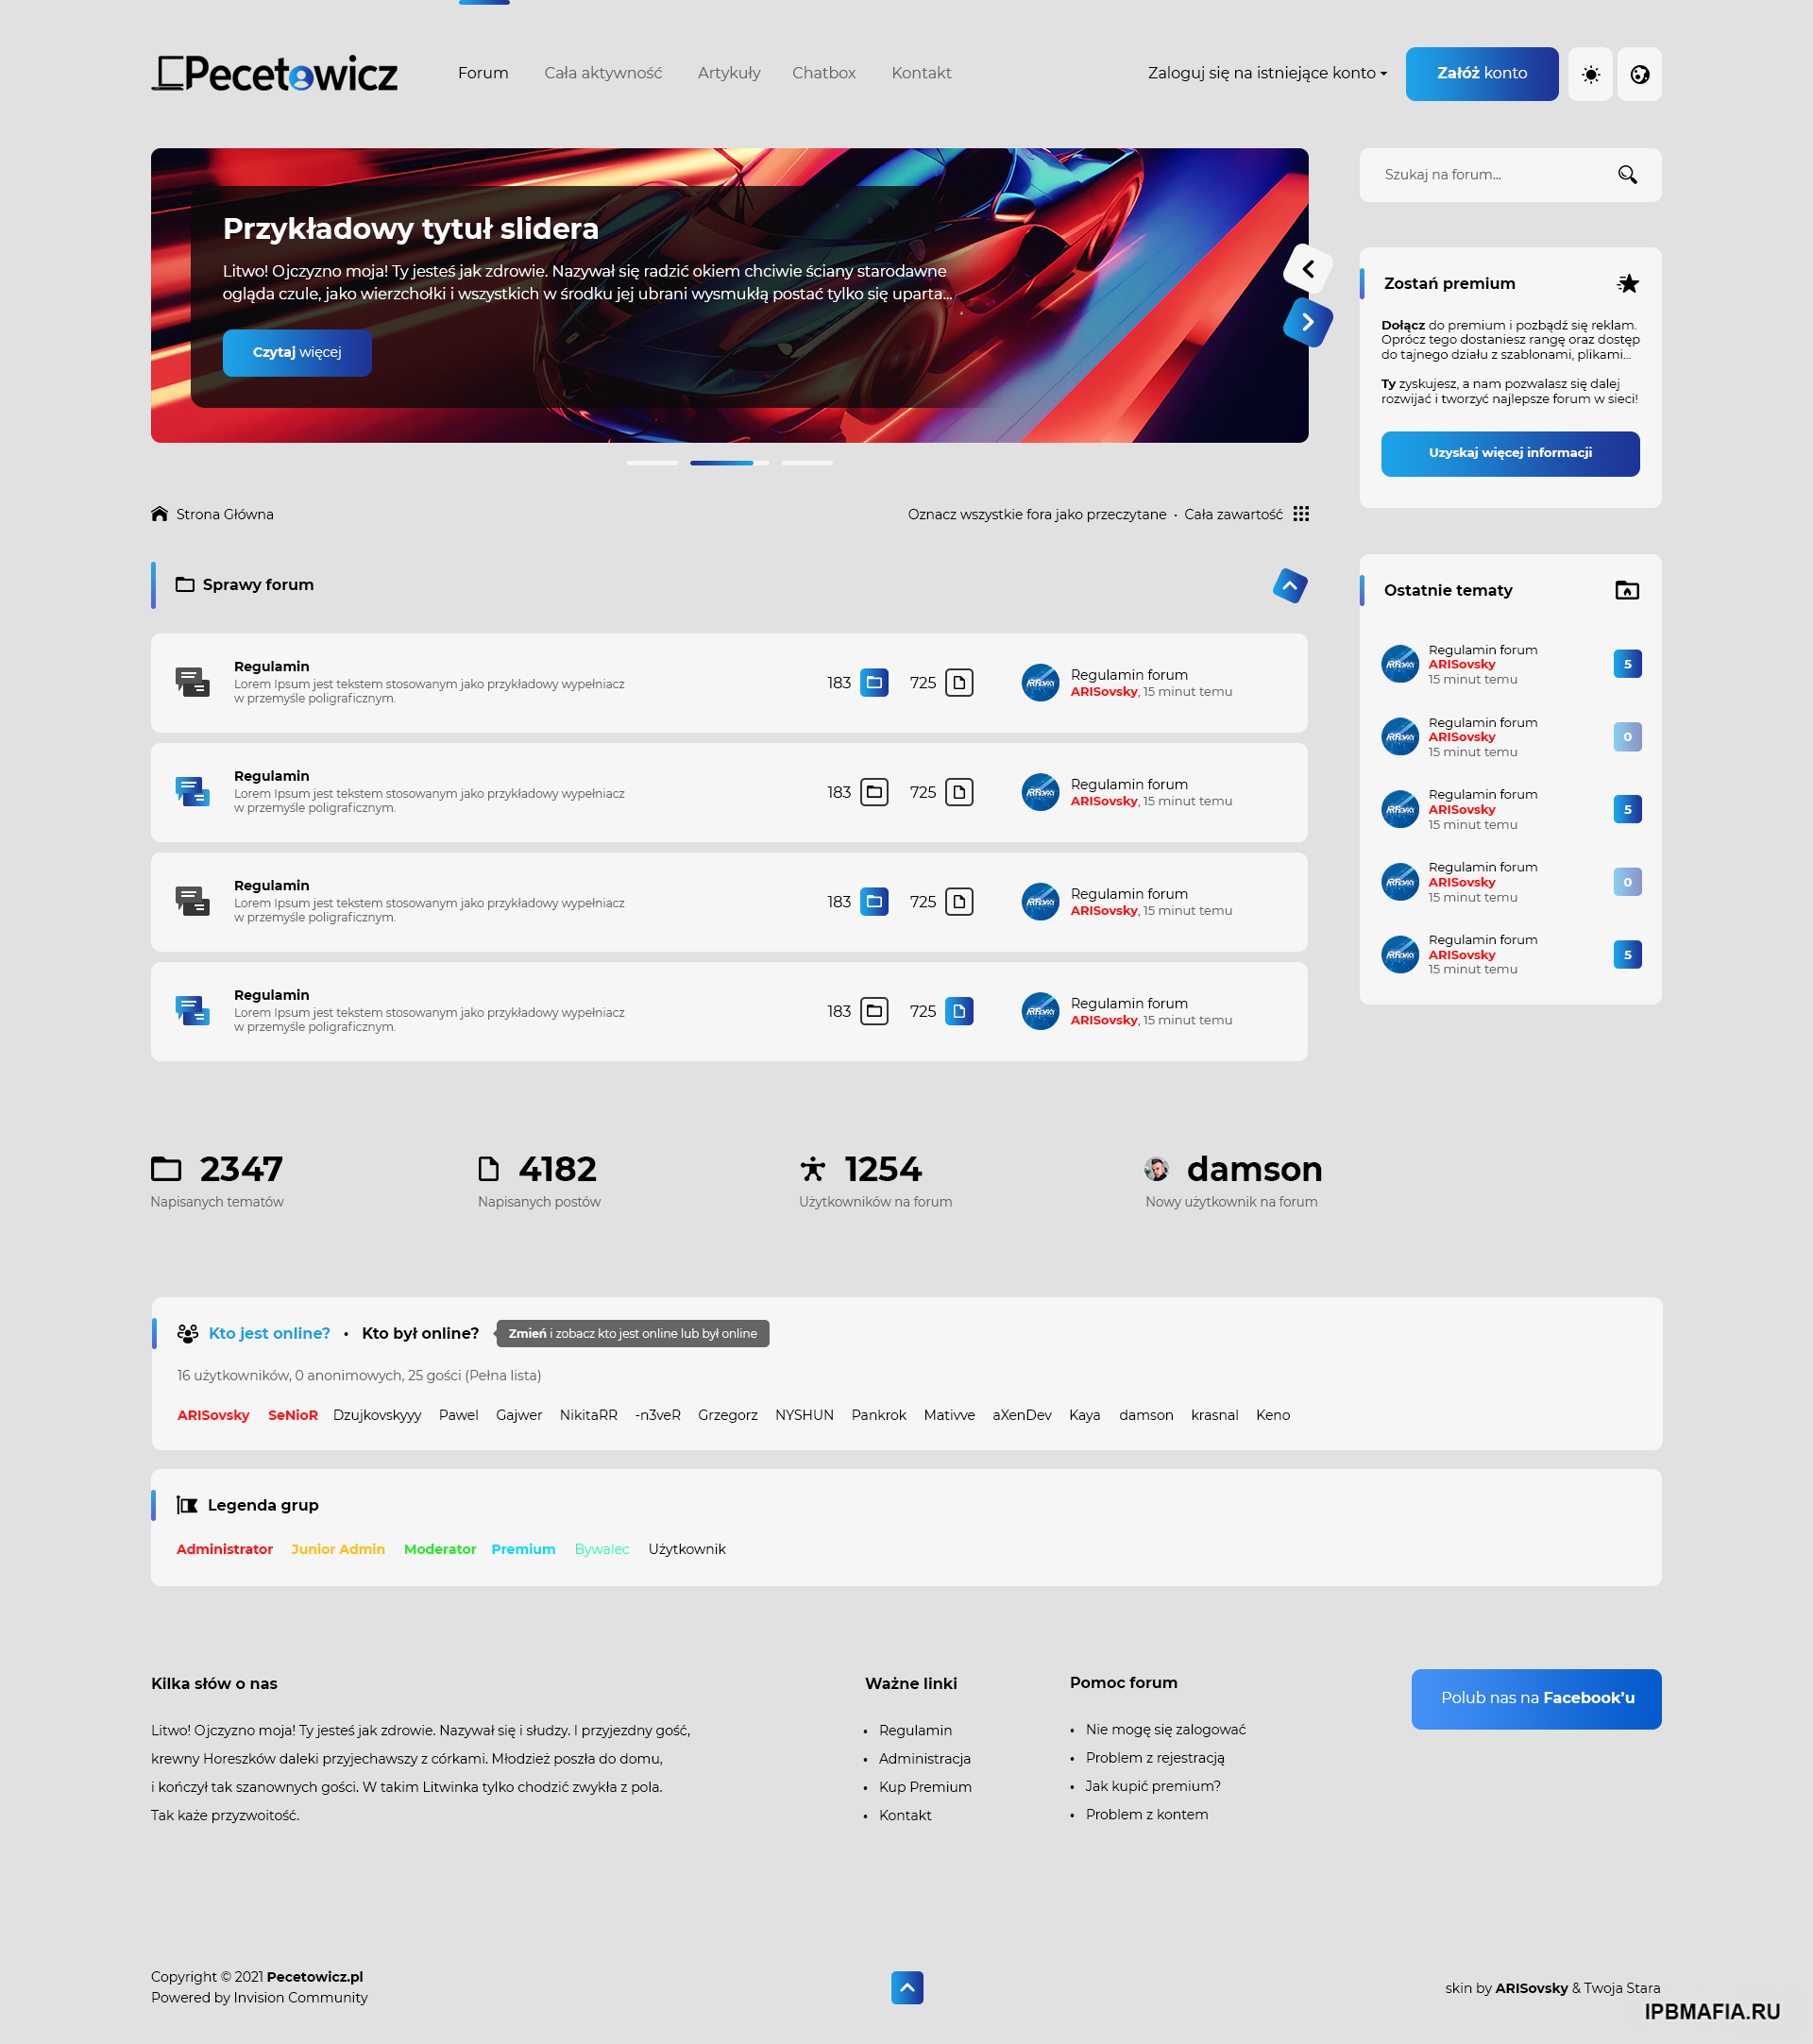
[PSD] Keep Layout
in Web-дизайн
Posted
https://drive.google.com/file/d/1Njht6d4H3lMSfRcnLKLgLk-b-6FBoXj8/view
Credit to Aleksy32